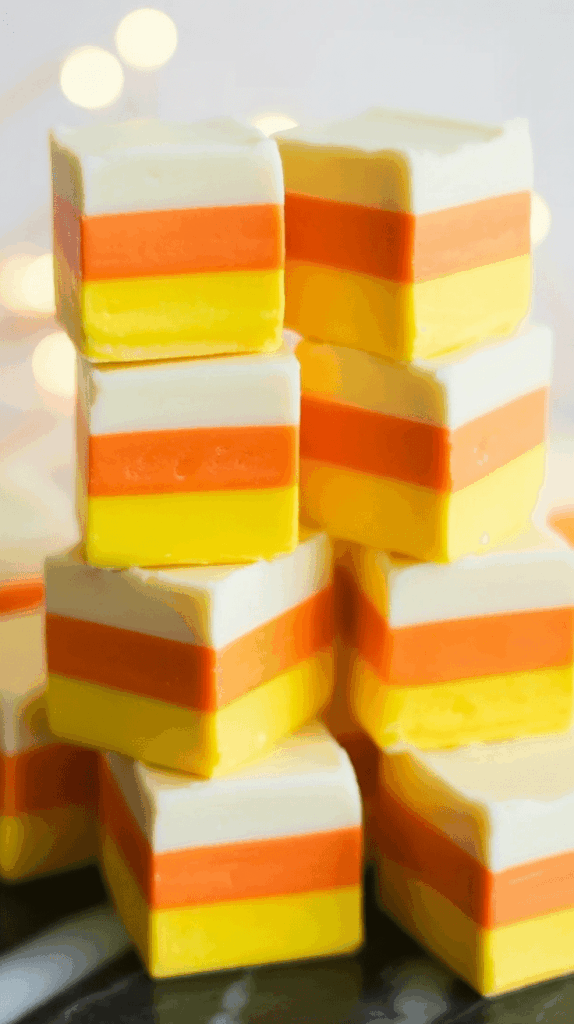
Some desserts are all about the look—and candy corn is definitely one of those. I’ve never been a fan of the original candy (too sweet, too artificial), but I absolutely love the aesthetic. That’s where this Candy Corn Fudge comes in. It gives you those fun Halloween layers—white, orange, yellow—but with a smooth vanilla flavor instead of that waxy candy taste.

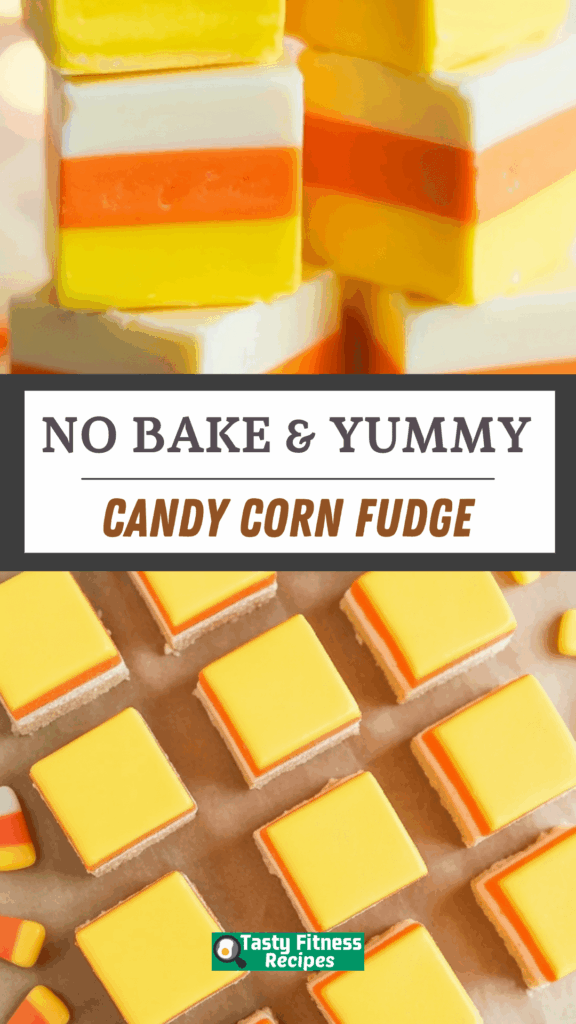
This is a no-bake, no-stovetop recipe that comes together in 10 minutes. It’s a crowd-pleaser for Halloween parties, school treats, or even as a fun edible gift around Thanksgiving.
Why This Recipe Works So Well
If you’ve ever tried actual candy corn and thought, “It’s cute, but I’ll pass,” then this recipe might just redeem it for you. The vanilla fudge layers are creamy, sweet, and mellow without being over the top.
I’ve made this with both white chocolate chips and candy melts. The chips taste better, in my opinion, but the layers didn’t always behave—they didn’t stick well or had uneven texture. So if you’re short on time or patience (I’ve been there!), candy melts are your friend.
And if you’ve got some Halloween-themed silicone molds stashed away like I do, this is the perfect chance to use them. I once poured the fudge into little pumpkin molds for a school bake sale—huge hit with the kids!
Ingredient Notes (And A Few Tips)
You only need four ingredients to pull this off:
- Orange candy melts
- Yellow candy melts
- White chocolate chips or white candy melts
- Sweetened condensed milk
Now here’s where it gets interesting. I don’t recommend using Carnation condensed milk—it’s just too runny. I usually go with Eagle Brand or the generic store brand from Walmart (Great Value) because they hold up better.
And if you don’t have colored candy melts, plain white ones work fine. Just use oil-based candy coloring to get those iconic orange and yellow hues. Don’t use regular liquid food coloring—it’ll seize up the chocolate and make a lumpy mess (I learned that the hard way on a rushed weekday night).
Step-by-Step: How I Make It
- Prep Your Dish: Line a loaf pan with parchment paper and give it a quick grease. I like using a 9″ x 4″ loaf pan because it gives you perfect bite-sized squares when sliced.
- Start With White: Melt the white chocolate chips or candy melts first—short bursts in the microwave (25 seconds at a time) work best. Stir in 3 to 4 tablespoons of condensed milk, depending on how soft you want the final fudge.
- Smooth It Out: Spread the white layer into the pan and stick it in the fridge to set a little while you work on the next layer.
- Repeat for Orange and Yellow: Do the same melting-and-mixing dance with orange and then yellow candy melts, layering each one carefully over the last. Pop the pan back in the fridge after each layer.
- Chill: Let the fudge chill for at least 3 hours—or overnight if you’re planning ahead. Slice into neat little squares when fully set.
I usually make this the night before a gathering so I’m not rushing around with melted chocolate first thing in the morning.
Handy Tips I’ve Learned Along the Way
- Use three separate bowls to avoid color mixing or temperature mishaps.
- Work fast once you mix in the condensed milk—the candy melts firm up quickly as they cool.
- If you’re gifting these, wrap them in parchment and tie them with twine—they look super festive and homemade.
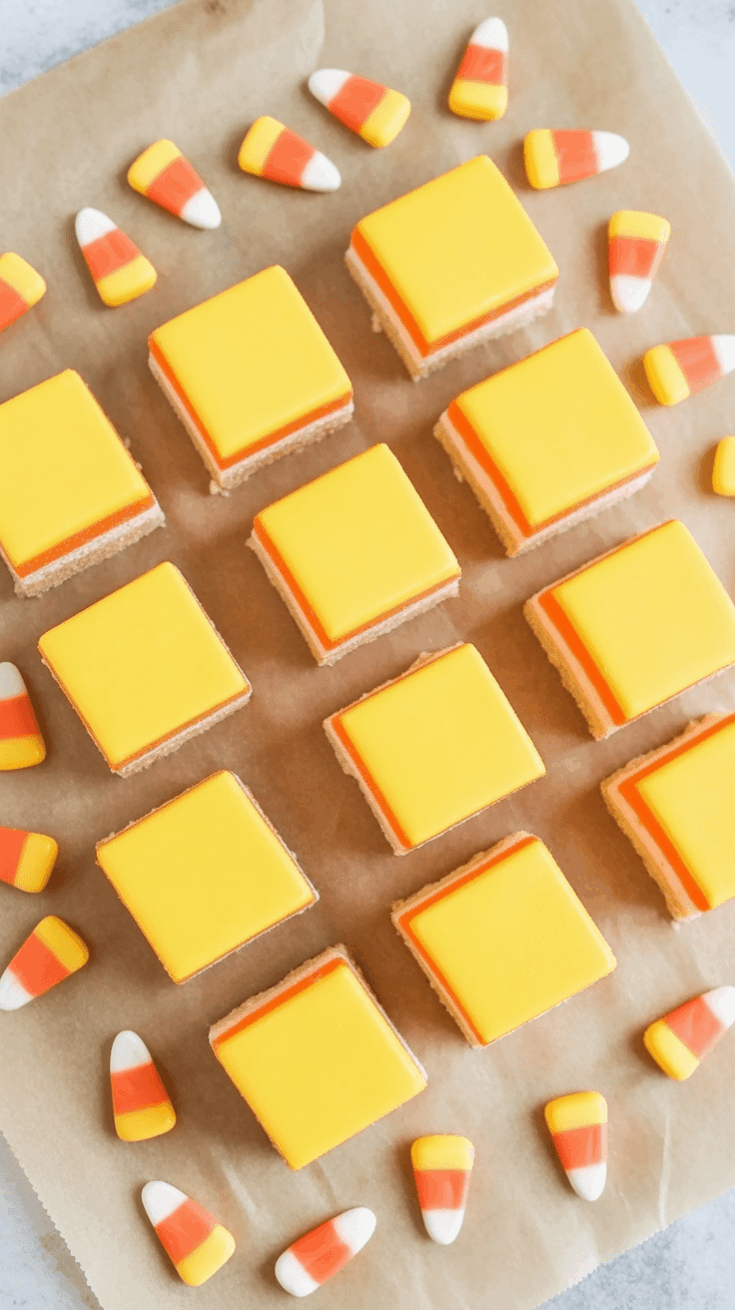
One time, I even added a tiny candy corn piece on top of each fudge square. It looked adorable, though I still picked mine off before eating!
Can You Freeze Candy Corn Fudge?
Yep, you can! But honestly, it stores really well in an airtight container at room temperature for up to 2 weeks. If you pop it in the fridge, it’ll last for a month—but you’ll see a bit of condensation on the surface when you take it out. Not a big deal taste-wise, but something to keep in mind if presentation matters.
I usually just keep a batch on the kitchen counter (hidden from my daughter, who will sneak three pieces before dinner if I’m not watching).
A Few More Fun Variations
- Pumpkin Spice It Up: If you can find pumpkin spice candy melts in the fall, swap those in for the orange layer. It tastes like fudge-meets-latte.
- Swirled Instead of Layered: If you’re not fussed about perfect lines, swirl the three colors together—it’ll look like a tie-dye Halloween treat.
- Add Candy Corns: Love them or hate them, they’re cute. Pop one on top of each square for a little extra flair.
Questions You Might Be Wondering
Can I make this without a microwave?
Sure—just melt the candy melts over a double boiler on low heat. Keep stirring and don’t walk away. I’ve scorched a batch or two when I got distracted mid-scroll on my phone.
What if I only have white candy melts?
No problem—just color them with candy-safe gel or oil-based coloring. And remember, only a few drops are needed. Too much and you’ll end up with neon fudge!
Can I use a bigger pan?
You can, but the layers will be thinner. I like the chunkier squares from a loaf pan, but a square 8″x8″ pan works too—just keep an eye on spreading the layers evenly.
Candy Corn Fudge
A sweet little treat that brings the cozy spirit of fall into every bite. This colorful, no-bake fudge is inspired by classic candy corn and makes a playful addition to your Halloween dessert table or festive fall gatherings. With just a few ingredients and a quick prep, you’ll have cheerful layered fudge ready to impress.
Ingredients
- 3/4 cup yellow candy melts
- 3/4 cup orange candy melts
- 3/4 cup white chocolate chips or white candy melts
- 9–12 tablespoons sweetened condensed milk (adjust to preferred consistency)
Instructions
- Line a small loaf pan or shallow dish with parchment paper, making sure there's enough overhang on the sides for easy removal later. Give it a light greasing to keep things extra smooth.
- Start by melting the white chocolate chips in a microwave-safe bowl. Heat in short 25-second bursts, stirring between each, until melted and silky. Blend in about 3 to 4 tablespoons of sweetened condensed milk—more if you prefer a softer texture.
- Spread the white layer evenly across the base of your prepared pan. Use a spoon or offset spatula to smooth it out, then pop it in the fridge to begin setting.
- Next, work with the orange candy melts. Melt them the same way as before and stir in another few tablespoons of condensed milk. Pour this orange mixture gently over the white layer, smoothing it carefully to avoid mixing the colors.
- Repeat the process with the yellow candy melts for the final top layer. Once that’s spread out and even, place the fudge in the refrigerator for at least 3 hours—or overnight if you can wait.
- Once firm, lift the fudge from the pan using the parchment edges, slice into squares, and enjoy! These little bites are vibrant, festive, and melt-in-your-mouth delicious.
Nutrition Information
Yield
24Serving Size
1Amount Per Serving Calories 2392Total Fat 65gSaturated Fat 41gTrans Fat 0gUnsaturated Fat 21gCholesterol 248mgSodium 930mgCarbohydrates 406gFiber 0gSugar 403gProtein 58g
TastyFitnessRecipes.com, occasionally offers nutritional information for recipes contained on this site. This information is provided as a courtesy and is an estimate only. This information comes from online calculators. Although tastyfitnessrecipes.com attempts to provide accurate nutritional information, these figures are only estimates.
Final Thoughts
Whether you’re team candy corn or not, this fudge brings the fall vibes without the chewy weirdness of the original. It’s fast, festive, and easy enough for a weeknight project with the kids—or a quick tray to bring to your office Halloween party.
Let me know if you try it—or if you come up with your own flavor spin. I love hearing how people make recipes their own.
Try other Fudge recipes: