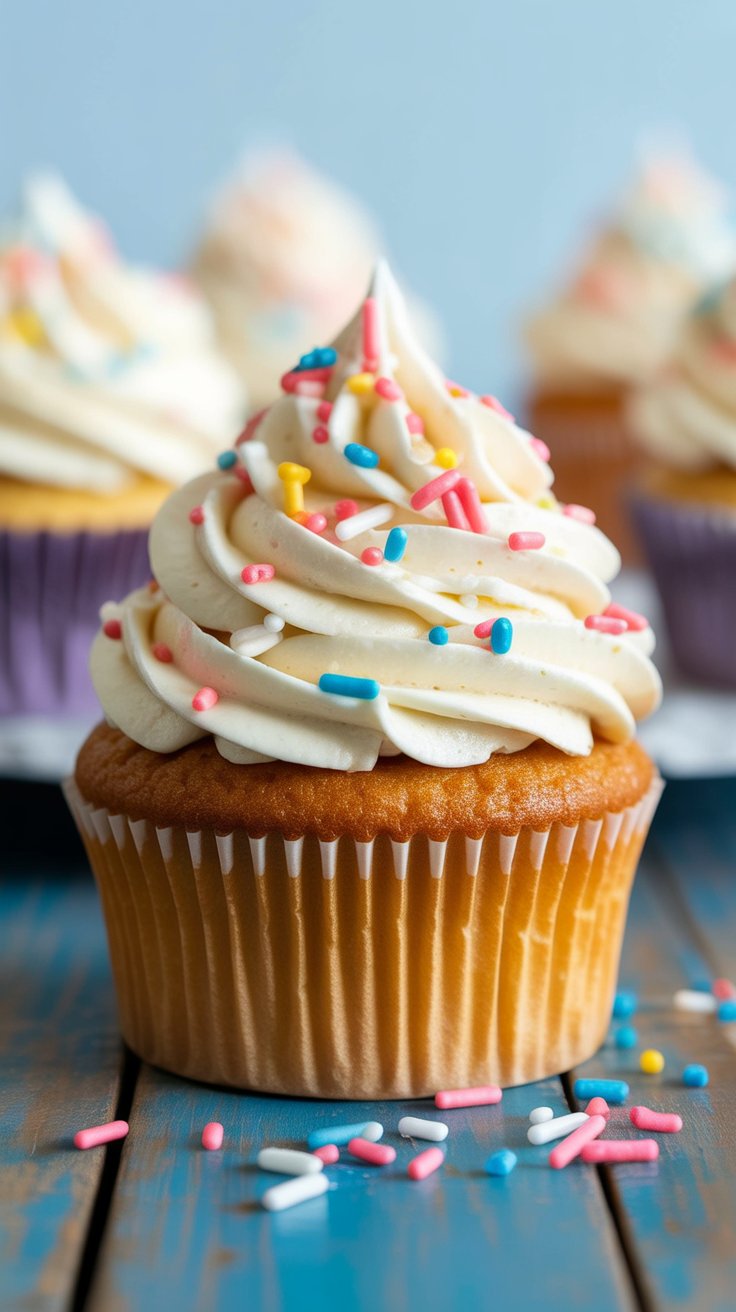
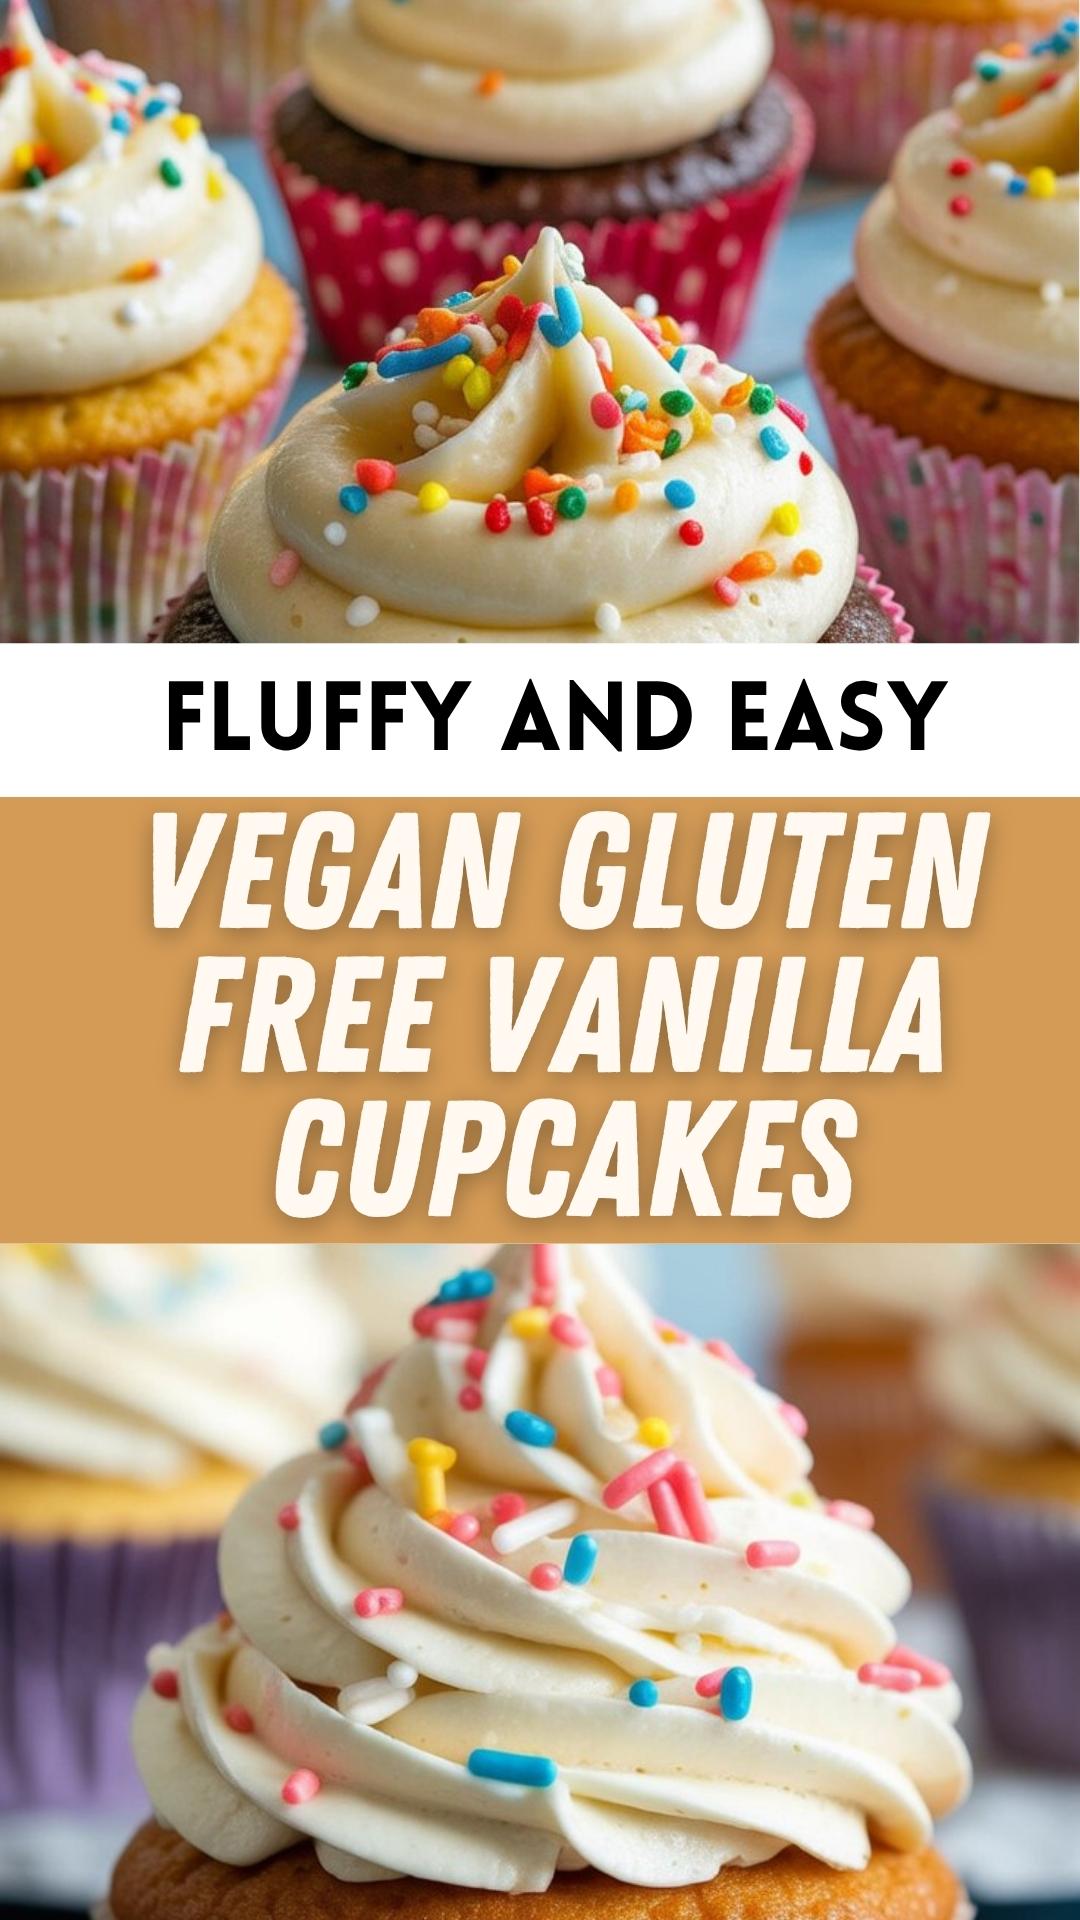
If you’re on the hunt for a soft, fluffy cupcake that just so happens to be both vegan and gluten-free, you’re in for a treat. These vanilla cupcakes are light as a cloud, perfectly moist, and have that classic vanilla flavor everyone loves—without using eggs, dairy, or wheat. You’d never guess they tick all those boxes. They’re the kind of cupcakes I bring to family get-togethers where no one realizes they’re gluten-free until I tell them.

Why These Cupcakes Work So Well
I’ve baked a lot of cupcakes—some great, some… not so great. And one of the biggest struggles with gluten-free baking is texture. Many times, the final result ends up dry or crumbly, or the flavor feels just a bit off. That’s why I was thrilled when I landed on this recipe. These cupcakes come out reliably soft and moist every time. They’ve become my go-to whenever I’m baking for mixed crowds—gluten-free, vegan, or otherwise.
The best part? It’s a one-bowl recipe. That means less cleanup and more time for coffee while they bake.
Ingredients You’ll Need
Here’s a look at what makes these cupcakes come together so well:
For the cupcakes:
-
Gluten-free all-purpose flour – You’ll want to use a flour blend that’s made for baking. I’ve tried a few brands—Bob’s Red Mill, King Arthur, and even some store-brand mixes—and they all worked well.
-
Baking soda – Not baking powder. This gives the cupcakes their rise and helps them stay fluffy.
-
Salt – Just a small amount brings out the sweetness.
-
White vinegar – Reacts with the baking soda to help the cupcakes rise.
-
Canola oil – I usually keep this on hand, but any neutral-tasting vegetable oil will do.
-
Soy milk – I often use almond or oat milk instead, depending on what’s in the fridge.
-
Sugar – Regular white granulated sugar works just fine.
-
Vanilla extract – Go for the good stuff if you can—it makes a difference.
For the frosting:
-
Vegan butter – I usually go with a brand that’s creamy and salted, but use whatever vegan butter you love.
-
Powdered sugar – For that smooth, fluffy frosting texture.
-
Vanilla extract – Just a splash to keep the flavor in sync with the cupcakes.
-
Soy milk – Or any non-dairy milk to get the frosting to the right consistency.
-
Sprinkles – Totally optional, but honestly, they make everything more festive.
How I Make Them (And How You Can Too)
Making these cupcakes is almost too easy. I usually whip them up on a Sunday afternoon, especially if I know we’ve got guests coming over or just want something sweet to nibble on during the week.
-
Start with your dry ingredients – In a big bowl, mix your gluten-free flour, sugar, baking soda, and salt. I use a whisk to break up any lumps and get everything combined evenly.
-
Pour in the wet stuff – Add in the soy milk (or any plant milk), oil, vanilla extract, and vinegar. Stir it all together until it’s smooth—don’t overmix, just make sure you don’t have dry pockets hiding in the batter.
-
Line your cupcake tray – I usually go with a standard 12-cup muffin tin and paper liners. Fill each liner about ¾ full with the batter.
-
Bake at 350°F – They’ll need around 25 minutes. I always do the toothpick test—stick it in the center and if it comes out clean, they’re done.
-
Cool completely – This part’s hard because they smell amazing right out of the oven, but resist the urge to frost them while warm. Let them cool in the tray for a few minutes, then move to a wire rack.
-
Make the frosting – I toss the vegan butter, powdered sugar, vanilla, and a splash of soy milk into my stand mixer and let it do its thing until the frosting is smooth and fluffy. If you don’t have a stand mixer, a handheld electric mixer works too.
-
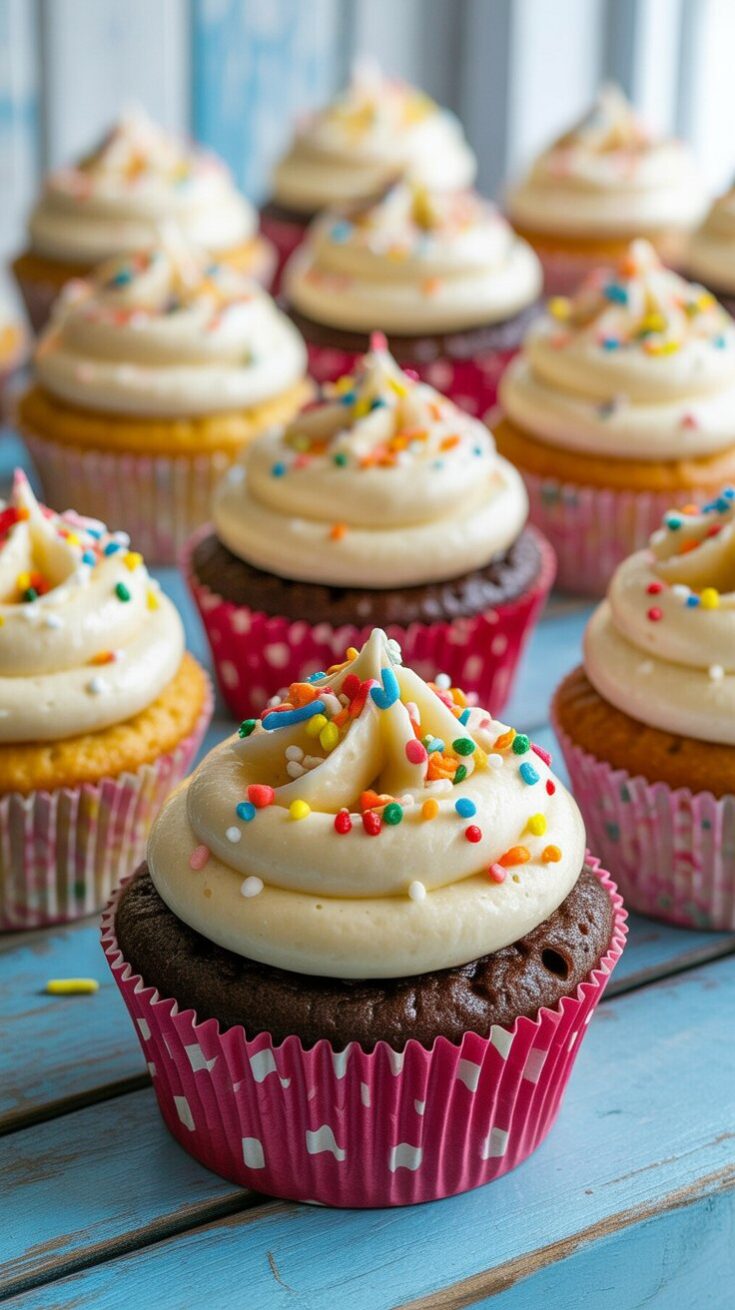
Decorate – Pipe or spread on the frosting and finish with sprinkles if you’re feeling fancy. I usually go for a rustic swirl and let the kids toss on the sprinkles.
Helpful Tips From My Kitchen
-
Expect a golden top – These cupcakes tend to brown a bit more than traditional wheat cupcakes. That’s totally fine. Inside, they’re soft and moist.
-
Don’t rush the cooling – I’ve had frosting slide right off warm cupcakes before. Now I make sure they’re fully cooled before I go near them with frosting.
-
One-bowl magic – Cleanup is a breeze. I love that everything mixes in one bowl—it feels like less of a project.
-
Flexible milk options – I often switch out soy milk for oat milk or almond milk depending on what I have. The recipe always works.
Make-Ahead and Storage Notes
These cupcakes actually store really well, which is great if you want to prep ahead.
-
Room temperature – Store in a sealed container and they’ll be good for 2 to 3 days.
-
Refrigerator – If it’s warm out or you want them to last a bit longer, keep them in the fridge for up to a week.
-
Freezer – These freeze like a dream, both frosted and unfrosted. I like to wrap them individually in plastic wrap and then pop them into a freezer bag.
Just let them thaw at room temperature, and they’ll taste just as fresh.
How I Serve Them at Home
These cupcakes have made appearances at everything from birthday parties to casual weekend snacks. I’ve taken them to school bake sales where kids devour them without a second thought, and I’ve served them with tea when my gluten-free cousin visits. They’re the kind of treat that feels like a win no matter who you’re feeding.
Sometimes I switch up the frosting—chocolate, lemon, or even a berry version in summer. But the base cupcake recipe stays the same. It’s just that reliable.
Common Questions
Can I make this into a cake instead of cupcakes?
Yes! I’ve used this same recipe to make a small layer cake before. Three 6-inch layers or two 7-inch layers bake up beautifully. A single 9-inch layer works too—just adjust the bake time to about 30–35 minutes.
Can I use regular flour instead?
If you’re not gluten-free, I’d recommend using my regular vegan vanilla cupcake recipe, which is optimized for wheat flour. This version is built specifically around gluten-free flour.
Can I swap in rice, coconut, or almond flour?
I’ve tried those experiments—and honestly, they didn’t turn out well. Stick with a gluten-free blend for best results. That’s where the texture magic happens.
What if my flour doesn’t have xanthan gum?
No problem. I’ve made these with blends that do and don’t have xanthan gum. They’ve turned out great every time.
Vegan Gluten Free Vanilla Cupcakes
Soft, fluffy, and perfectly sweet — these vegan and gluten-free vanilla cupcakes are a treat for everyone at the table.
Ingredients
For the Cupcakes:
- 1 cup soy milk (or your favorite plant-based milk)
- ½ cup canola or vegetable oil
- 2 teaspoons vanilla extract
- 1 tablespoon distilled white vinegar
- 1¾ cups gluten-free all-purpose flour
- 1 cup white sugar
- 1¼ teaspoons baking soda
- ½ teaspoon salt
For the Frosting:
- ½ cup vegan butter
- 4 cups powdered sugar
- 2–3 tablespoons soy milk (or any non-dairy milk)
- 2 teaspoons vanilla extract
Optional Topping:
- Sprinkles of your choice
Instructions
- Start by getting your oven preheated to 350°F (180°C), and line a 12-cup muffin pan with paper liners.
- In a large mixing bowl, combine the flour, sugar, baking soda, and salt. Give it a quick whisk to blend everything together evenly.
- In a separate bowl or measuring jug, whisk together the soy milk, oil, vanilla extract, and vinegar. Pour this wet mixture into your dry ingredients and stir until just combined. The batter will look smooth and slightly thick.
- Spoon the batter into the cupcake liners, filling each about ¾ full. Pop the tray into the oven and bake for around 25 minutes. You’ll know they’re ready when a toothpick poked into the center comes out clean.
- Let the cupcakes rest in the pan for a few minutes before moving them to a wire rack. Make sure they cool completely before frosting.
- For the frosting, beat the vegan butter, powdered sugar, vanilla, and 2 tablespoons of soy milk in a stand mixer or with a hand beater. Start slow so the sugar doesn’t fly everywhere, then increase the speed until it turns into a creamy, fluffy frosting. If it feels too thick, add the extra tablespoon of soy milk.
- Once your cupcakes are cool to the touch, frost them generously and top with sprinkles if you like.
Notes
- Flour: Use a gluten-free flour blend intended for baking. Whether it has xanthan gum or not, no worries — it works either way.
- Want to make a cake instead? This batter works great for layer cakes too: try three 6-inch pans (bake 25 mins), two 7-inch pans (30 mins), or one 9-inch round (30–35 mins).
- Storage: Keep them covered at room temperature for up to 3 days or refrigerate for up to a week. You can also freeze them frosted or unfrosted — they hold up beautifully.
Nutrition Information
Yield
12Serving Size
1Amount Per Serving Calories 448Total Fat 18gSaturated Fat 3gTrans Fat 1gUnsaturated Fat 13gCholesterol 0mgSodium 245mgCarbohydrates 69gFiber 1gSugar 54gProtein 3g
TastyFitnessRecipes.com, occasionally offers nutritional information for recipes contained on this site. This information is provided as a courtesy and is an estimate only. This information comes from online calculators. Although tastyfitnessrecipes.com attempts to provide accurate nutritional information, these figures are only estimates.
Final Thoughts
These cupcakes are proof that “gluten-free” and “vegan” don’t have to mean sacrificing flavor or texture. They’re simple, satisfying, and easy enough to whip up even when your day’s been hectic.
They’re a regular in my kitchen, and I hope they’ll become a favorite in yours too.
Try other Cupcake recipes: