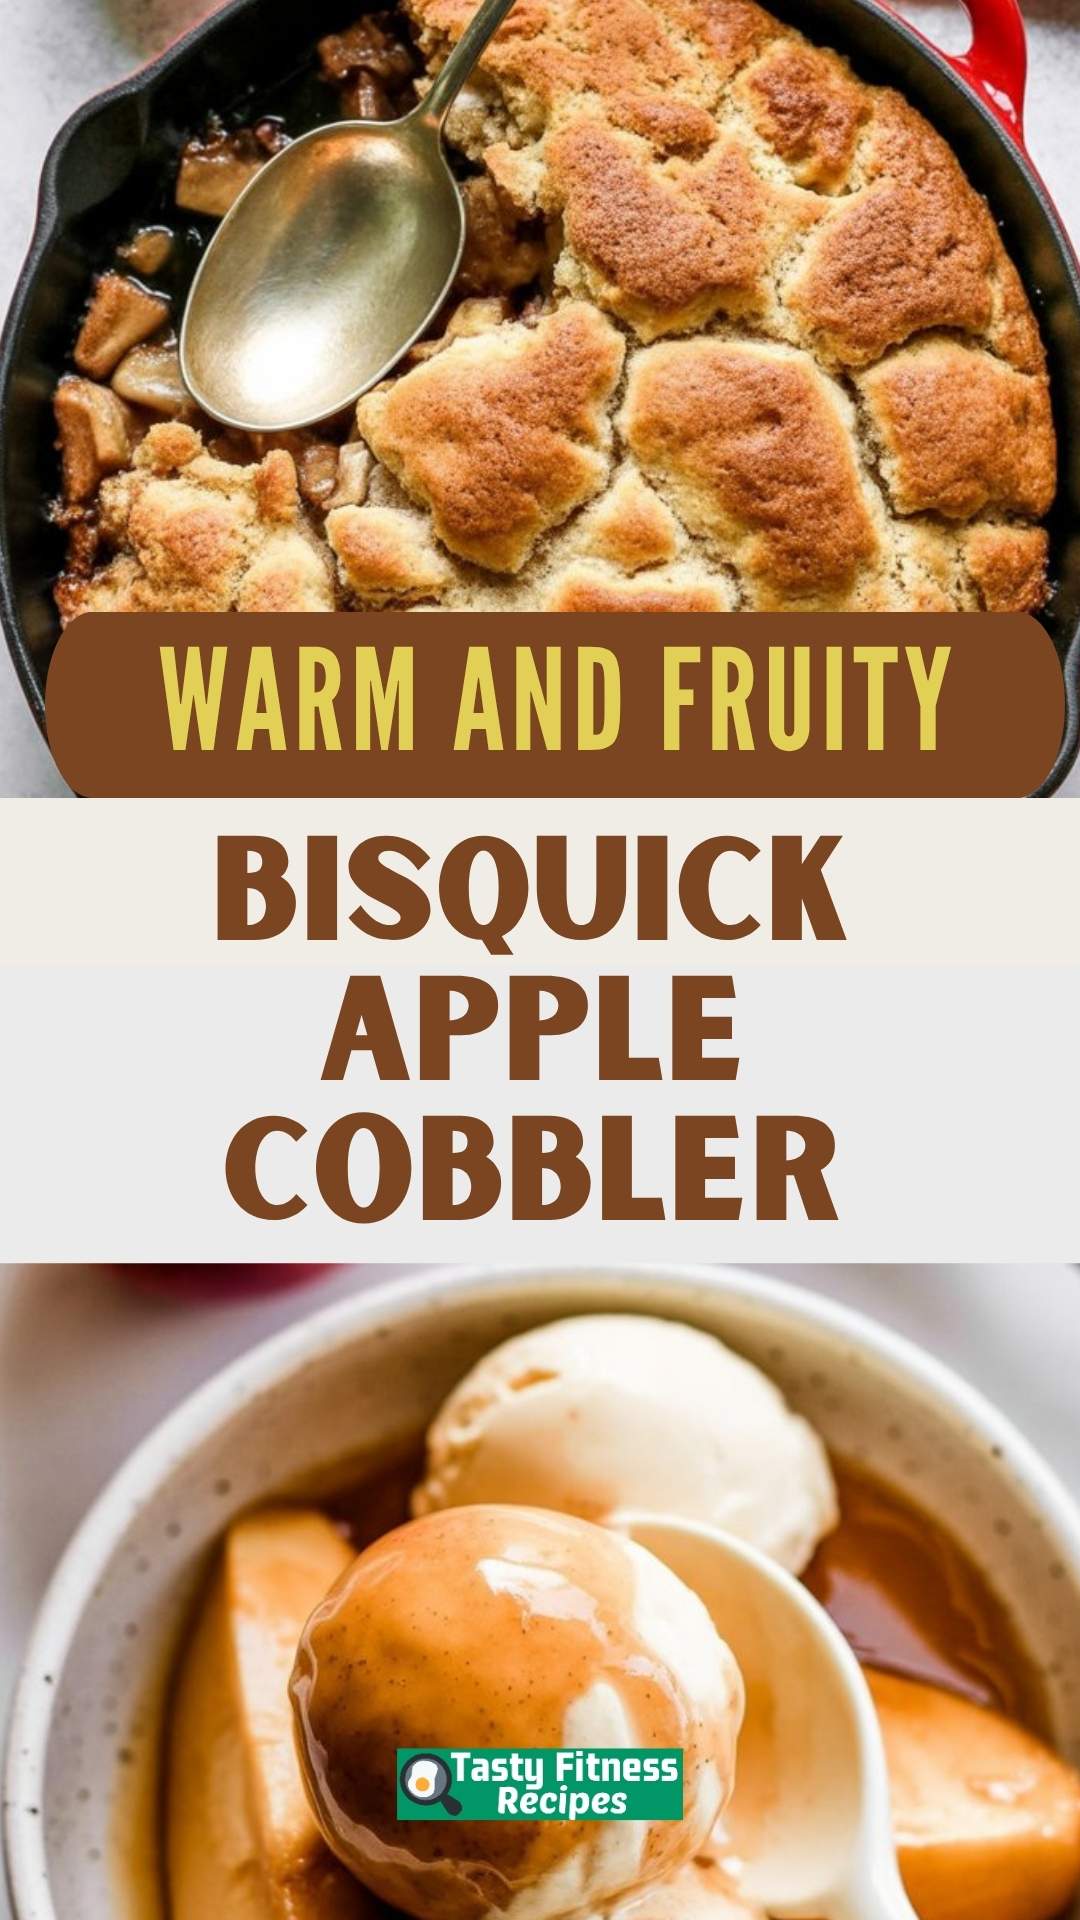
There’s just something magical about warm apple cobbler straight out of the oven, especially when the top is golden and buttery and the apples underneath are soft and cozy with cinnamon. This Bisquick Apple Cobbler is one of those nostalgic recipes that reminds me of crisp evenings, extra scoops of ice cream, and the comforting smell of baked apples filling up the house.
 I first made this on a quiet Sunday afternoon when I had a bunch of apples that had been sitting on the counter a little too long. I didn’t have time (or energy) to roll out pie dough, and I spotted my trusty box of Bisquick in the pantry. Thirty minutes later, my kitchen smelled like cinnamon dreams, and I had a bubbling, golden cobbler ready to devour.
Why This Recipe Always Wins at Home
This apple cobbler is as low-effort as it gets but delivers big on comfort and flavor. It’s the kind of dessert you make when you want something sweet without fussing around.
-
Simple pantry ingredients. All you need is some Bisquick, fresh apples, spices, and a bit of milk and butter. Nothing fancy, and you probably already have most of it.
-
Easy to switch up. You can toss in a handful of chopped pecans, swap the spices, or use oat milk if that’s what you’ve got.
-
Great for using up apples. Those slightly bruised apples that didn’t make it into lunch boxes? Perfect for this.
-
Make-ahead friendly. Mix everything and stash it in the fridge until you’re ready to bake it fresh for guests or after dinner.
What You’ll Need
Here’s everything I use when I whip up this cobbler:
-
Granny Smith apples – My go-to for that perfect tart-sweet balance. You can use Honeycrisp or Fuji if you prefer sweeter apples.
-
Granulated sugar + brown sugar – The combo gives depth and a slight molasses note.
-
Cornstarch – Helps thicken that juicy apple filling.
-
Spices: cinnamon, nutmeg, ginger – Adds warmth and makes the whole house smell incredible.
-
Vanilla extract & lemon juice – These round out the flavors and brighten the filling.
-
Bisquick mix – This is the real shortcut magic.
-
Whole milk & melted butter – Richness in the topping, and yes, I’ve used oat milk in a pinch.
-
Extra brown sugar and cinnamon – For that sweet crusty top.
 Ingredient Swaps and Tips
-
Apples: If you’re low on Granny Smith, mix and match – even toss in a couple of red apples for added sweetness.
-
No Bisquick? Pancake mix or pre-made biscuit dough works. I’ve even tried it with homemade biscuit mix in a pinch.
-
Want it vegan? Use plant milk and swap the butter with coconut oil or vegan butter.
-
Add-ins: A handful of walnuts or raisins makes it extra special and festive.
How I Make It (And You Can Too!)
Here’s how this apple cobbler comes together in my kitchen—usually with music playing and a spoon ready for “taste-testing” the filling:
-
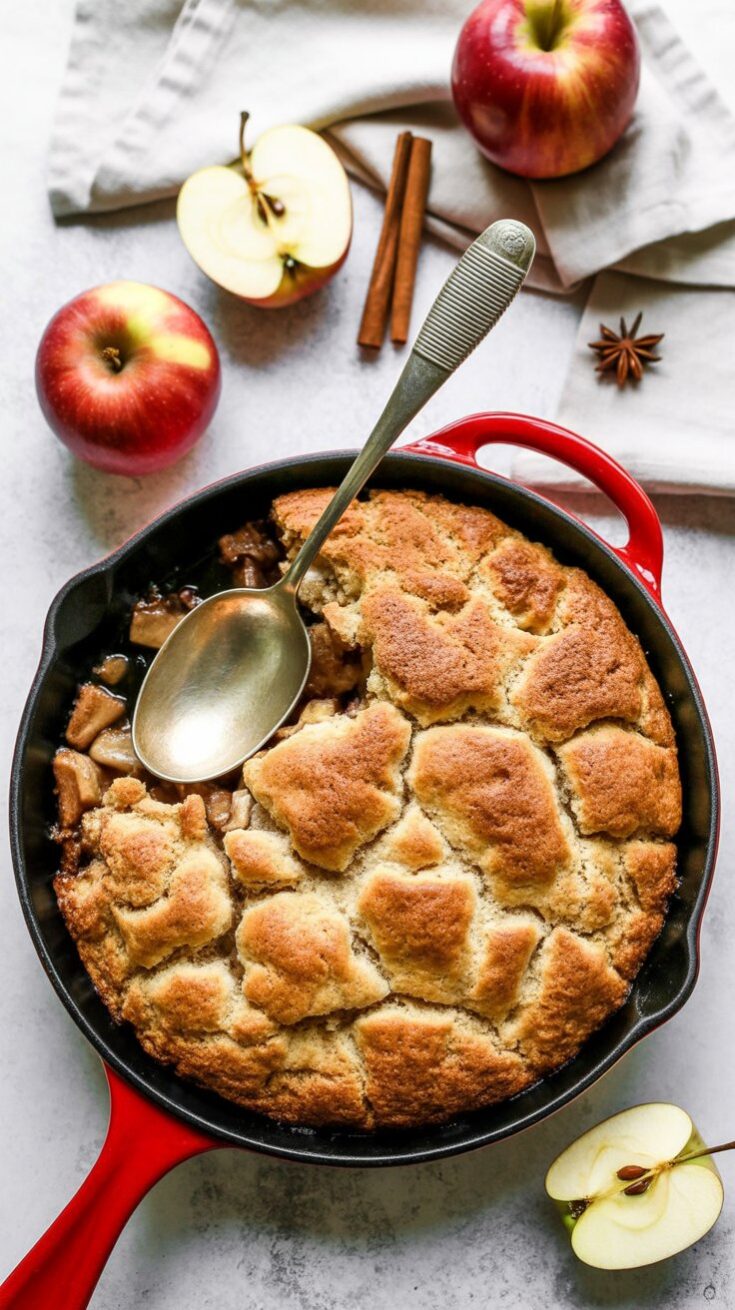
Preheat the oven to 375°F. I either grease a 9×9 baking dish or pull out my favorite cast iron skillet—it gives a beautiful crust.
-
Make the filling. In a big bowl, I toss sliced apples with both sugars, cornstarch, cinnamon, nutmeg, ginger, vanilla, and lemon juice. I stir it until the apples are shiny and coated.
-
Mix the topping. In a second bowl, stir together Bisquick, milk, butter, brown sugar, and cinnamon. It’ll look like a thick batter—don’t overmix it.
-
Layer it up. Spread the apples into your dish, then spoon the Bisquick batter over the top in rustic blobs. Don’t worry about making it perfect—it spreads as it bakes.
-
Bake. Pop it in for about 45 minutes until the top is golden brown and you see little bubbles peeking out the sides.
-
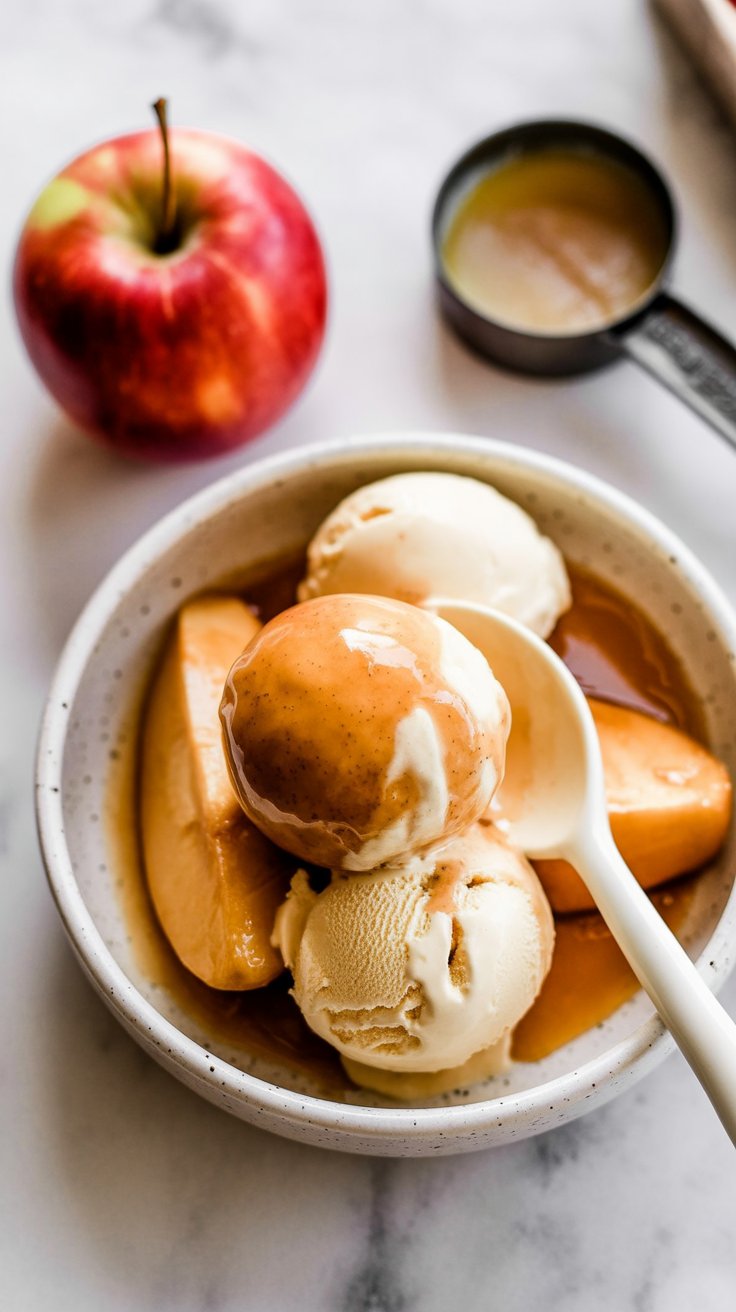
Serve warm. I let it sit for 5–10 minutes (which is hard!) before scooping it into bowls with vanilla ice cream. And if it’s breakfast the next day? I may or may not eat the leftovers cold with coffee.
My Go-To Tips for Cobbler Success
After making this more times than I can count, here are a few tips that never fail:
-
Use tart apples. You want that contrast against the sweet topping. Granny Smiths never disappoint.
-
Don’t overmix the batter. Just stir until combined. It should be a little lumpy—that’s okay!
-
Leave space in the pan. If you’re using a smaller dish, don’t fill it to the top or it’ll bubble over. Been there, scrubbed that oven.
-
Watch the browning. If the top gets too dark too fast, I loosely cover it with foil around the 30-minute mark.
-
Let it rest. Give it a few minutes after baking so the juices thicken slightly and don’t burn your tongue.
 Cobbler Questions I Get All the Time
Do I need to peel the apples?
I always do—it gives a softer bite. But if you’re into the rustic texture and want to save time, you can leave the skins on.
What kind of apples work best?
Granny Smith is my favorite, but Honeycrisp, Gala, or even a mix works beautifully.
Can I make this ahead?
Yes! You can mix it all up, cover it, and store it in the fridge for up to 2 days before baking.
Is Bisquick vegan?
Some versions are, but check the label. You can also make your own mix with flour, baking powder, and a pinch of salt.
Cobbler vs. crumble—what’s the difference?
Cobblers usually have a biscuit-like topping, while crumbles have a streusel topping made with butter, flour, and sugar.
Bisquick Apple Cobbler
There’s something so comforting about warm apple cobbler fresh from the oven—and this one’s as easy as it is cozy.
Ingredients
For the Apple Filling:
- 4 Granny Smith apples, thinly sliced
- ½ teaspoon ground ginger
- 1 teaspoon ground cinnamon
- ½ teaspoon ground nutmeg
- ½ cup granulated sugar
- ¼ cup brown sugar
- 2 teaspoons cornstarch
- 1 tablespoon lemon juice, freshly squeezed
- 1 teaspoon vanilla extract
For the Bisquick Topping:
- 1½ cups Bisquick mix
- ½ cup whole milk
- 2 tablespoons melted unsalted butter
- 2 tablespoons brown sugar
- ½ teaspoon ground cinnamon
Instructions
- Start by preheating your oven to 375°F and lightly greasing a 9-inch cast iron skillet (or a 9x9 baking dish if that’s what you have on hand).
- In a large mixing bowl, toss the sliced apples with granulated sugar, brown sugar, cinnamon, nutmeg, ginger, cornstarch, lemon juice, and vanilla. Stir everything well so the apples are nicely coated in all that sweet, spiced goodness.
- In another bowl, combine the Bisquick mix, milk, melted butter, brown sugar, and cinnamon. Stir until the mixture is smooth and thick but spoonable.
- Pour the apple mixture into your prepared skillet and spread it out into an even layer. Then dollop the Bisquick topping over the apples, gently spreading it without pressing too hard.
- Slide the skillet into the oven and bake for about 45 minutes, or until the topping turns golden brown and the apples are soft and bubbly underneath.
- Let it cool just slightly, then serve warm with a scoop of vanilla ice cream or a generous dollop of whipped cream.
Notes
- Apple choice: Granny Smiths give you that perfect tart-sweet balance, but feel free to swap in Honeycrisp or Gala apples if that’s what you’ve got.
- No cast iron? No problem. A ceramic or glass baking dish works just as well.
- Topping browning too fast? Loosely tent the cobbler with foil and continue baking until the apples are tender.
Nutrition Information
Yield
10Serving Size
1Amount Per Serving Calories 123Total Fat 3gSaturated Fat 2gTrans Fat 0gUnsaturated Fat 1gCholesterol 7mgSodium 9mgCarbohydrates 24gFiber 1gSugar 21gProtein 1g
TastyFitnessRecipes.com, occasionally offers nutritional information for recipes contained on this site. This information is provided as a courtesy and is an estimate only. This information comes from online calculators. Although tastyfitnessrecipes.com attempts to provide accurate nutritional information, these figures are only estimates.
How I Serve and Store This
This cobbler is best fresh out of the oven. The top is golden and crisp, and the filling is warm and jammy. I serve it with:
-
Vanilla ice cream – melty goodness on warm cobbler is unbeatable.
-
Whipped cream – if I’m feeling extra.
-
A sprinkle of cinnamon or chopped nuts – for texture.
Leftovers? I cover the dish with foil or transfer to an airtight container and keep it in the fridge. It’s still great the next day, especially reheated in the oven at 350°F for 10–15 minutes.
Freezing? I don’t recommend freezing this after it’s baked—the topping can get soggy. But you can assemble it ahead of time and refrigerate it unbaked for up to 2 days.
If you’ve got apples that need using, a box of Bisquick, and a craving for something sweet and cozy, this apple cobbler has your name on it. It’s one of those no-fuss, big-reward desserts that I come back to again and again—especially when fall rolls in or I want a quick treat without turning it into a production.
Let me know how it turns out in your kitchen!
Try other Cobbler recipes: