There’s nothing like the first crunch of a cold, homemade dill pickle. Every summer, when cucumbers start coming in faster than we can eat them, I know it’s pickle season in my kitchen. Refrigerator pickles are my go-to: no hot water baths, no hours of canning — just crisp, garlicky spears that are ready in days.
 The best part? They stay crunchier than canned pickles since they don’t go through all that heat. I make a few jars every week while the garden is overflowing, and it always feels like bottling up summer for later.
Why I Keep Making These Pickles
For me, these pickles aren’t just a recipe; they’re a tradition. My grandmother used to keep a big ceramic crock of brined cucumbers on her porch, and I’d sneak out to fish one out with my fingers when no one was looking. These refrigerator pickles taste just like that — simple, fresh, and full of garden flavor.
They’re the perfect project for lazy summer afternoons. Sometimes I’ll put together a batch while chatting with my family in the kitchen or while prepping a barbecue spread. And nothing makes me happier than pulling a cold jar out of the fridge when friends drop by — they disappear almost instantly.
Choosing the Right Cucumbers
Pickling cucumbers are the gold standard — those short, bumpy little guys that hold their crunch beautifully. But I’ll be honest: I’ve made this recipe with regular slicing cucumbers plenty of times, and they turned out great. The trick is picking the freshest ones you can find.
If you grow your own, pick them in the morning when they’re cool and crisp. If you’re buying, go for farmer’s market cucumbers over grocery store ones — they’ve usually been picked just a day or two ago. Skip any with soft spots or wrinkles. Freshness really is the secret to crunch.
I’ve even tried Armenian cucumbers when a neighbor dropped some off, and those made some of the snappiest pickles I’ve ever had. So don’t stress too much — use what you’ve got.
My Best Tricks for Crunchy Pickles
A soggy pickle is a sad pickle, so here are a few things I do to keep mine extra crisp:
-
Chop off the blossom end: It’s a tiny detail, but that end has enzymes that soften the cucumber. I slice it off without fail.
-
Soak in ice water: If I have time, I let the cucumbers chill in a big bowl of ice water for a couple of hours before pickling. It perks them up and makes them extra firm.
-
Add tannins: I tuck a grape leaf or two into the jar. My backyard grapevine supplies plenty, but you can use oak, horseradish, or even a tea bag. The tannins help keep that snap.
-
Keep the brine cool: Don’t pour boiling brine over your cucumbers — it’ll cook them slightly and soften the texture. I always let mine cool a bit before pouring.
These little tricks make all the difference.
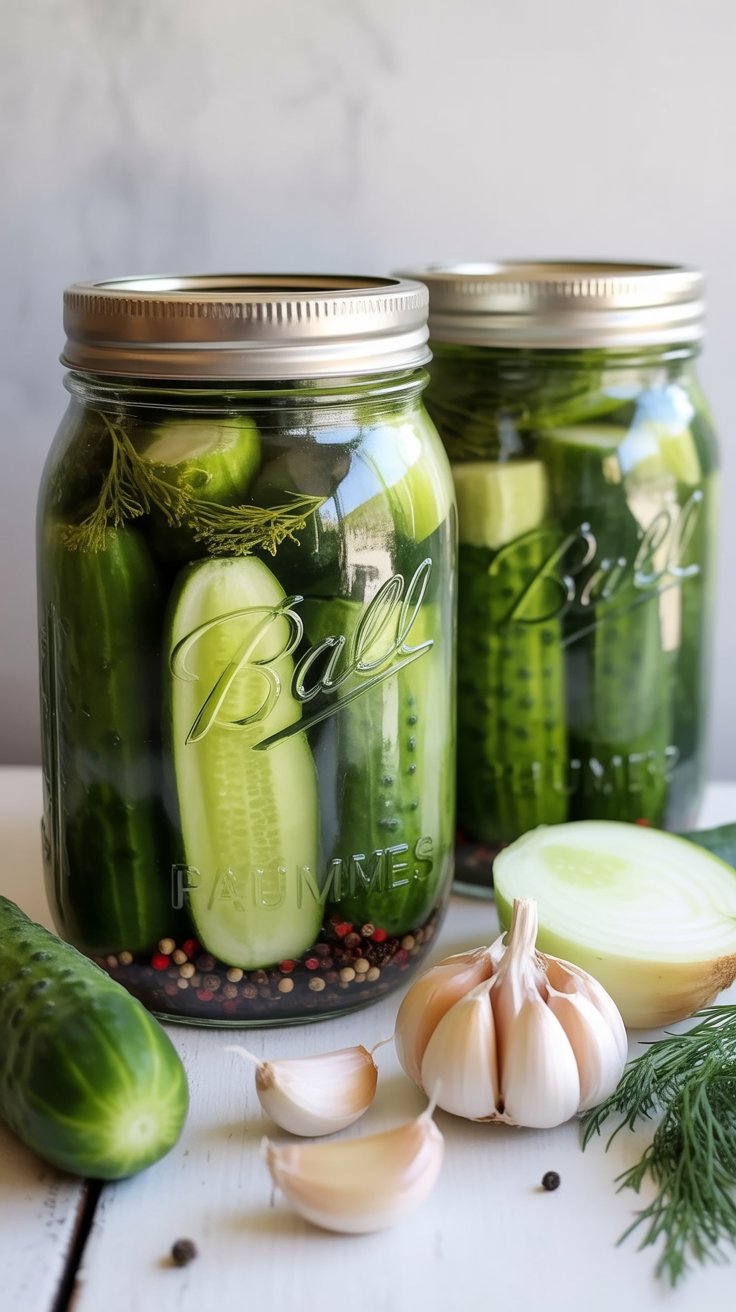
 Ingredients You’ll Need
This is what I use per quart jar (easy to double, triple, or scale down depending on how many cucumbers you have):
-
4–6 small pickling cucumbers, or 2–3 small/medium slicers
-
¾ cup water
-
¾ cup distilled white vinegar
-
½ cup apple cider vinegar (adds a subtle sweetness)
-
2 teaspoons kosher or pickling salt (avoid table salt, it clouds the brine)
-
1 tablespoon cane sugar
-
Fresh dill: a handful of sprigs or a dill head
-
3 garlic cloves, peeled
-
1 teaspoon mustard seeds
-
1 teaspoon black peppercorns
-
A pinch (or more) of red chili flakes
-
Optional: grape leaves (or oak, horseradish, black tea), onion slices, or chili peppers
I often slip in a few slices of sweet onion from the garden — they mellow beautifully in the brine and are delicious tucked into sandwiches later.
Step-by-Step: How I Make Them
Prep the cucumbers
Wash them well, cut off the ends, and slice into spears, rounds, or leave them whole if they’re small. I usually go with spears — they fit neatly into jars and are easy to snack on.
Make the brine
On the stove, combine water, both vinegars, sugar, and salt. Heat just enough to dissolve the salt and sugar, then take it off the burner.
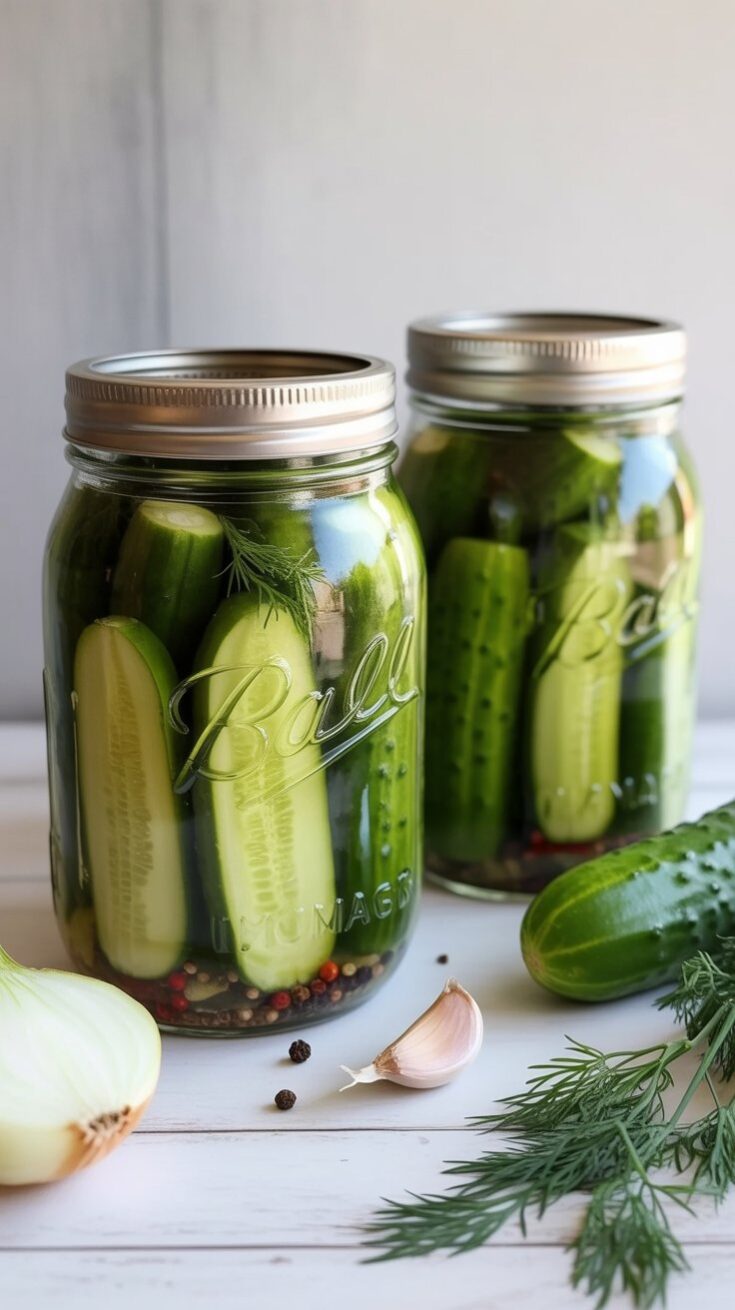
Pack the jars
Dill goes in first, then garlic and spices. If I’m using grape leaves or onion slices, I tuck those in too. Then I pack the cucumbers in tightly — standing them upright makes for a prettier jar, but it’s not required.
Pour the brine
Once the brine has cooled a bit, pour it over the cucumbers until everything is covered. If I’m short, I top off with a splash of vinegar.
Rest and refrigerate
Lid on, into the fridge. I let them sit at least five days before I really call them ready, though I always sneak one early. They keep well for two to three months, though ours never last that long.
 How We Enjoy These Pickles
We snack on them straight from the jar — no shame in that. But they’re also the first thing I put out when we’re grilling burgers, and they’re perfect alongside smoked fish, roasted chicken, or piled into sandwiches. My kids even like the pickled onions that soak up all that tangy dill flavor.
Sometimes I toss a spear into potato salad or slice them thin over deviled eggs for a little crunch. And don’t throw out the brine — it makes a fantastic addition to salad dressings, Bloody Marys, or for quick-pickling other veggies like carrots or green beans.
Storing and Reusing Brine
Keep these pickles in the fridge — no canning required. For best texture, eat them within 2–3 months. If we plow through them fast, I’ll add fresh cucumbers straight into the old brine once, and they pickle up beautifully. After that, I usually start fresh.
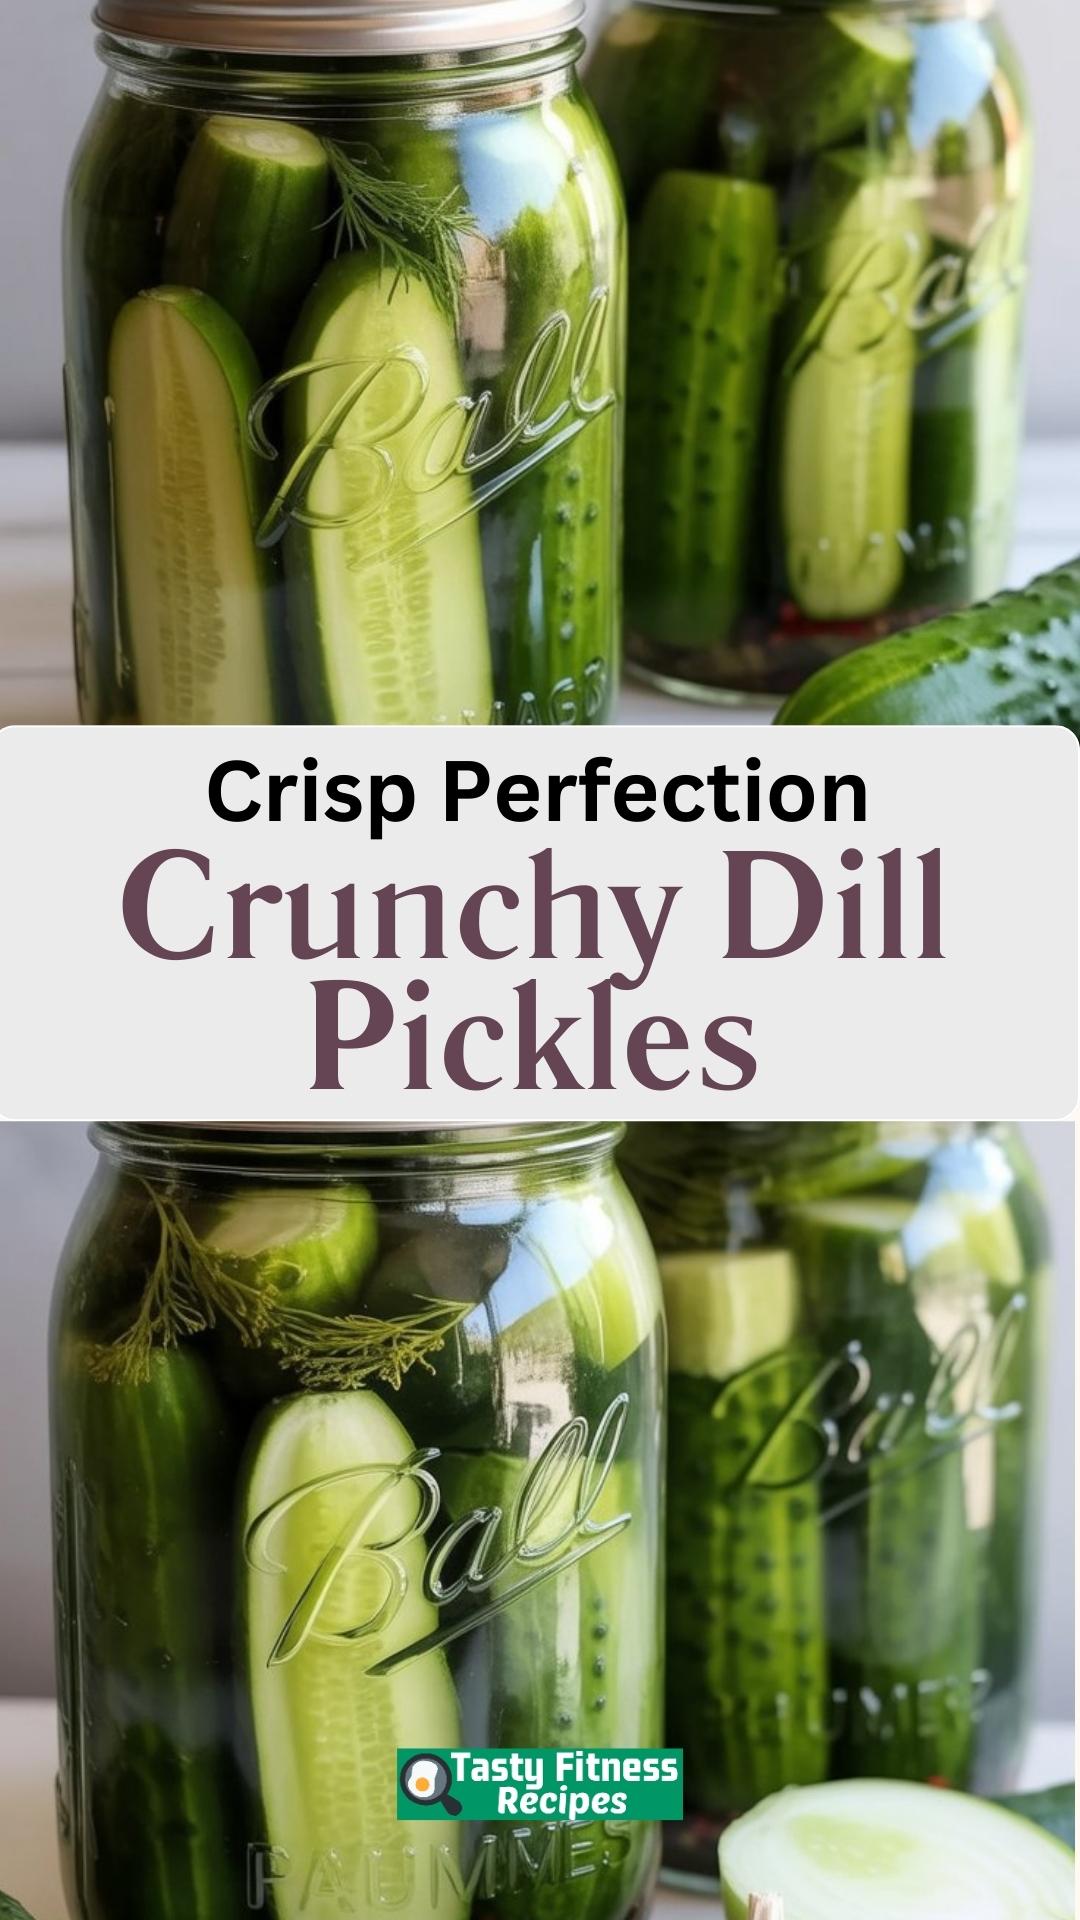
Crunchy Dill Pickles
There’s nothing quite like biting into a crunchy, homemade pickle—and these are as easy as they are delicious. With just a handful of fresh ingredients and a simple brine, you’ll have dill pickles that are crisp, garlicky, and perfectly tangy—ready to enjoy in under a week.
Ingredients
- 2–6 fresh cucumbers (depending on size and variety)
- ¾ cup distilled white vinegar
- ¾ cup water
- ½ cup apple cider vinegar
- 2 tsp kosher, sea, or pickling salt
- 1 tbsp sugar
- 6 sprigs fresh dill, 2–3 dill flower heads, or 1 tbsp dried dill
- 3 garlic cloves, peeled
- 1 tsp mustard seeds
- 1 tsp whole peppercorns (about a dozen)
- Pinch of red chili flakes or 1 fresh hot chili pepper (optional)
- 2 grape leaves, or substitute with oak, horseradish, or black tea leaves (optional, for crunch)
- Optional: thin slices of onion
Instructions
- Rinse cucumbers and dill thoroughly, making sure to use only firm, unblemished cucumbers. Trim both ends, then cut them into spears, slices, or halves—whatever shape you like best.
- For extra crispness, soak the cucumbers in ice water for a few hours before pickling.
- In a small saucepan, combine water, both vinegars, salt, and sugar. Warm gently, stirring until the salt and sugar dissolve. Let the brine cool to room temperature.
- Place dill, garlic, mustard seeds, peppercorns, chili (if using), and grape leaves into the bottom of a clean quart-sized jar.
- Pack cucumbers into the jar snugly, minimizing empty space. Add onion slices if desired.
- Pour cooled brine over the cucumbers until fully submerged. If needed, top up with a splash of vinegar to cover completely.
- Seal with a tight-fitting lid and refrigerate.
- Allow flavors to develop for at least 5 days before enjoying. Best eaten within 2–3 months, and always kept chilled.
Nutrition Information
Yield
1Serving Size
1Amount Per Serving Calories 966Total Fat 7gSaturated Fat 2gTrans Fat 0gUnsaturated Fat 3gCholesterol 0mgSodium 969mgCarbohydrates 219gFiber 30gSugar 104gProtein 38g
TastyFitnessRecipes.com, occasionally offers nutritional information for recipes contained on this site. This information is provided as a courtesy and is an estimate only. This information comes from online calculators. Although tastyfitnessrecipes.com attempts to provide accurate nutritional information, these figures are only estimates.
Final Thoughts
These refrigerator dill pickles are as easy as it gets, and every jar feels like a small celebration of summer. If you’ve got cucumbers piling up, I hope you give this recipe a try. It’s quick, flexible, and guaranteed to reward you with a jar full of crunch.
Try other Crisp recipes: