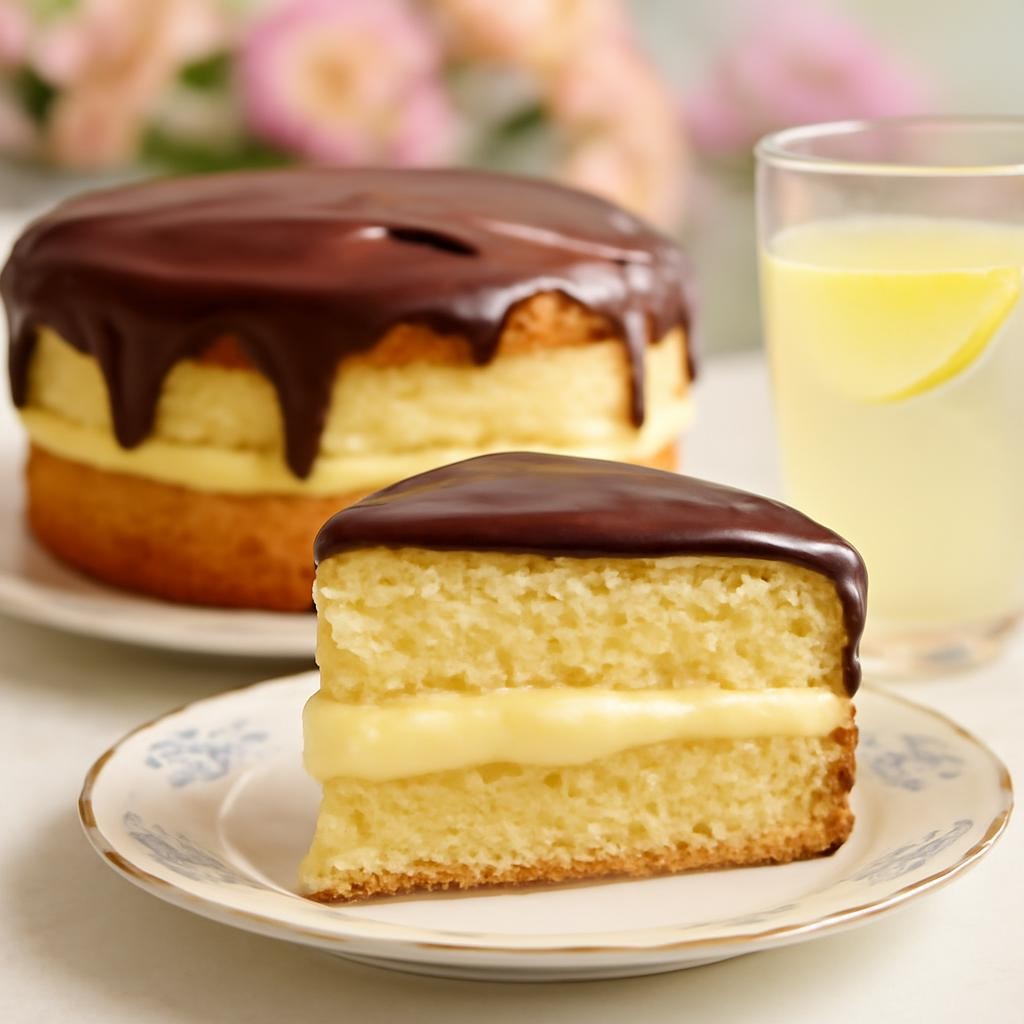
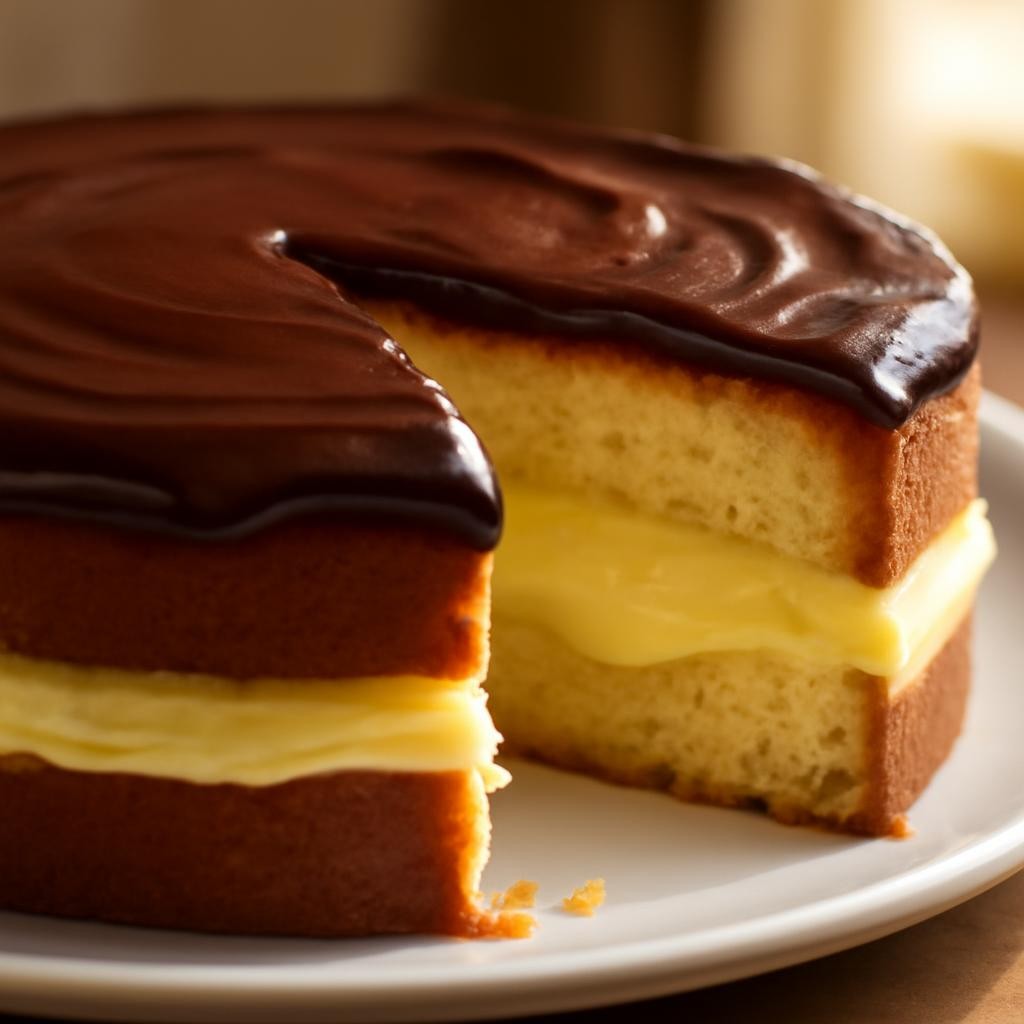
Boston Cream Pie is a delightful dessert that combines light and airy cake with a rich custard filling and a glossy chocolate glaze. This classic American dessert is not just a feast for the eyes but also a celebration of flavors and textures. It’s perfect for special occasions, family gatherings, or simply as a treat to enjoy with your loved ones. The layers of fluffy vanilla cake, smooth creamy custard, and decadent chocolate create a harmonious balance that will leave everyone wanting more.

Why You Will Love This Recipe
You will absolutely fall in love with this Boston Cream Pie recipe because it strikes the perfect balance between indulgence and simplicity. The flavors are rich yet comforting, making it an ideal dessert for any occasion. The process of making this pie may seem daunting, but I promise it’s easy enough for beginners while still being impressive for experienced bakers. Plus, it fits well into a variety of diets, as you can easily modify it to cater to your dietary needs without sacrificing flavor.
Tips and Tricks
1. Use Room Temperature Ingredients: Ensure that your eggs and milk are at room temperature before starting. This helps create a smoother batter and better texture.
2. Don’t Overmix: When combining the wet and dry ingredients, mix just until combined. Overmixing can lead to a dense cake.
3. Chill the Custard: After making the custard, let it cool completely in the fridge. A cold filling will help prevent the cake layers from becoming soggy.
4. Chocolate Ganache: For a richer flavor, consider making a chocolate ganache instead of using melted chocolate. Just heat cream and pour it over chopped chocolate, stirring until smooth.
5. Layer it Right: Allow the cake layers to cool completely before assembling. This prevents melting the custard and keeps everything intact.
Make Ahead Tips
You can prepare the individual components of the Boston Cream Pie in advance, making it a perfect option for meal prep or busy schedules. The cake layers can be baked a day ahead and stored wrapped in plastic wrap at room temperature. The custard can also be made a day in advance and kept in the refrigerator. The chocolate glaze can be prepared a few hours prior to assembly. Just remember to let everything cool completely before putting it together!
Recipe Variations
1. Flavored Cakes: Try using almond or lemon extract in the cake for a different flavor profile.
2. Custard Variations: Swap out the vanilla custard for chocolate or coffee custard to give a unique twist.
3. Gluten-Free Option: Use a gluten-free flour blend to make the cake gluten-free without losing texture.
4. Individual Servings: Turn this recipe into individual Boston Cream Cupcakes for a fun twist!
How to Serve
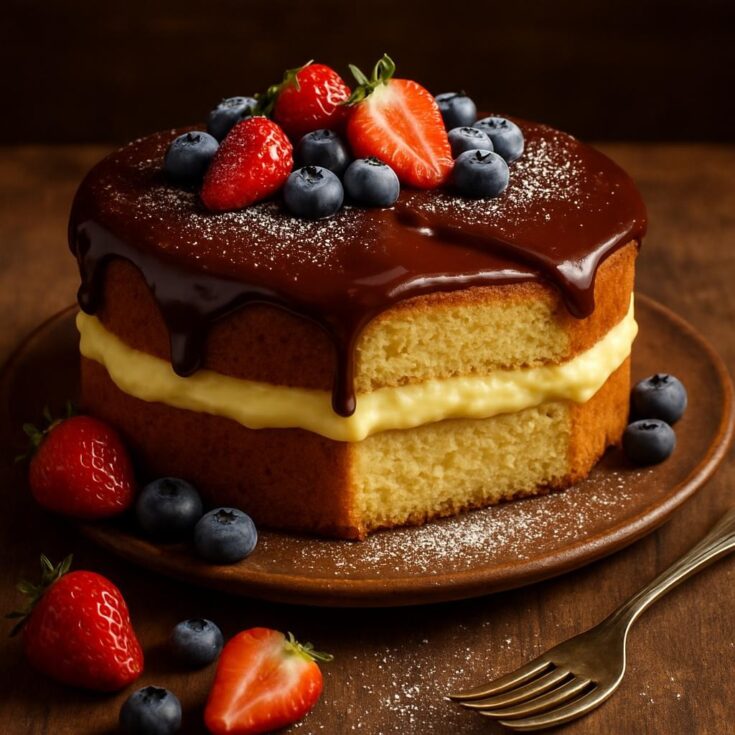
Serve your Boston Cream Pie chilled or at room temperature. For a beautiful presentation, slice the pie neatly and place it on a decorative cake stand. Dust with powdered sugar or chocolate shavings for an extra touch. Accompany it with fresh berries or a scoop of vanilla ice cream to elevate the experience.
Pairing Suggestions
Pair your Boston Cream Pie with a rich cup of coffee or a light dessert wine like Moscato. For a refreshing contrast, serve with a berry compote. A side of whipped cream or a scoop of vanilla ice cream would also complement the flavors beautifully.
How to Store
Store any leftovers in an airtight container in the refrigerator for up to 3 days. If you need to keep it longer, consider freezing the unassembled cake layers and the custard separately. The cake can be frozen for up to 3 months, while custard should be used within a month. To reheat, let the cake thaw in the fridge overnight and assemble just before serving.
Equipment Needed
- Mixing bowls
- Electric mixer (hand or stand)
- Whisk
- Rubber spatula
- 9-inch round cake pans
- Saucepan for custard
- Measuring cups and spoons
- Cooling rack
- Plastic wrap for storing

Dietary Adaptations
To make this Boston Cream Pie recipe vegan, substitute eggs with flaxseed meal or aquafaba, and use plant-based milk and butter alternatives. You can use a dairy-free cream for the custard. For nut-free options, ensure that any alternative ingredients are labeled as nut-free.
Seasonal Adaptations
In spring and summer, consider adding fresh fruit like strawberries or blueberries as a topping. In the fall, a hint of pumpkin spice in the cake batter can bring a seasonal twist that adds warmth and flavor.
Recipe FAQs
Can I replace the vanilla in the custard? Yes, feel free to use almond or any other extract you prefer.
What if my custard is too runny? Cook it longer while stirring until it thickens properly.
How can I make this recipe faster? You can use store-bought cake layers and custard to save time if you’re in a hurry.
Boston Cream Pie
Boston Cream Pie is a delightful dessert that combines light and airy cake with a rich custard filling and a glossy chocolate glaze.
Ingredients
For the Cake:
- 1 ¾ cups all-purpose flour
- 1 cup granulated sugar
- ½ cup unsalted butter, softened
- 2 large eggs
- 1 cup milk
- 2 tsp baking powder
- 1 tsp vanilla extract
- ½ tsp salt
For the Custard Filling:
- 2 cups whole milk
- ½ cup granulated sugar
- 4 large egg yolks
- 2 tbsp cornstarch
- 2 tbsp unsalted butter
- 1 tsp vanilla extract
For the Chocolate Glaze:
- 1 cup semi-sweet chocolate chips
- ½ cup heavy cream
Instructions
- Preheat your oven to 350°F (175°C). Grease and flour two 9-inch round cake pans.
- In a large bowl, cream together the softened butter and sugar until light and fluffy.
- Add eggs one at a time, beating well after each addition. Stir in the vanilla extract.
- In another bowl, whisk together flour, baking powder, and salt. Gradually add the dry ingredients to the butter mixture, alternating with milk, starting and ending with flour. Mix until just combined.
- Divide the batter evenly between the prepared cake pans. Bake for 25-30 minutes or until a toothpick inserted comes out clean. Cool in the pans for 10 minutes before transferring to a wire rack to cool completely.
- In a saucepan, heat the milk over medium heat until steaming. In a separate bowl, whisk together sugar, egg yolks, and cornstarch. Slowly add the hot milk to the egg mixture, whisking constantly.
- Return to the saucepan and cook over medium heat, stirring until thickened. Remove from heat, stir in butter and vanilla. Let cool completely.
- In a small saucepan, heat the heavy cream until just boiling. Remove from heat and add chocolate chips. Stir until smooth and glossy.
- Place one cake layer on a serving plate. Spread the cooled custard evenly over the top. Place the second layer on top and pour the chocolate glaze over the top, allowing it to drip down the sides.
- Chill the Boston Cream Pie for at least an hour before slicing and serving.
Nutrition Information
Yield
8Serving Size
1Amount Per Serving Calories 651Total Fat 33gSaturated Fat 19gTrans Fat 0gUnsaturated Fat 12gCholesterol 226mgSodium 372mgCarbohydrates 80gFiber 2gSugar 55gProtein 12g
TastyFitnessRecipes.com, occasionally offers nutritional information for recipes contained on this site. This information is provided as a courtesy and is an estimate only. This information comes from online calculators. Although tastyfitnessrecipes.com attempts to provide accurate nutritional information, these figures are only estimates.
Final Thoughts
Boston Cream Pie is a timeless dessert that brings comfort and joy to any table. With its delightful layers of cake, custard, and chocolate, it’s sure to impress your family and friends. Whether you’re making it for a special occasion or just because, this recipe will become a beloved staple in your home. Happy baking!