This is real-deal chocolate fudge the way it was meant to be—made with basic pantry staples and packed with nothing but pure cocoa richness. No shortcuts, no marshmallow fluff, and definitely no corn syrup. Just simple, classic ingredients that come together into the creamiest, most deeply chocolatey fudge you’ll ever taste.

Why I Keep Coming Back to This Fudge
Out of all the fudge recipes I’ve made over the years, this one is hands down my favorite. It’s nostalgic and bold—every bite delivers that bittersweet cocoa punch that reminds me of simpler times. What makes this fudge so special is that it skips all the modern hacks like marshmallow crème or chocolate chips. Instead, we stick to the basics: real Hershey’s cocoa, sugar, milk, and a bit of patience.
But fair warning: this isn’t one of those throw-it-all-in-the-pot-and-call-it-a-day recipes. It’s a bit more involved, but oh so worth it.
I’ve had more than a few friends and readers tell me they’ve tried making this and given up after a couple of batches didn’t set right or turned grainy. I’ve been there too. In fact, when I first tried this fudge, I ruined a few batches myself. But I learned quickly that the fudge wasn’t failing—it just needed a little more know-how and a lot more patience.
So I want to walk you through every step, just like I’d show a friend in my kitchen. Follow along and I’ll share exactly how to make this fudge turn out rich, creamy, and perfect every single time.
And if you still feel unsure or you’re just more into the super-sweet, chocolate-chip-style fudges, I totally get it. You can try something like my Chocolate Fantasy Fudge instead. But I’ll say this—give this one a go at least once. You just might fall in love.
Candy Thermometer: Your Best Friend Here
Let me say this right off the bat: testing this fudge in cold water doesn’t always work. The candy is too thin at the right temperature and tends to just dissolve in the water, even if it’s technically at soft-ball stage. That’s why I 100% recommend using a candy thermometer for this one.
Pro Tips for Cocoa Fudge That Actually Works
Here are a few tips I’ve learned the hard way:
- Check your candy thermometer. Don’t assume it’s accurate—calibrate it before you start. Even a cheap one can work better than a pricey digital thermometer if it’s been tested properly.
- Use a heavy-bottomed saucepan. This keeps the heat even so the sugar doesn’t scorch or crystalize.
- Skip the iron skillet. I know old-timers swore by it, but trust me on this. It heats too quickly and will likely leave you with dry, crumbly fudge.
- Be ready to beat. The hardest part isn’t the cooking—it’s the arm workout that comes when you start beating the fudge. But that’s where the magic happens.

Let’s Make the Fudge
What You’ll Need
- 3/4 cup unsweetened Hershey’s cocoa
- 3 cups granulated sugar
- 1/2 teaspoon salt
- 1 1/2 cups milk
- 1/2 stick (1/4 cup) unsalted butter
- 1 teaspoon vanilla extract
- Optional: chopped nuts
Step 1: Cooking the Fudge
In a heavy saucepan, combine the cocoa, sugar, salt, and milk. Stir it well and place it over medium heat.
Keep stirring constantly until the mixture comes to a bubbling boil—this usually takes about 5 minutes.
Once it starts boiling, stop stirring. Clip your candy thermometer onto the side of the pan and let it continue cooking until the temperature hits exactly 234°F. This can take around 10–12 minutes, but keep your eyes on the thermometer. The mixture will still look really thin at this stage—that’s totally normal.
Take the pan off the heat immediately.
Step 2: Cool It Down
Now transfer the saucepan into a sink filled with very cold water. I like to throw in a few ice cubes just to speed things up.
Add the butter (cut into chunks) and the vanilla on top—but don’t stir it in just yet. Just let it sit there and cool down naturally until it’s close to room temperature. The surface will look dark and glossy, and the mixture will still be quite thin.
Once it’s cooled, lift the pan out of the cold water.
Step 3: Beat the Fudge
Okay, this is the make-or-break moment. Grab a sturdy wooden spoon and get ready for some muscle work.
Start beating the fudge. I usually beat for 30 seconds, then pause for 30 seconds, and keep going like that. What you’re watching for is a shift in texture—it’ll slowly go from glossy and dark to slightly lighter and satiny. This can take a while, but trust the process.
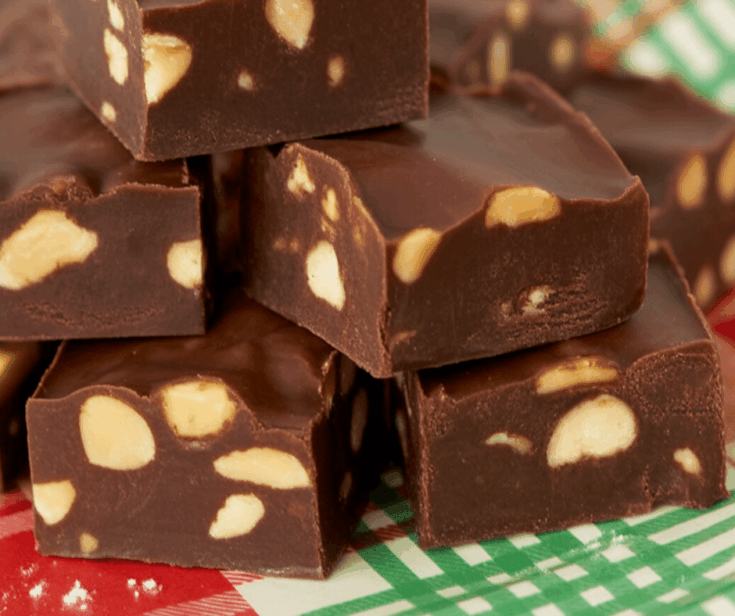
Once the gloss is mostly gone and you’ve got that satin sheen, now’s the time to stir in any chopped nuts if you’re using them.
Immediately spread the fudge into a buttered or parchment-lined dish.
What Size Pan Should You Use?
I’ve used both an 8×8-inch and a 9×9-inch square pan with success. An 8×8 pan will give you thicker squares, while a 9×9 makes them a bit thinner. It’s up to your preference.
Can You Freeze This Fudge?
Absolutely. This fudge freezes like a dream. Just make sure it’s completely cool first, then pack it in an airtight container with wax paper between the layers so the pieces don’t stick together. It’ll keep well for a couple of months. When you’re ready to serve, let it thaw on the counter for a few hours—or eat it cold straight from the fridge if you’re like me.
How to Serve
This fudge is rich, so a small square goes a long way. It’s perfect for gifting during the holidays or bringing to potlucks. I like to pair it with a hot cup of coffee or even a scoop of vanilla ice cream when I want to turn it into a real dessert treat.
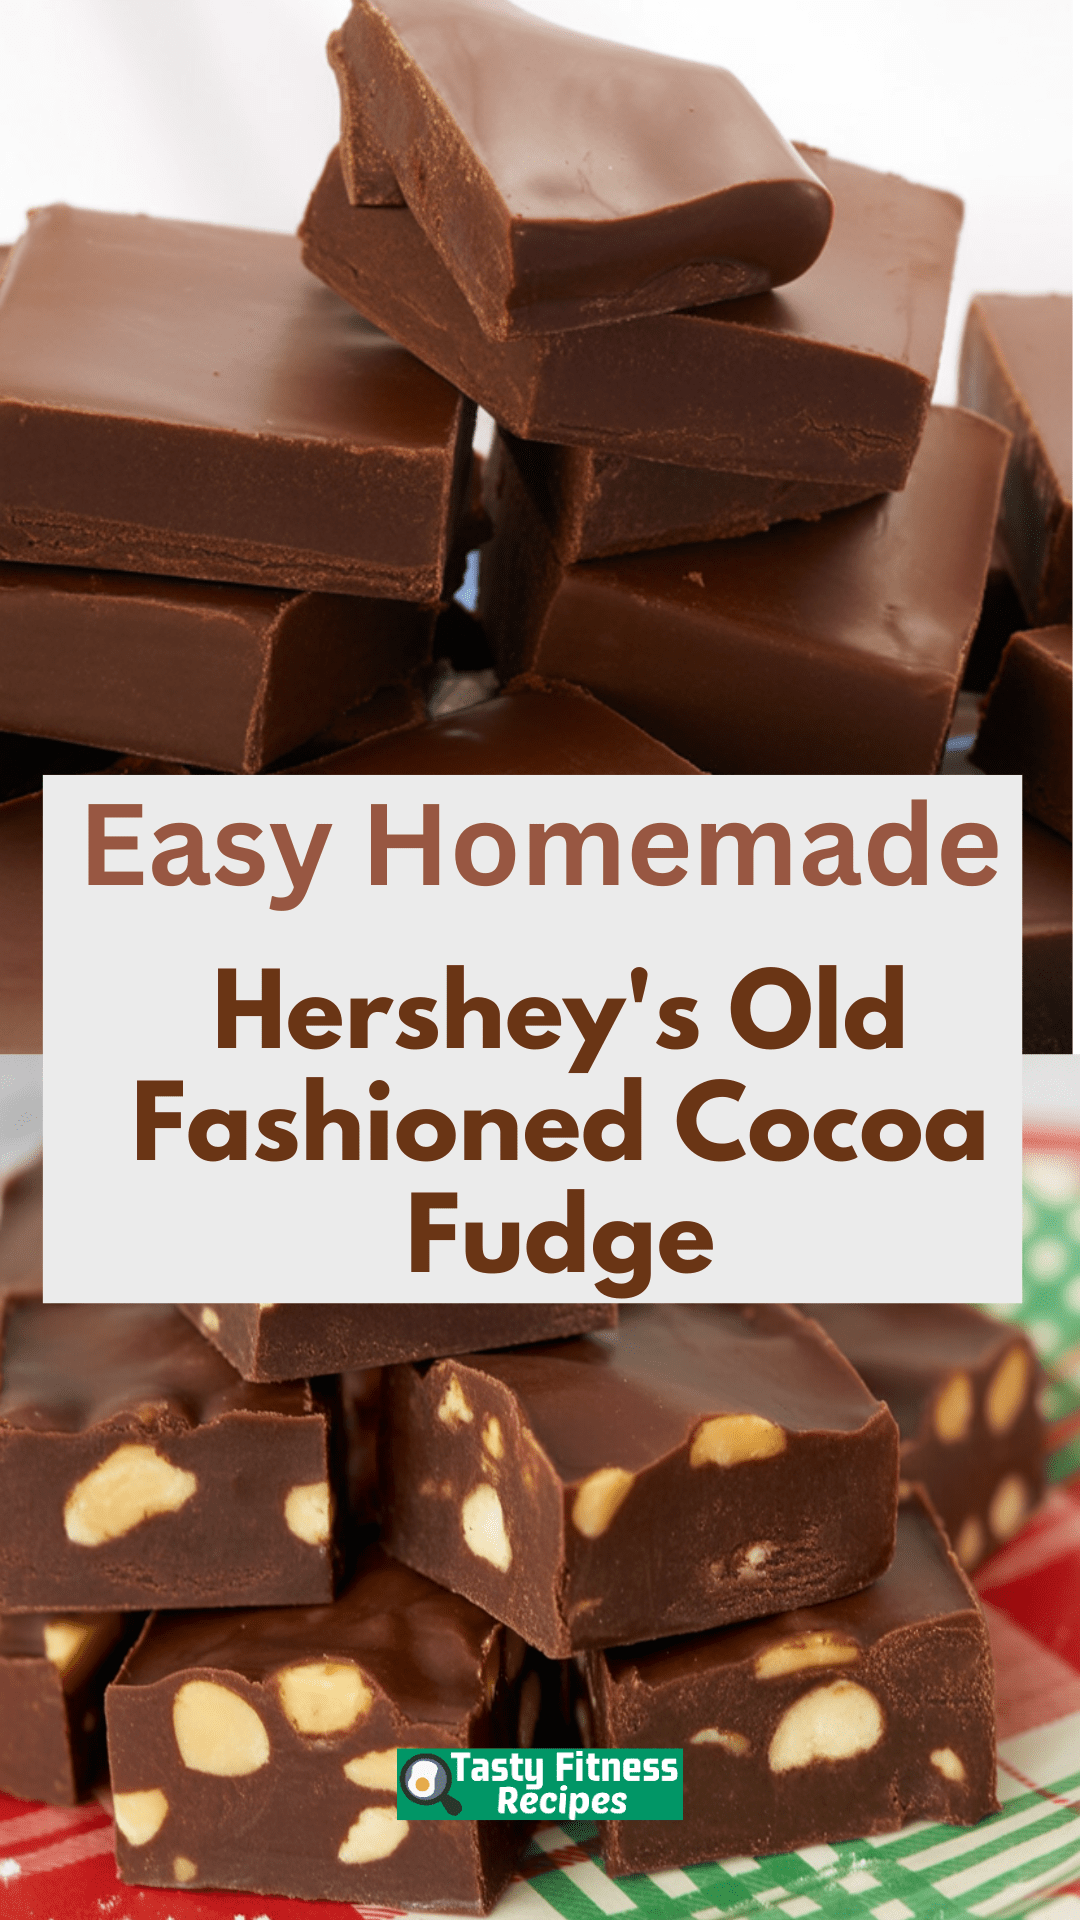
Hershey’s Old Fashioned Cocoa Fudge
This old-fashioned fudge delivers rich, chocolate flavor using simple ingredients — no corn syrup, chocolate chips, or marshmallow crème — just pure cocoa goodness.
Ingredients
- ¾ cup Hershey’s unsweetened cocoa
- 3 cups granulated sugar
- ½ teaspoon salt
- 1½ cups milk
- ¼ cup unsalted butter, cut into pieces
- 1 teaspoon pure vanilla extract
- ½ cup chopped walnuts or pecans (optional)
Instructions
- Line an 8-inch square pan with foil, leaving some overhang on the sides. Lightly grease the foil with butter.
- In a medium heavy-bottomed saucepan, combine the cocoa, sugar, salt, and milk. Cook over medium heat, stirring constantly until it begins to boil — this takes around 5 minutes.
- Once boiling, stop stirring and continue cooking until the mixture reaches 234°F on a candy thermometer, or forms a soft ball when dropped into cold water.
- Remove the pan from heat and place it into a sink with at least 2 inches of cold water. Add butter and vanilla but do not stir. Let the mixture cool to room temperature while sitting in the water.
- Take the pan out of the sink. Stir gently with a wooden spoon to blend in the butter and vanilla. Continue beating the mixture with the wooden spoon until it starts to lose its glossy surface and takes on a satiny finish. This step can be time-consuming (see notes).
- Stir in chopped nuts if using, then quickly spread the fudge into the prepared pan.
- Let the fudge sit at room temperature for at least one hour before cutting into squares.
- Store in an airtight container or candy tin.
Notes
- You can substitute parchment paper for foil — no buttering needed if you do.
- The number of servings depends on the size of the fudge pieces.
- Fudge beating tip: Stir vigorously for 30 seconds, then rest your arm for 30 seconds. Repeat as needed. This fudge is known to be a bit of a workout! Look for the mixture to go from shiny to a soft satiny appearance. Add nuts (if desired) and pour into the pan as soon as the texture changes.
Nutrition Information
Yield
20Serving Size
1Amount Per Serving Calories 179Total Fat 5gSaturated Fat 2gTrans Fat 0gUnsaturated Fat 3gCholesterol 8mgSodium 62mgCarbohydrates 33gFiber 1gSugar 31gProtein 2g
TastyFitnessRecipes.com, occasionally offers nutritional information for recipes contained on this site. This information is provided as a courtesy and is an estimate only. This information comes from online calculators. Although tastyfitnessrecipes.com attempts to provide accurate nutritional information, these figures are only estimates.
Final Thoughts
Old-fashioned cocoa fudge takes a little more care than the easy 5-minute recipes floating around, but it’s that attention to detail that makes it taste so special. You get a dense, creamy bite with that intense cocoa flavor that just doesn’t compare to anything else.
So if you’ve ever struggled with this recipe before, don’t let it scare you off. Use a good thermometer, stay patient, and give it one more try. It’s a tradition worth mastering. And once you do—you’ll never go back.
Try other fudge recipes: