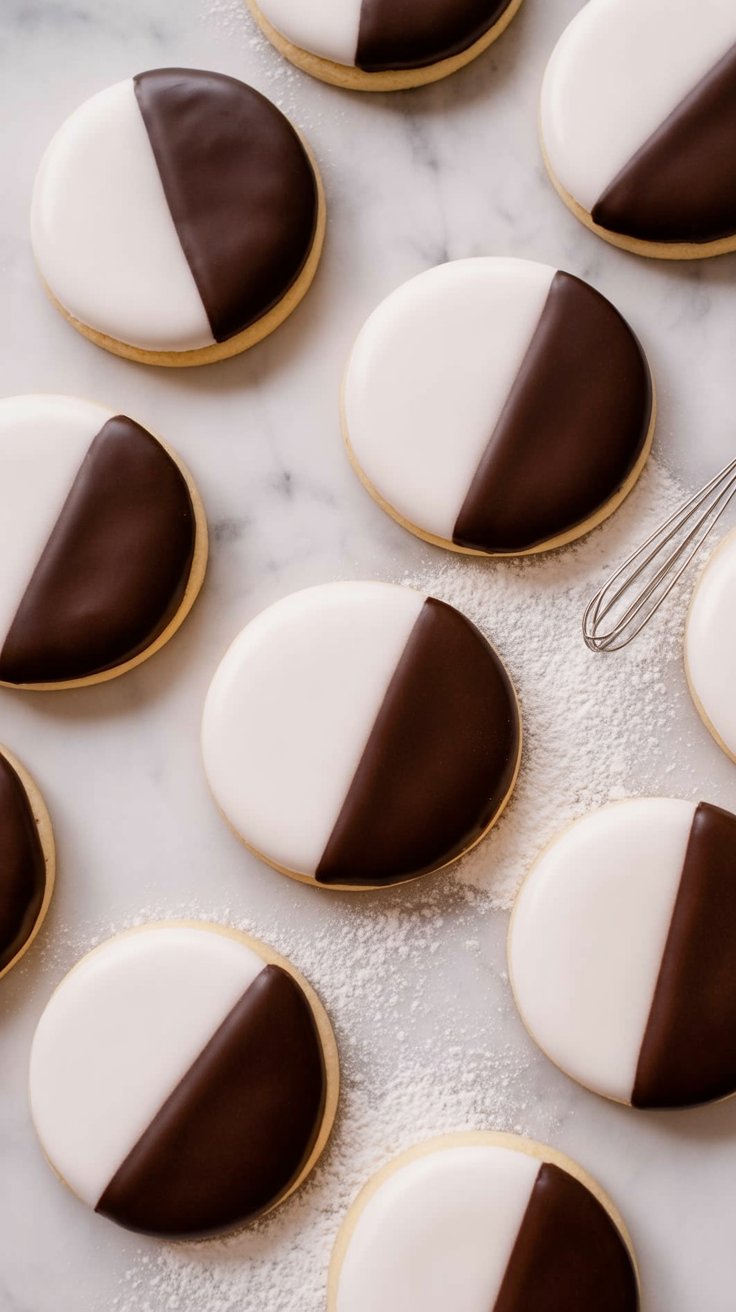
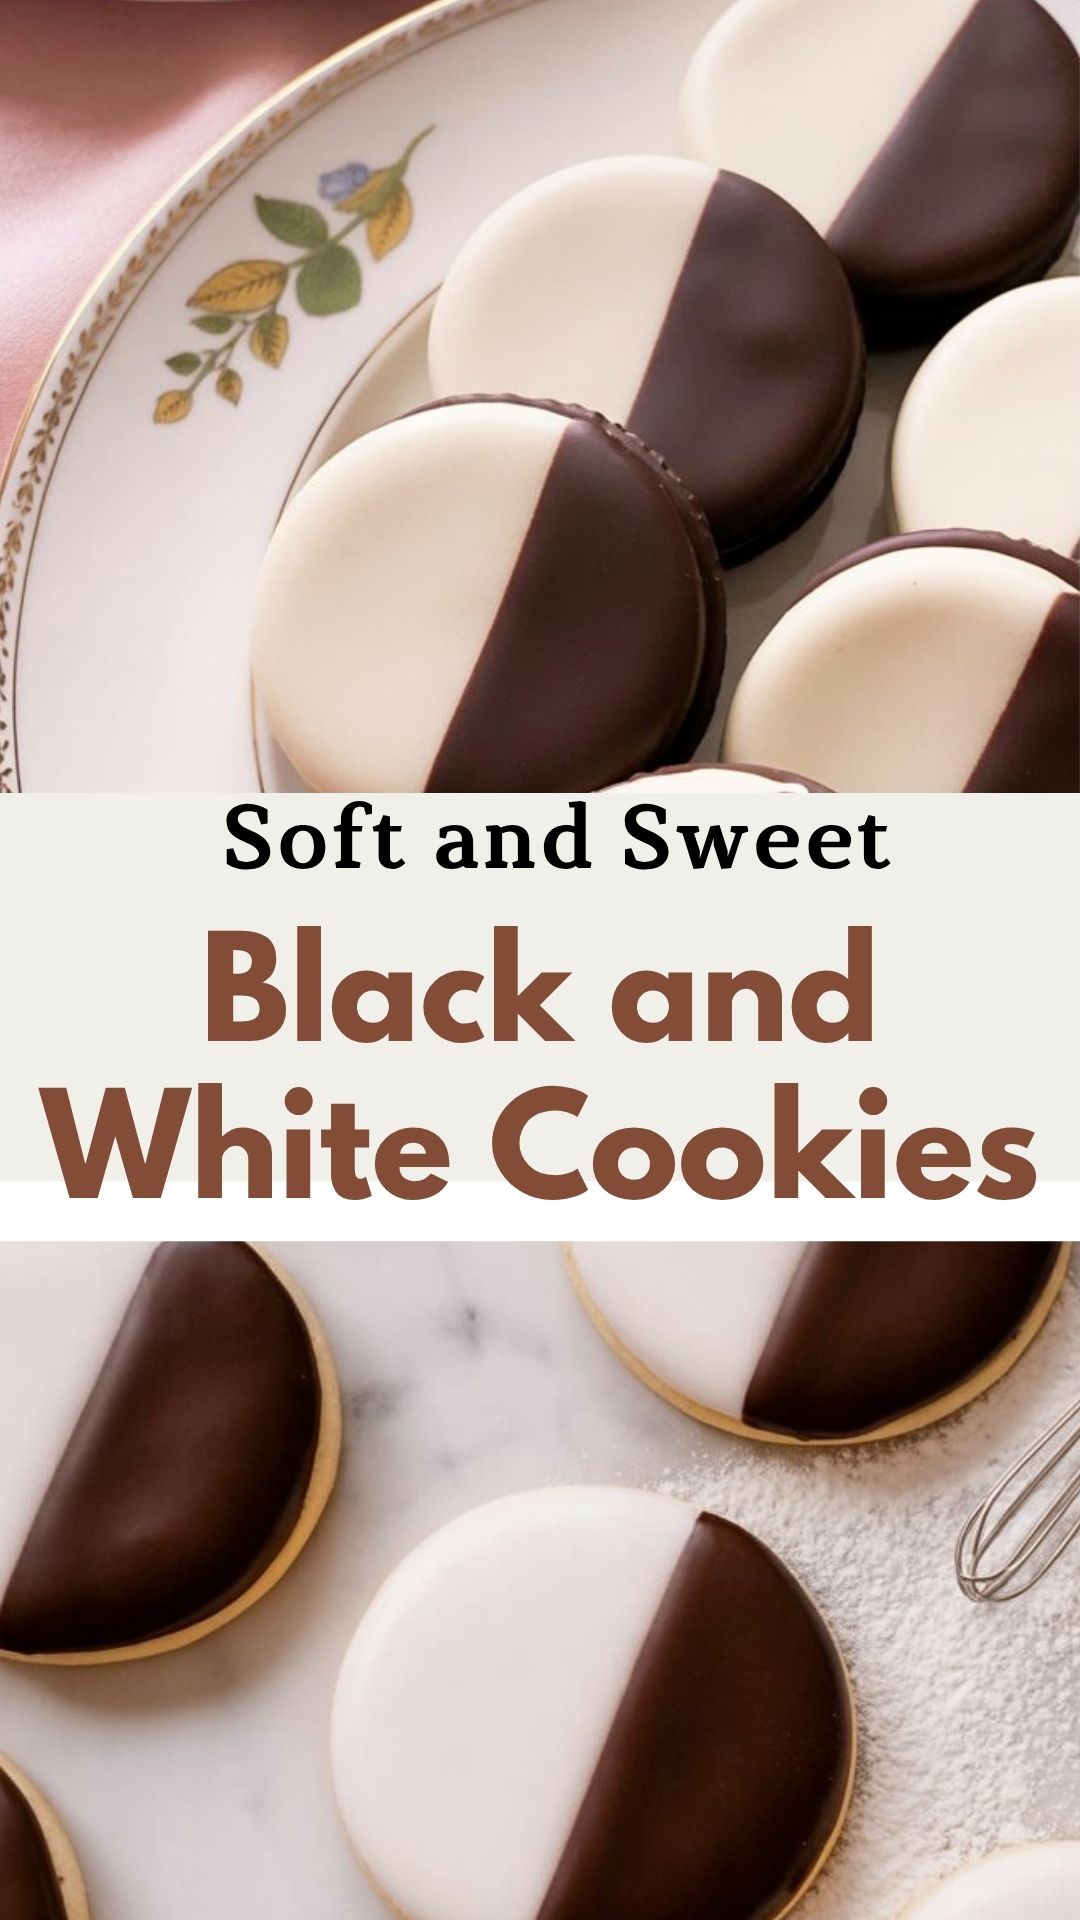
There’s something timeless about a Black and White Cookie. It’s the kind of treat that instantly brings me back to weekend strolls through the local bakery, where the glass case was always filled with oversized cookies, half-glazed in vanilla, half in rich chocolate. These soft, cake-like cookies aren’t just easy to love—they’re surprisingly simple to make at home, too.

Whether you call them Black and White Cookies or Half-Moons, they’ve got that old-school charm and bakery magic. And when you bake them in your own kitchen? You get that fresh, tender texture and sweet glaze without needing a trip to New York.
What You’ll Need
Let’s talk ingredients. These aren’t anything fancy—you probably have most of this in your pantry already—but here’s why each one matters:
-
All-purpose flour – No need for anything special here. Good old all-purpose gives you the perfect structure with a soft, cake-like bite.
-
Buttermilk – This is key. It brings that signature tenderness and slight tang to the cookies. If you’re out, I’ve made a quick substitute with lemon juice or vinegar in milk plenty of times.
-
Unsalted butter – Go for room temperature, not melted. That’s the trick to getting the cookies to rise right and hold their shape.
-
Granulated sugar – Just the right amount of sweetness without making the cookies too rich.
-
Vanilla extract – Real vanilla adds that cozy, nostalgic flavor. Avoid the artificial stuff here—it makes a difference.
-
Egg – One large egg helps bind everything and gives a soft texture.
-
Baking soda – Helps the cookies puff up just the right amount.
-
Salt – A pinch to balance out the sweetness.
-
Powdered sugar – For that smooth, shiny glaze on top.
-
Lemon juice – Just a touch in the icing brightens up the sweetness.
-
Light corn syrup – This gives your icing that lovely glossy finish. You can skip it, but it really adds a bakery-style look.
-
Cocoa powder – Dutch-process gives that deep, rich chocolate glaze we all expect. I usually keep Hershey’s or Ghirardelli on hand.
Let’s Bake These Beauties
This is one of those recipes where the process is just as satisfying as the final result—especially when it’s time to glaze!
Mix the dry ingredients
Whisk together your flour, baking soda, and salt in a bowl. Set it aside.
Cream butter and sugar
In another bowl, beat the butter and sugar together until light and fluffy. This step is key to getting that soft, cake-like texture. Don’t rush it—give it a good few minutes. Then add in your egg and vanilla.
Combine wet and dry
Add the flour mixture and buttermilk to your creamed mixture in three rounds, starting and ending with the flour. Mix on low just until it comes together.
Scoop and bake
Scoop out the dough using a ¼ cup measure and drop it onto a lined baking sheet. Bake at 350°F for about 13–14 minutes, or until the centers feel springy. Let them cool completely.
Make the icing
In a bowl, whisk powdered sugar, lemon juice, vanilla, corn syrup, and water until smooth. You want a spreadable, not runny, glaze. Divide the icing in half—keep one half vanilla, and to the other, add cocoa powder, a little water, and more corn syrup.
Glaze the cookies
Flip the cookies over and ice the flat side. First, spread vanilla icing on one half, then let it set (a quick trip to the fridge helps). Once firm, add the chocolate icing to the other side. Smooth down the center line with a knife or offset spatula.
That’s it—you’ve got bakery-style black and white cookies right from your own oven!
Handy Tips from My Kitchen
I’ve made these cookies more times than I can count, and here are a few things I’ve learned along the way:
-
Use room temp butter and egg – Cold ingredients will mess with your batter texture.
-
Chill after glazing one side – Pop the cookies in the fridge for 20–25 minutes after applying the vanilla glaze. It firms up nicely and makes the chocolate side way easier to apply.
-
Don’t eyeball the flour – If you’re not using a scale, spoon the flour into the measuring cup and level it off with a knife. Scooping straight from the bag packs it in and gives you dry cookies.
-
Ice the flat side – Trust me on this one. It’s easier to spread and looks much more polished.
-
Let cookies cool completely before glazing – Otherwise, the icing will melt right off.
 Can You Make Them Ahead?
Absolutely. I usually bake the cookies a day ahead when I’m planning a get-together. They’re softest on day one, but they stay lovely for up to 3 days at room temperature in an airtight container.
If you’ve still got some after that (which rarely happens here), you can move them to the fridge for another day or two. Just let them come back to room temperature before serving so the icing isn’t rock-hard.
Freezing Tips
You can freeze the unglazed cookies or even the dough. I’ve done both and they turn out great.
-
Freeze dough – Scoop it onto a tray, freeze until firm, then transfer to a zip-top bag. Bake straight from frozen (just add a minute or two to the time).
-
Freeze baked cookies (unglazed) – Stack between parchment sheets and seal in an airtight container. Glaze once thawed.
Yield: 8Black and White Cookies
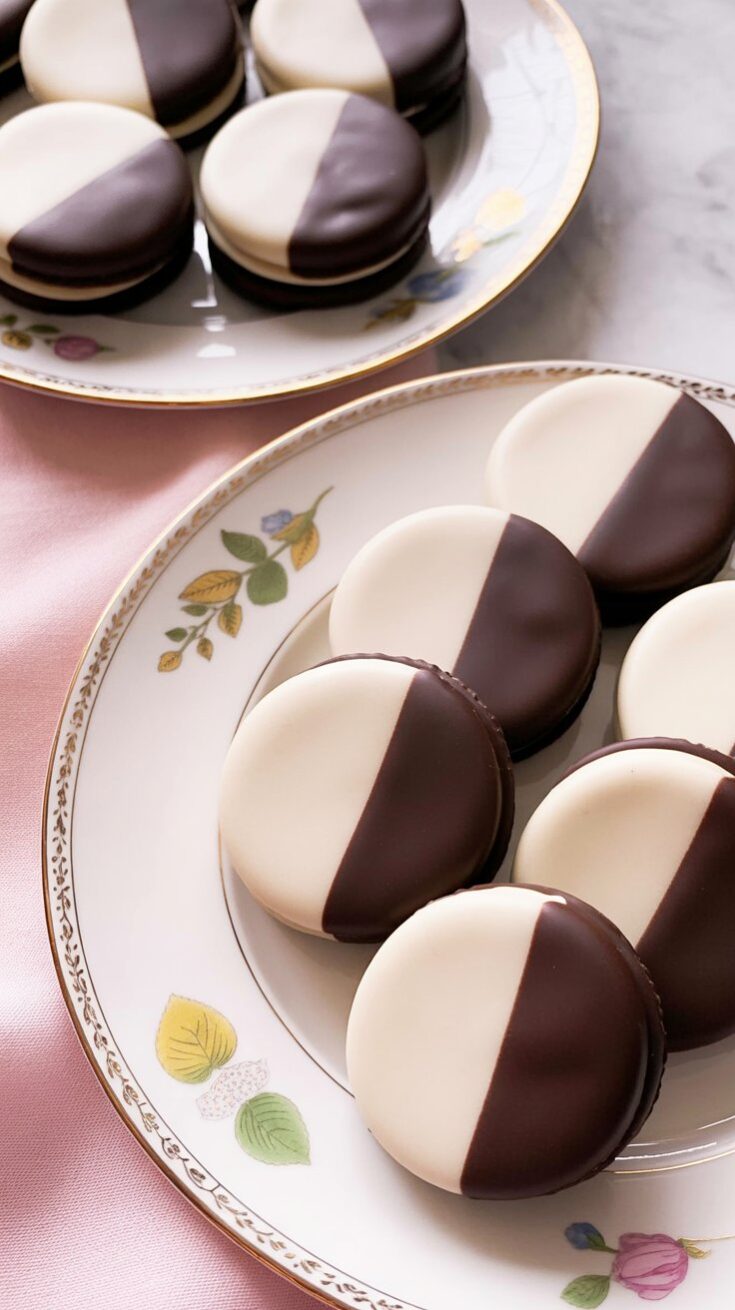

Soft, cakey, and perfectly balanced, these Black and White Cookies let you have your chocolate and vanilla too — no choosing sides here.
Prep Time 20 minutesCook Time 13 minutesAdditional Time 1 hourTotal Time 1 hour 33 minutesIngredients
For the cookies:
- 6 tablespoons unsalted butter, softened
- ½ cup granulated sugar
- 1 large egg, room temperature
- 2 teaspoons vanilla extract
- ⅓ cup buttermilk
- 1⅓ cups all-purpose flour
- ½ teaspoon baking soda
- ½ teaspoon salt
For the icing:
- 2 cups confectioners’ sugar
- 2 tablespoons water (plus extra if needed)
- 2 teaspoons fresh lemon juice (optional but brightens the flavor)
- ½ teaspoon vanilla extract
- 1 tablespoon light corn syrup
- 3 tablespoons Dutch-process cocoa powder
- Extra water and corn syrup for adjusting chocolate glaze consistency
Instructions
- Start by setting your oven to 350°F and lining a couple of baking sheets with parchment paper or silicone mats.
- In a small bowl, whisk together the flour, salt, and baking soda and set that aside for later. Now grab your stand mixer and beat the butter until smooth and creamy. Add in the sugar and keep mixing until it looks light and fluffy. Crack in the egg, pour in the vanilla, and blend it all together until it’s fully incorporated.
- Turn the mixer to low, and alternate adding the dry ingredients and the buttermilk in batches — begin and end with the flour. Don’t overmix; once it’s mostly combined, use a spatula to fold in any stray flour from the edges of the bowl.
- Scoop out about a scant ¼ cup of batter for each cookie and drop them onto your prepared sheets, giving them plenty of space (they spread!). You’ll want no more than 5 per tray.
- Pop them in the center rack of the oven and bake for 13 to 14 minutes, or until the centers feel lightly springy. Let them cool for a few minutes on the sheet before transferring them to a wire rack — and here’s the key: flip them upside down so you can ice the flat bottoms!
- While the cookies cool completely, it’s time to whip up the glaze. In a bowl, stir together the powdered sugar, vanilla, lemon juice, corn syrup, and water until it forms a smooth, spreadable icing. Adjust the consistency with a touch more water if needed.
- Spoon about half of that icing into another bowl and mix in the cocoa powder. Add a splash of water and a little extra corn syrup until it matches the texture of the vanilla icing — glossy and smooth.
- Now, let the fun part begin! Use a small spatula or offset knife to spread the vanilla icing on one half of each cookie. For a crisp, clean center line, drag the sharp edge of the spatula from the middle outward, then wipe and repeat. Once set (you can chill them for faster setting), coat the other half with the chocolate glaze, smoothing it right to the center.
- Let the icing firm up completely, then go ahead and enjoy your homemade bakery-style black and whites!
Notes
- Make sure your butter and egg are at room temp so everything blends evenly.
- Don’t microwave butter — softened is good, melted is not.
- Chill iced cookies briefly to help the glaze set faster before adding the second color.
- Always ice the flat side (the bottom) for that classic bakery finish.
- For accurate flour measuring, fluff it with a spoon, scoop into the measuring cup, and level it off with a knife.
Nutrition Information
Yield
8Serving Size
1
Amount Per Serving Calories 367Total Fat 10gSaturated Fat 6gTrans Fat 0gUnsaturated Fat 3gCholesterol 47mgSodium 247mgCarbohydrates 66gFiber 1gSugar 48gProtein 4gTastyFitnessRecipes.com, occasionally offers nutritional information for recipes contained on this site. This information is provided as a courtesy and is an estimate only. This information comes from online calculators. Although tastyfitnessrecipes.com attempts to provide accurate nutritional information, these figures are only estimates.
Common Questions
Can I use milk instead of buttermilk?
Yes, with a little trick. Add 1 tablespoon of lemon juice or white vinegar to 1 cup of milk, let it sit for 5–10 minutes. That’s your homemade buttermilk.
Do these cookies taste like cake or a regular cookie?
They’re more cake than cookie—soft, pillowy, with a gentle crumb. That’s what makes them so special.
Can I double the recipe?
Definitely. If you’re baking for a crowd, just double everything and space your trays well. I do this every time I bring these to potlucks—they disappear fast.
Hope you give these black and white cookies a try—they’re fun to bake, fun to decorate, and the kind of sweet that makes people smile. Let me know how yours turn out!
Try other Cookies recipes: