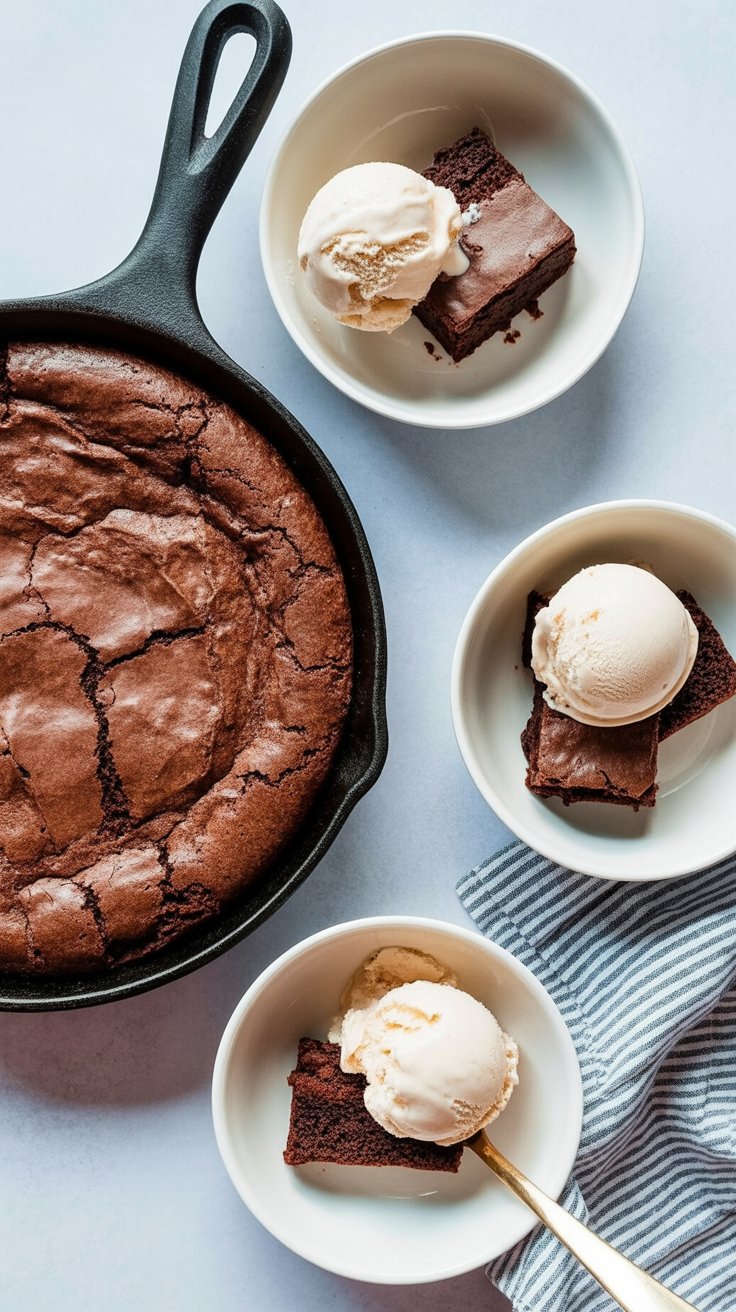
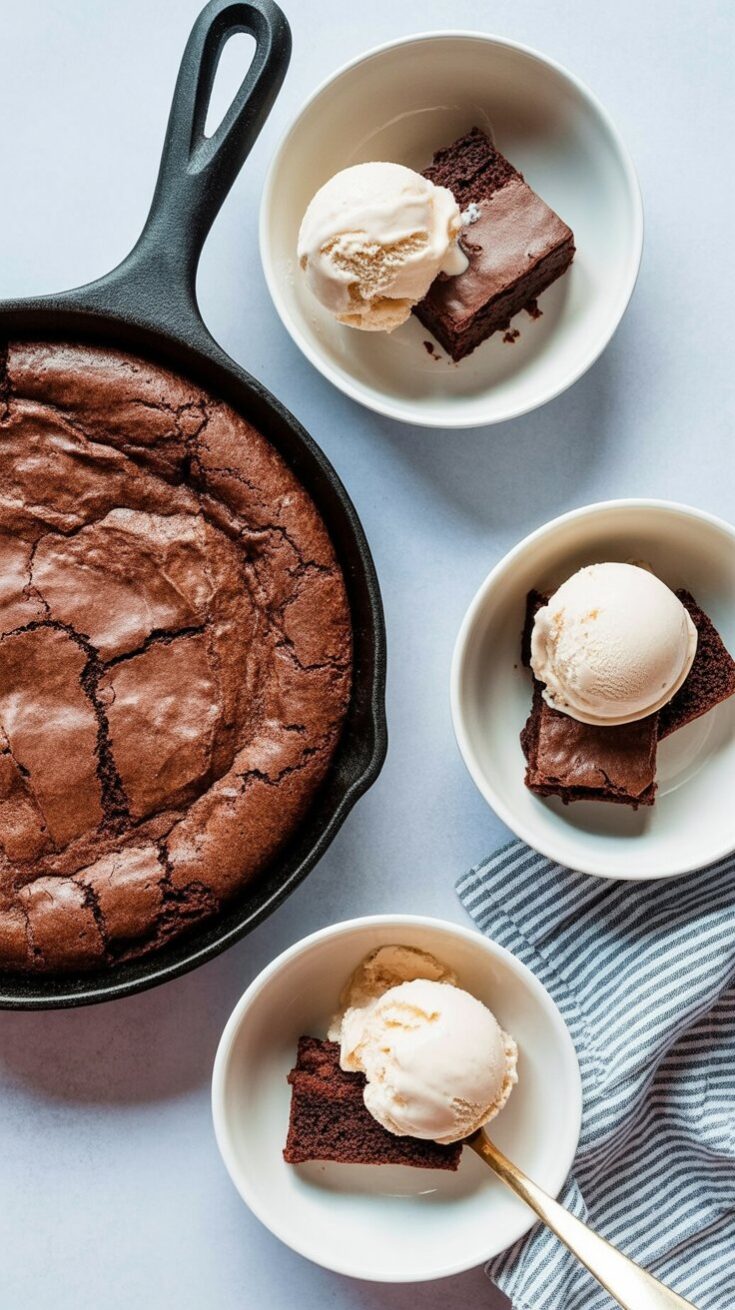
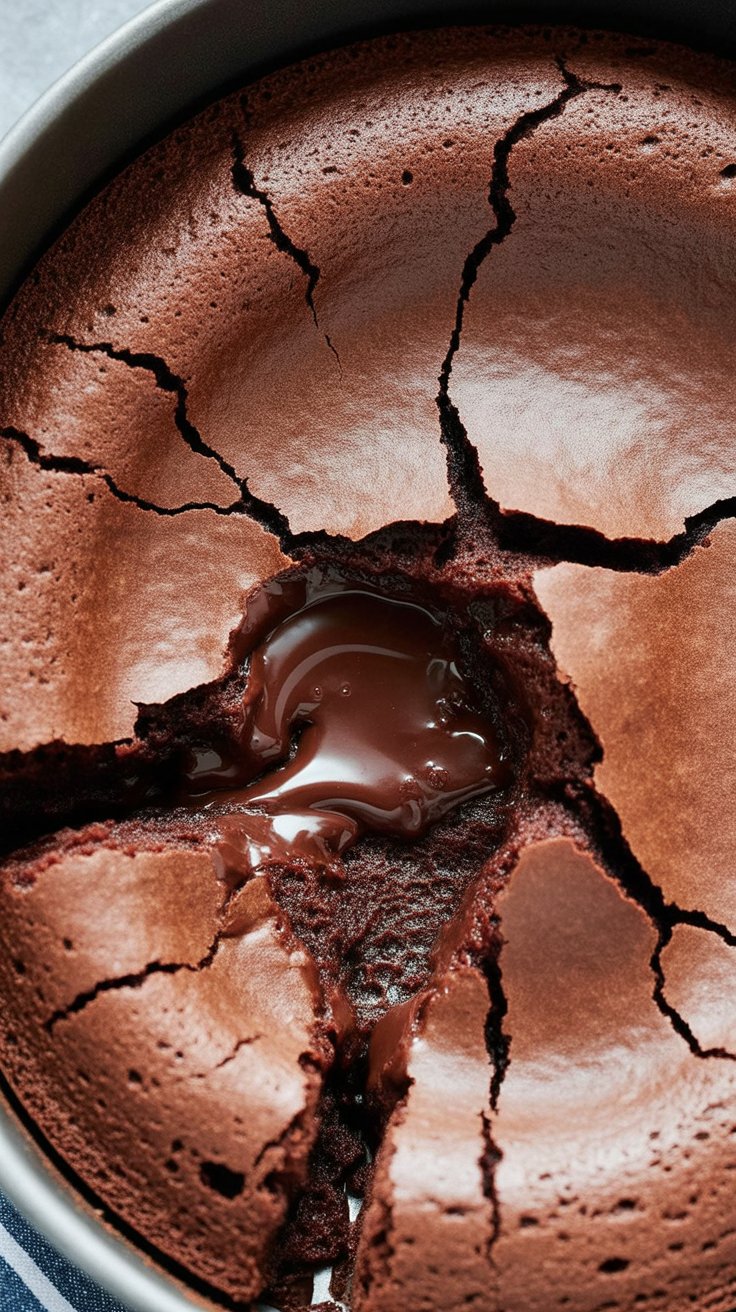
If you’re a fan of warm brownies, molten chocolate, or gooey desserts in general, let me introduce you to the one dessert I have to physically walk away from to avoid eating the whole thing: this Chocolate Brownie Pudding. It’s got the crackly top of a brownie, the fudgy center of a lava cake, and that comforting pudding-like softness that makes every bite feel like a warm hug.

Serve it hot with a scoop of vanilla ice cream and watch it melt into the cracks—this one’s not just dessert, it’s an experience.
What Makes This So Addictive
This is one of those recipes that I try to save for special occasions, but honestly? It’s too easy and too good not to make on a random weeknight. I made it once for just the two of us, thinking we’d save some for the next day. Spoiler: we didn’t. I came back into the kitchen after dinner and someone (naming no names) had already dug into it with a spoon. Straight from the pan.
It’s rich, it’s dense, it’s gooey, and it’s ridiculously chocolatey—but not too sweet. That balance between soft center and crispy edges is what keeps me making it over and over again.
Also, if you’re cooking for a group, this one earns you compliments all around. You can even serve it right in the skillet—rustic and cozy.
What You’ll Need From the Pantry
Here’s the beauty of it—this brownie pudding doesn’t require anything fancy, just your usual baking staples.
-
Unsalted Butter: Gives the pudding richness and that silky texture. Let it cool a bit before mixing so you don’t scramble the eggs.
-
Eggs: You’ll need large ones, and yes—beating them with sugar for 10 full minutes is worth it. It’s what gives the pudding structure and lift.
-
White Sugar: This helps form that slightly crisp top and keeps the inside sweet and custardy.
-
Dutch Processed Cocoa Powder: I prefer Dutch for the deeper chocolate flavor. If you only have regular, that works too—but Dutch gives it that intense chocolate punch.
-
All-Purpose Flour: Just enough to thicken it slightly without turning it into cake.
-
Vanilla Extract: Don’t skip it—it rounds out the chocolate.
-
Coffee Extract (or strong brewed coffee): This one’s optional, but it really brings out the chocolate. It won’t taste like coffee, promise.
-
Vanilla Ice Cream: To serve, obviously. Because warm chocolate and cold vanilla? You just can’t beat that combo.
How I Pull It All Together (Step-by-Step)
1. Preheat and Prep the Pan
Set your oven to 325°F and lightly grease a 9-inch skillet or any baking dish you love. I’ve used a ceramic pie dish before and it worked great.
2. Melt the Butter
Melt it gently and let it cool a bit. I usually do this first so it has time to cool while I prep everything else.
3. Sift the Dry Ingredients
Mix the flour and cocoa powder, then sift. I know, I know—sifting feels like an extra step, but trust me, no one wants flour clumps in their pudding.
4. Beat Eggs and Sugar (Don’t Rush It)
Using a stand or hand mixer, beat the eggs and sugar on medium-high for 8–10 minutes. It should look thick and pale yellow. This is key for that signature crackly brownie top and soft center.
5. Add Flavor and Dry Mix
Turn the mixer to low and pour in the vanilla, coffee extract, and your sifted cocoa/flour blend. Don’t overmix here.
6. Slowly Add the Melted Butter
Pour it in gradually while the mixer’s still on low. Mix just until smooth and combined. You want to keep all that air you whipped into the eggs.
7. Bake in a Water Bath
Pour the batter into your skillet, place that skillet into a larger roasting pan, and add hot water until it comes halfway up the side. Carefully place it in the oven and bake for about 60 minutes.
8. Don’t Panic at the Wobble
When you take it out, it’ll look a bit underdone in the center. That’s exactly what you want! Let it cool slightly—or stash it in the fridge for a firmer pudding texture. Either way, serve warm with a scoop of vanilla ice cream.
How I Store the Leftovers (If They Survive)
Let’s be honest—I rarely have leftovers. But if you do, just cover the skillet and pop it in the fridge. It’ll keep for about 3–4 days. I like reheating individual portions in the microwave for about 20–30 seconds. It brings back all that gooey goodness.
Can You Freeze It?
Yep. Once it’s fully cooled, you can scoop it into an airtight container and freeze it for up to 3 months. Reheat in the oven or microwave until it’s soft and warm again. It won’t be exactly the same texture as fresh, but it’s still dreamy.
Real-Life Tips I Swear By
-
Don’t skip the full 10 minutes of beating the eggs and sugar. It’s the secret behind that crusty top and rich center.
-
Sift the dry stuff. I usually skip this in most of my baking, but not here. It’s the difference between smooth and lumpy.
-
Water bath = magic. It sounds fussy but it’s not. It’s what keeps the pudding soft in the middle without overbaking the edges.
-
Serve it in the skillet. It’s cozy, rustic, and saves you from doing extra dishes.
Questions I Get About This Recipe
Is it supposed to be gooey in the center?
Yes! Think of it like a giant molten brownie. If it looks underdone in the center, that means you did it right.
Can I skip the coffee extract?
You can. But adding just a bit really brings out the chocolate without tasting like coffee.
Can I use a different dish instead of a skillet?
Absolutely. Just use something that’s oven-safe and about 9 inches wide. A ceramic or glass dish works well too.
What if I don’t have a roasting pan for the water bath?
Try a deep baking tray or even a foil roasting pan. Anything large enough to hold your skillet with water halfway up the sides.
Brownie Pudding

If you're searching for chocolate nirvana, this Chocolate Brownie Pudding lands somewhere between an outrageously gooey brownie and the silkiest chocolate pudding.
Ingredients
- 4 large eggs
- 2 cups white sugar
- 3 teaspoons vanilla extract
- 2 teaspoons coffee extract (optional, but highly recommended for depth)
- 1 cup unsalted butter
- 3/4 cup Dutch cocoa powder
- 1/2 cup all-purpose flour
- Vanilla ice cream, for serving
Instructions
- Set Up for Success: Preheat your oven to 325°F (163°C). Generously butter a 9-inch skillet—this will help those fudgy edges release easily later.
- Melt & Cool: Melt the butter in a small saucepan or in the microwave. Set it aside to cool to room temperature.
- Sift Dry Ingredients: In a medium bowl, sift together your cocoa powder and flour. Don’t skip this step—sifting ensures you end up with a perfectly smooth, luxurious batter.
- Whip Eggs & Sugar: In a stand mixer, beat eggs with sugar on medium-high for a full 10 minutes. This is the secret to that signature crackly top and airy-yet-decadent bite. The mixture should triple in volume and turn pale yellow, almost white.
- Flavor Boost: Reduce mixer speed to low. Mix in vanilla extract and, if using, coffee extract.
- Fold in Dry Ingredients: Gradually add the sifted cocoa and flour mixture, mixing slowly just until combined.
- Add the Butter: With the mixer on low, slowly pour in the cooled melted butter. Mix until just incorporated—don’t overbeat!
- Prepare for Baking: Pour your glossy batter into the prepared skillet. Place the skillet inside a larger roasting pan and carefully pour in enough hot water to come halfway up the sides of your skillet, creating a soothing water bath.
- Bake: Gently transfer to the oven. Bake for 60 minutes. The top should look set, but the inside will be gloriously gooey—don’t be tempted to overbake!
- Cool & Serve: Remove the skillet from the water bath and let it cool—pop it in the fridge if you like a firmer set, or let it rest at room temperature for maximum goo. Scoop straight from the pan and serve warm with a big scoop of vanilla ice cream.
Notes
- Whipping the eggs and sugar is absolutely crucial—expect a pale, almost mousse-like mixture before adding anything else.
- Sifting dry ingredients here keeps things glossy and lump-free.
- Don’t worry if the center looks unset after baking; the magic happens as it cools, creating irresistible layers for every spoonful.
Nutrition Information
Yield
8Serving Size
1Amount Per Serving Calories 531Total Fat 28gSaturated Fat 16gTrans Fat 0gUnsaturated Fat 10gCholesterol 161mgSodium 53mgCarbohydrates 65gFiber 2gSugar 54gProtein 6g
TastyFitnessRecipes.com, occasionally offers nutritional information for recipes contained on this site. This information is provided as a courtesy and is an estimate only. This information comes from online calculators. Although tastyfitnessrecipes.com attempts to provide accurate nutritional information, these figures are only estimates.
Final Thought (Straight from My Kitchen Table)
If you’re craving something intensely chocolatey, warm, and wildly indulgent, this Chocolate Brownie Pudding is exactly what you need. It’s one of those desserts that turns a regular night into something cozy and a little luxurious.
I’ve served it at small dinners, brought it to potlucks, and yes—eaten it solo with a spoon straight from the pan. No judgment here.
Try other Brownie recipes:

