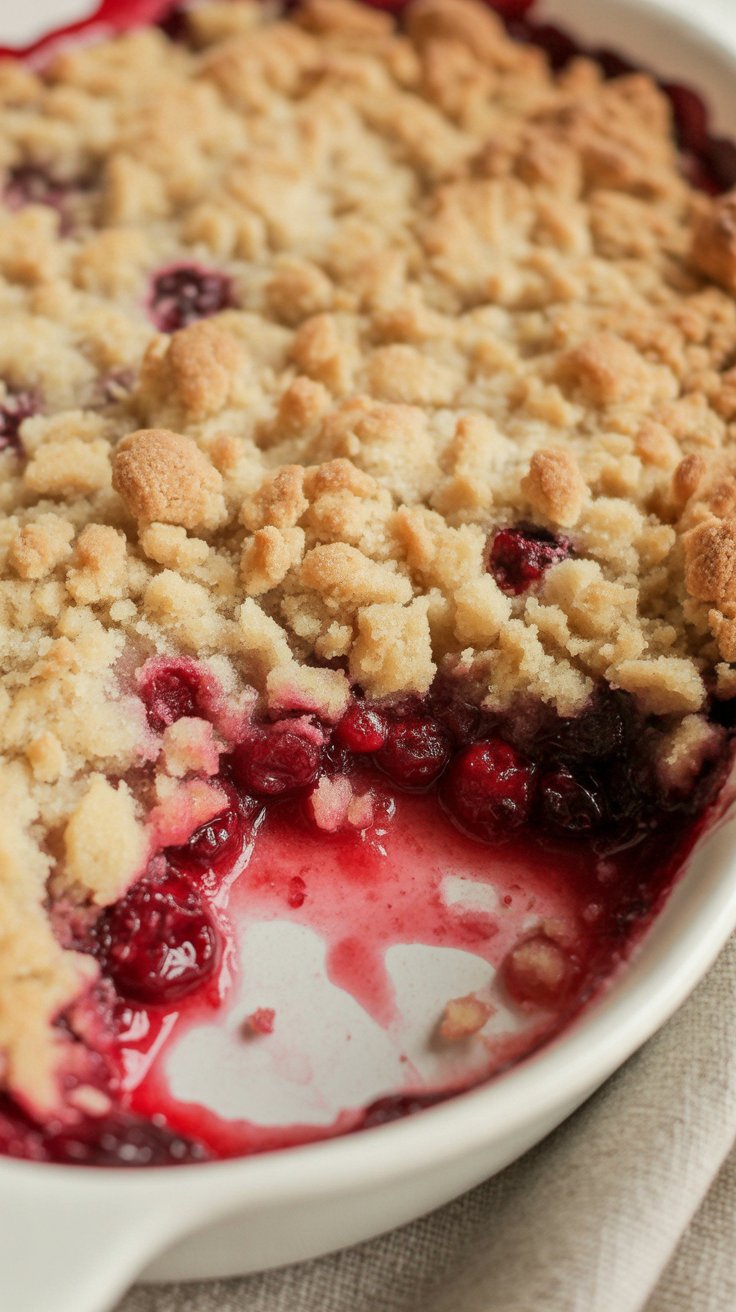
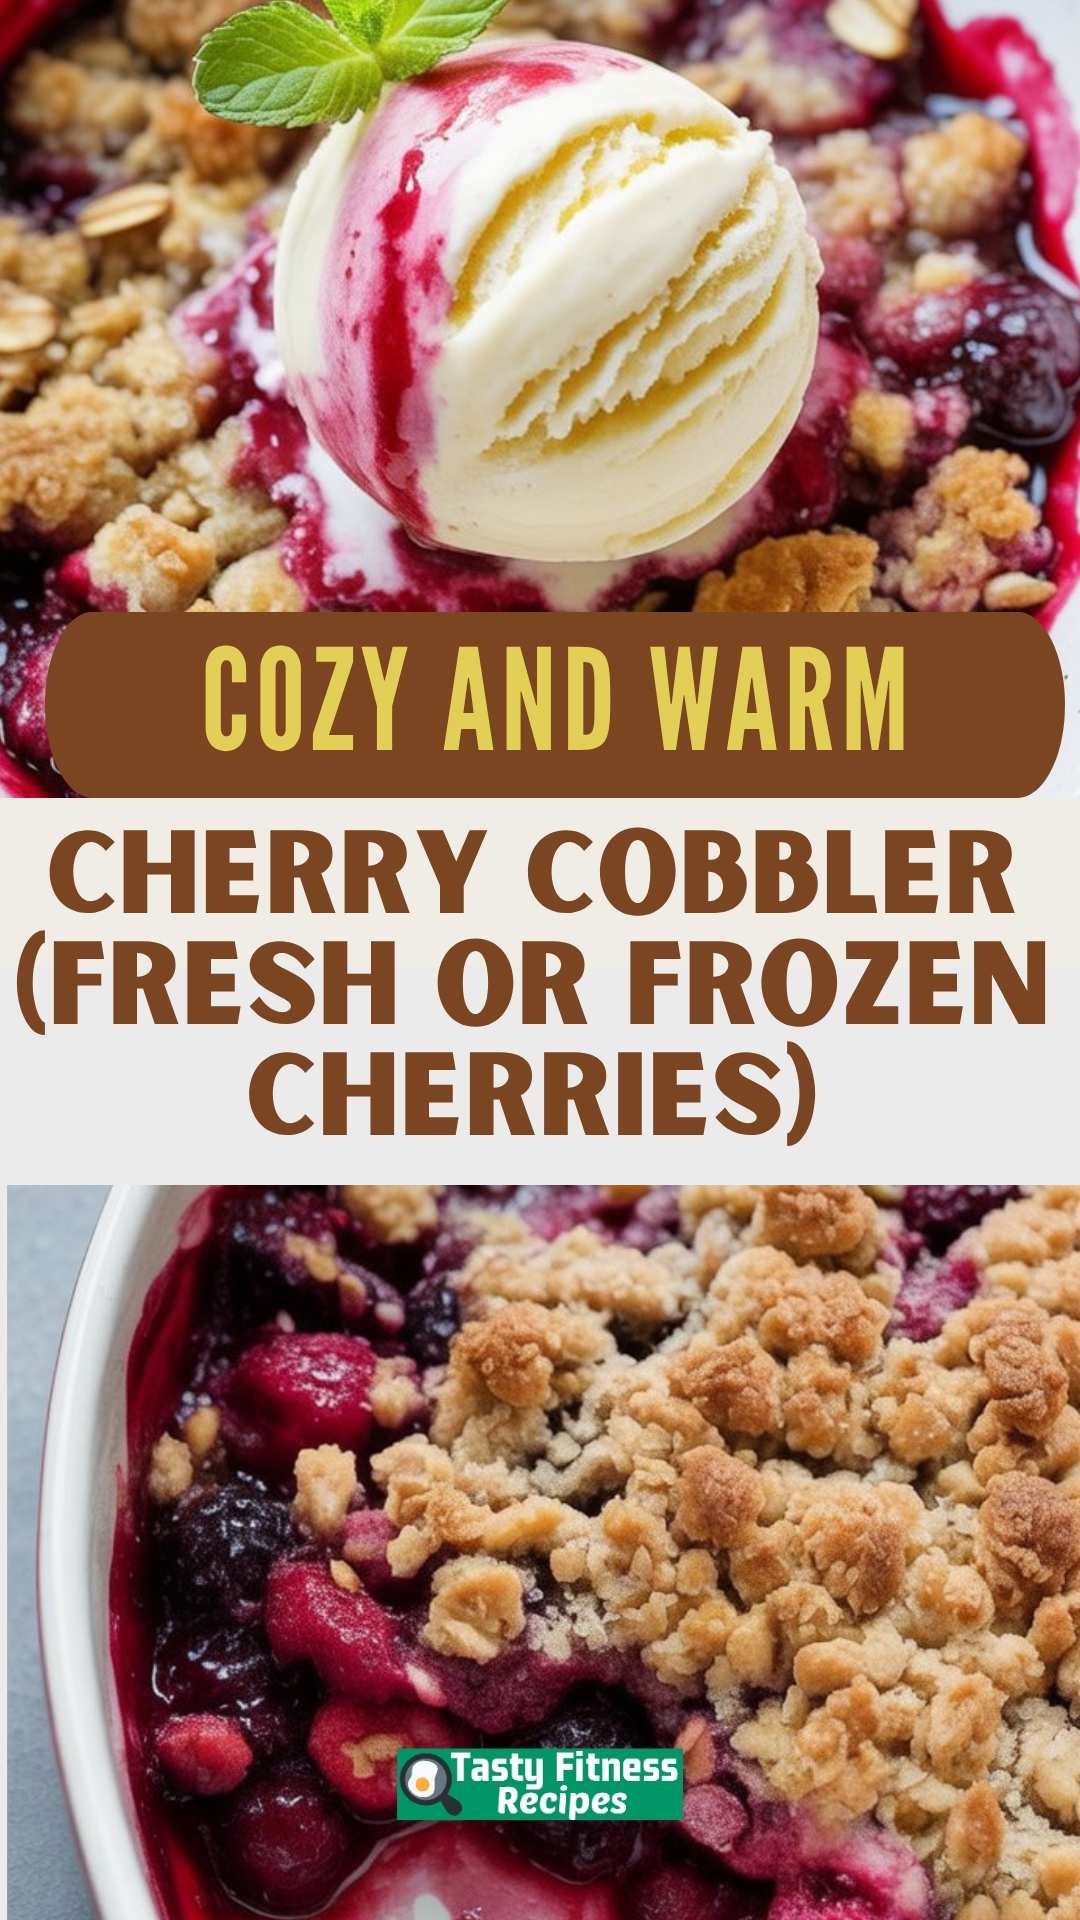
This cherry cobbler is the kind of dessert that instantly brings comfort — juicy cherries bubbling away under a soft, golden topping that tastes like a cross between a sugar cookie and a buttery biscuit. It’s cozy, easy to pull together, and works beautifully with either fresh or frozen cherries.
") I’ve made this on lazy summer evenings with just-picked cherries from the market, and also on chilly evenings in December with a bag of frozen cherries I had stashed away. Both versions are equally satisfying. It’s the kind of recipe that doesn’t need a special occasion, just a spoon and maybe a scoop of vanilla ice cream.
I’ve made this on lazy summer evenings with just-picked cherries from the market, and also on chilly evenings in December with a bag of frozen cherries I had stashed away. Both versions are equally satisfying. It’s the kind of recipe that doesn’t need a special occasion, just a spoon and maybe a scoop of vanilla ice cream.
What Makes This Cobbler a Keeper
Works with Fresh or Frozen Cherries
I love how flexible this is. If it’s cherry season, definitely go for fresh ones — they keep a nice shape after baking and really shine. But frozen cherries work just as well when summer feels far away. Just make sure they’re thawed and drained before you start.
That Topping Though…
Most cobblers lean toward biscuit or cake-style toppings, but this one? It’s got that soft cookie vibe — buttery with a light crispness on top and just enough sweetness to balance the tart cherries underneath. I’ve had friends ask for just the topping recipe so they can spoon it over other fruits.
Almond + Vanilla = Cherry Magic
A little almond extract goes a long way with cherries. That hint of nuttiness brings out the depth in the fruit, while vanilla keeps everything mellow and cozy. It’s such a small touch, but it makes the whole thing feel a little extra special.
 How I Make Cherry Cobbler (Step-by-Step)
This one’s as simple as it gets — no mixer, no fuss, just a few bowls and a baking dish.
Step 1: Mix the Filling
In a large bowl, toss your cherries with sugar, flour, lemon juice, and a splash of vanilla. If your cherries are super sweet, you can hold back a bit on the sugar. Pour the mixture into your baking dish — I use a square one, but anything oven-safe will do.
Step 2: Stir Together the Topping
In another bowl, mix flour, sugar, baking powder, a pinch of salt, vanilla, almond extract, and melted butter. The texture should feel like thick cookie dough — easy to spoon over the fruit.
Step 3: Assemble and Bake
Drop spoonfuls of the topping over the cherry mixture — no need to spread it out perfectly. The topping will puff up and spread on its own as it bakes. Pop it into the oven until the top is golden and the fruit is bubbling around the edges.
Fresh or Frozen Cherries — Use What You Have
Fresh Cherries:
These are my go-to when they’re in season. They stay plump and hold their shape after baking, and you can control the sweetness depending on the batch. I usually need about 5 cups of pitted cherries, which comes to just under 2 pounds.
Frozen Cherries:
If using frozen, thaw them in the fridge and drain off the extra liquid so your cobbler doesn’t end up soupy. Since frozen cherries shrink a little while baking, I use about 6 cups instead of 5.
Pro tip: If your frozen cherries seem too tart, add an extra tablespoon of sugar to the filling.
 Tips from My Kitchen
-
Don’t skip the almond extract. Even if you don’t love almond in general, just a tiny splash completely transforms the cherry flavor.
-
Taste your fruit. If it’s extra sweet, dial back the sugar. If it’s tart, bump it up.
-
Add texture. Sprinkle a little coarse sugar on top of the cobbler before baking for a light crunch.
-
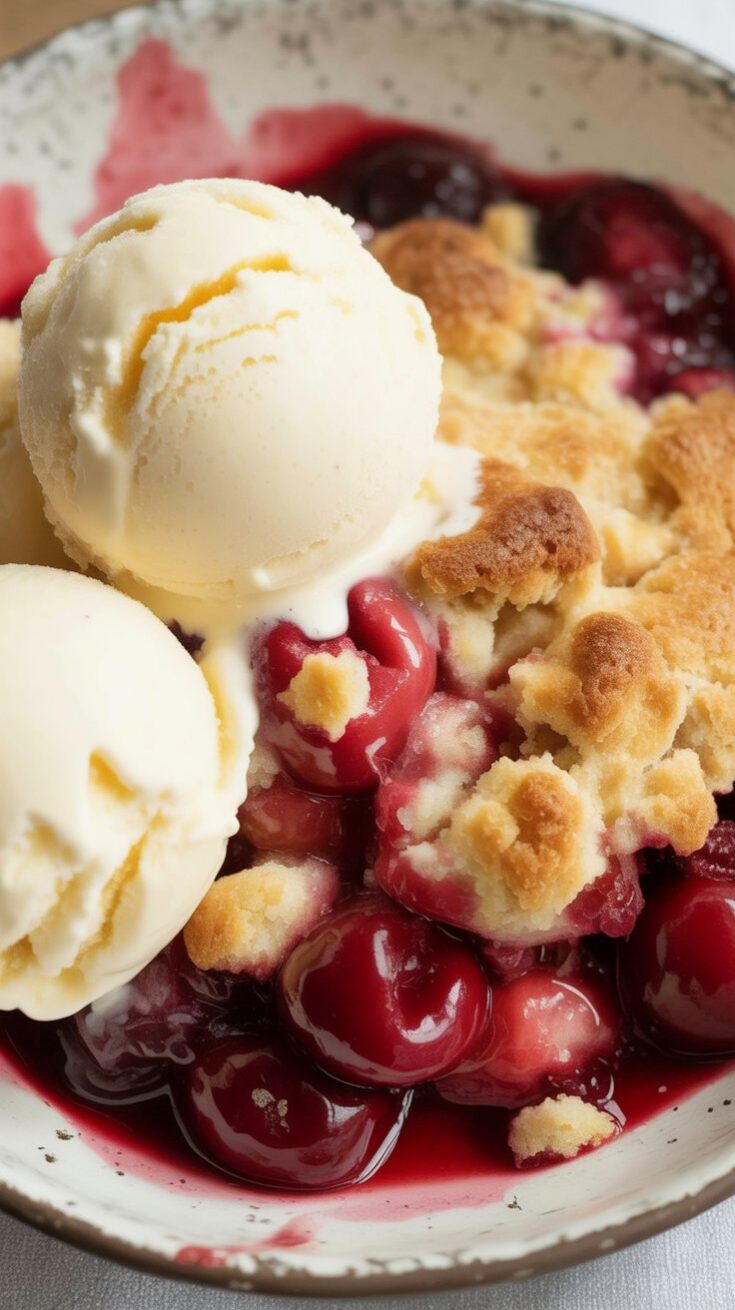
Make it extra cozy. Serve warm with vanilla ice cream or a big spoon of whipped cream. I’ve even done it with a dollop of Greek yogurt for breakfast (no regrets).
Serving Ideas
We usually dig in while it’s still warm — the kind of dessert that doesn’t sit around long. But here are a few ways we’ve enjoyed it:
-
Vanilla ice cream (melting into the warm cherries… yes please)
-
A drizzle of heavy cream
-
A scoop of plain yogurt for a breakfast treat
-
On its own straight from the fridge — even cold, it’s delicious
How to Store Leftovers
If you happen to have any left:
-
Refrigerator: Store in an airtight container or cover the baking dish and keep it in the fridge. It stays good for up to 4 days.
-
Reheat: Warm it in the microwave or a low oven. I usually cover it with foil if I’m using the oven to avoid drying out the topping.
I don’t usually freeze cobbler once it’s baked — the texture can get a bit mushy — but you can definitely freeze the unbaked filling or topping separately if you want to prep ahead.
Cherry Cobbler (Fresh or Frozen Cherries)
This cherry cobbler is the kind of dessert that feels like summer in a dish—but the best part? You don’t need to wait for cherry season.
Ingredients
For the Cherry Filling:
- 1 tablespoon lemon juice, freshly squeezed
- ¼ teaspoon almond extract
- 5 to 6 cups sweet cherries, pitted (fresh or frozen and thawed)
- 1 teaspoon vanilla extract
- 2–4 tablespoons granulated sugar (adjust to taste depending on cherry sweetness)
- 2 tablespoons all-purpose flour (use 3 tablespoons if working with frozen cherries)
For the Cobbler Topping:
- ¾ teaspoon vanilla extract
- ⅔ cup granulated sugar
- 6 tablespoons unsalted butter, melted
- ¾ cup all-purpose flour
- ¼ teaspoon salt
- ½ teaspoon almond extract
- 1 teaspoon baking powder
- Optional for serving: vanilla ice cream
Instructions
- Preheat your oven to 350°F (175°C).
- Make the Filling: Start by adding the pitted cherries to a large mixing bowl. If you're using frozen cherries, make sure they’re fully thawed and well-drained. Sprinkle in the sugar, lemon juice, vanilla, almond extract, and flour. Gently toss everything together until the cherries are evenly coated. Transfer this mixture into an 8x8-inch baking dish and spread it out into a smooth layer.
- Prepare the Topping: In another bowl, whisk together the sugar, flour, baking powder, and salt. Stir in the vanilla and almond extracts, followed by the melted butter. Mix until the dough comes together—it should look like a soft, sticky cookie dough.
- Using your fingers, pinch off small bits of the dough and flatten them slightly to form uneven, rustic pieces. Place these all over the cherry mixture, covering as much of the surface as you like.
- Bake: Place the dish in the oven and bake for 30–45 minutes. You’ll know it’s ready when the topping turns lightly golden and the cherry juices bubble up around the edges.
- Let the cobbler rest for about 20 minutes before serving. This gives the juices time to thicken slightly as it cools.
- This cobbler is dreamy with a big scoop of vanilla ice cream or even lightly whipped cream. It’s lovely both warm and at room temperature, depending on your mood.
- Leftovers can be covered and stored in the fridge for up to 3 days. Just know that the topping may soften a bit over time. You can reheat portions in the microwave or warm the whole dish in a low oven if you like that freshly baked feel.
Notes
- Fresh Cherries: Aim for about 5 cups (just under 2 pounds). They’ll hold their shape nicely in the oven.
- Frozen Cherries: Use around 6 cups while still frozen, then thaw and drain well. Since they release more liquid, increase the flour in the filling slightly to help it thicken.
- Topping Variation: If you're a fan of a more generous topping, you can bump up the flour to 1 cup, sugar to ¾ cup, and butter to 8 tablespoons—baking time stays roughly the same.
Nutrition Information
Yield
8Serving Size
1Amount Per Serving Calories 720Total Fat 12gSaturated Fat 7gTrans Fat 0gUnsaturated Fat 4gCholesterol 30mgSodium 143mgCarbohydrates 157gFiber 12gSugar 128gProtein 8g
TastyFitnessRecipes.com, occasionally offers nutritional information for recipes contained on this site. This information is provided as a courtesy and is an estimate only. This information comes from online calculators. Although tastyfitnessrecipes.com attempts to provide accurate nutritional information, these figures are only estimates.
Questions You Might Have
Can I use canned cherries?
You can, but I’d recommend using cherries packed in juice, not syrup. Drain them well and reduce the sugar in the filling since they’re already sweet.
Can I make this gluten-free?
Yes! Swap the all-purpose flour for your favorite 1:1 gluten-free baking mix. Just check that it contains xanthan gum or a similar binder.
What other fruits work with this topping?
Oh, so many. I’ve used the same topping on peaches, plums, and even mixed berries. It’s super flexible.
Can I double the recipe?
Definitely. Just use a 9×13-inch baking dish and keep an eye on the baking time — it might need a little longer.
Let me know if you try this one — it’s a favorite around here, and I’d love to hear what fruits you pair it with!
Try other Cobbler recipes: