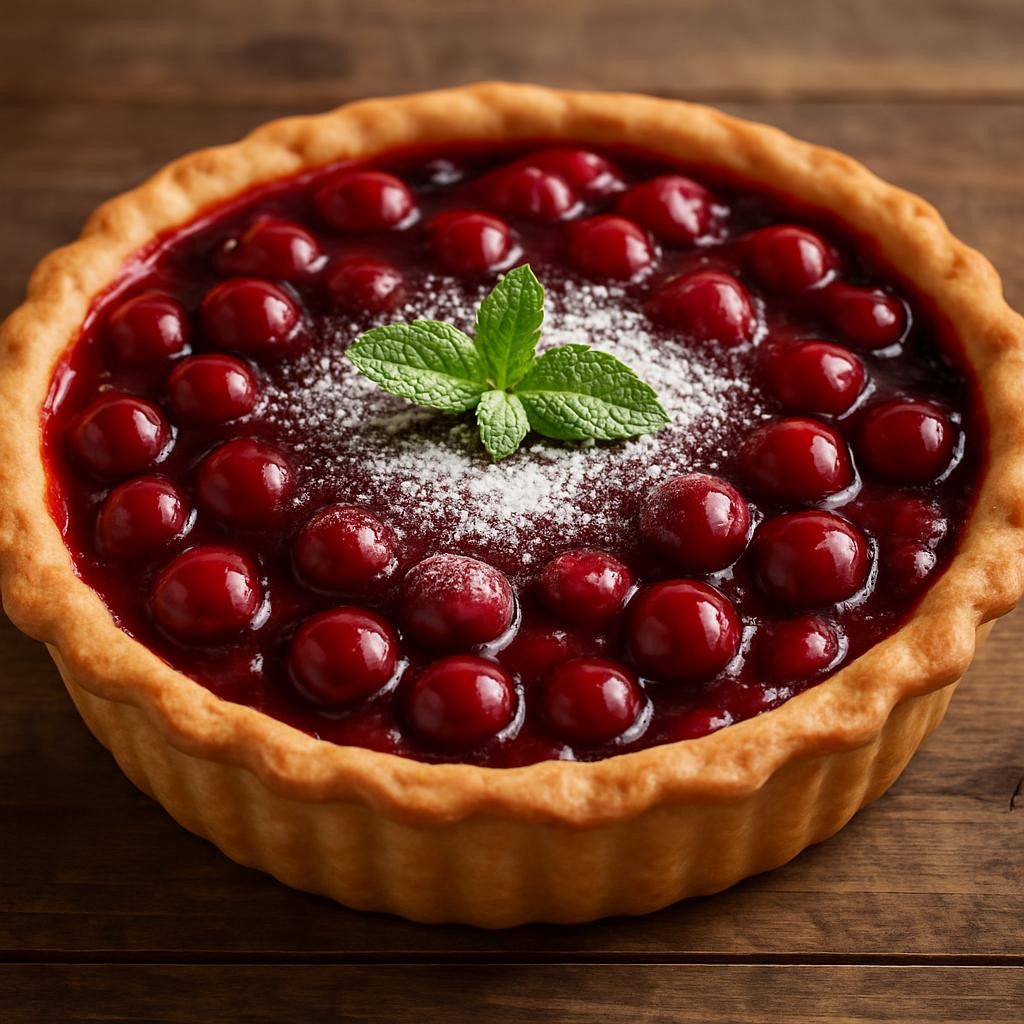
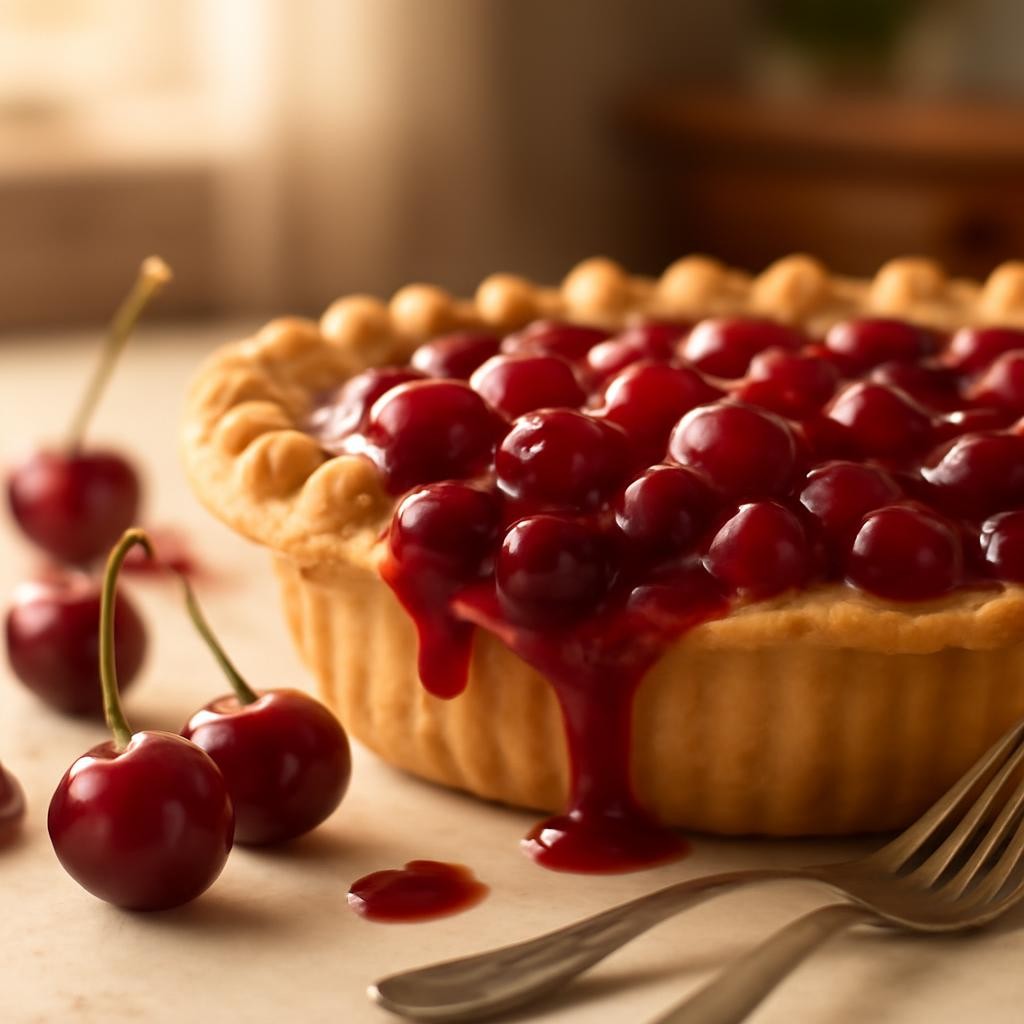
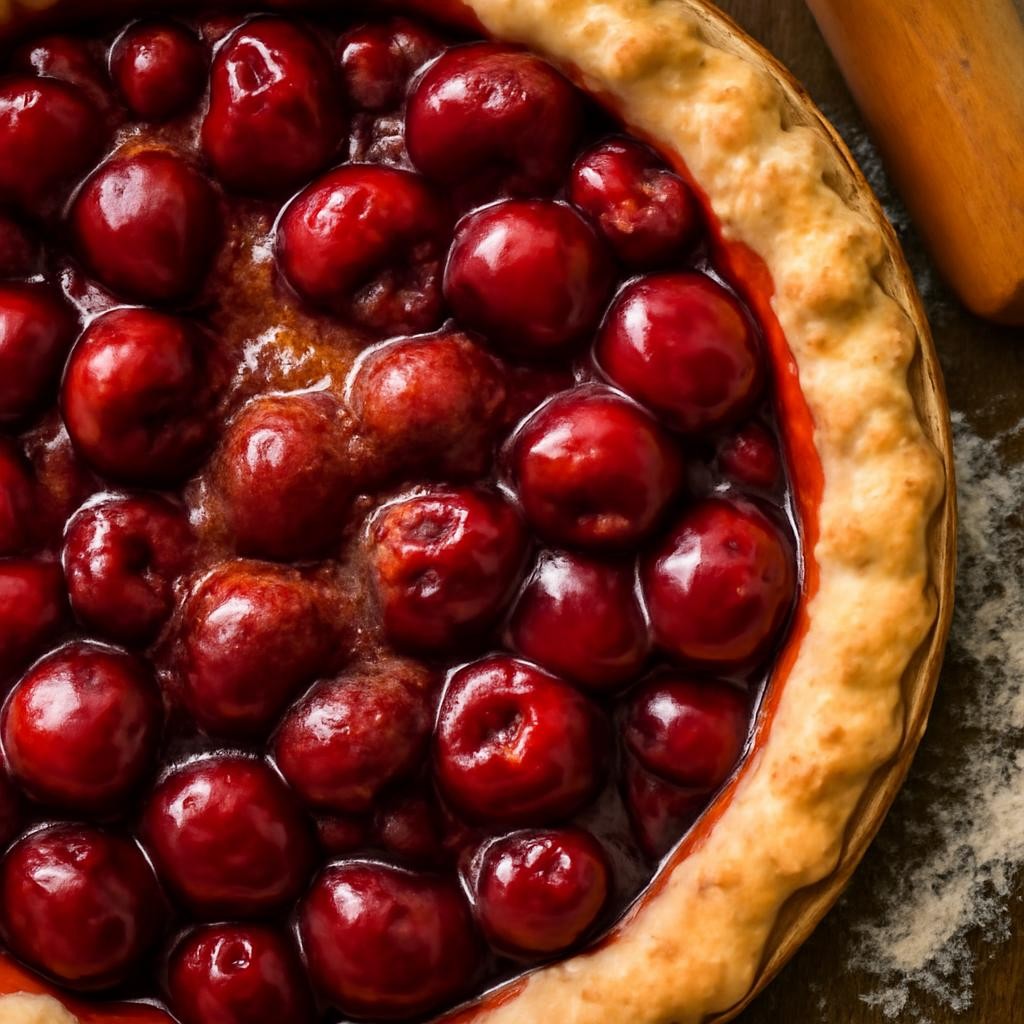
Cherry Pie Filling is a delightful concoction that captures the essence of summer in every bite. This luscious recipe combines sweet, tart cherries with a hint of warmth from cinnamon and a touch of sugar, creating a versatile filling perfect for pies, tarts, or simply enjoyed on its own. The vibrant red hue of the cherries not only entices the eye but also promises a burst of flavor that is both comforting and refreshing.
Why You Will Love This Recipe
This cherry pie filling recipe is a must-try for several reasons. Firstly, the flavor is absolutely divine; the balance of sweetness and tartness makes it a crowd-pleaser. Secondly, it’s incredibly easy to prepare—whether you’re a seasoned baker or a complete novice, you can whip this up in no time. Plus, it fits perfectly into a variety of diets, as it can be made with fresh or frozen cherries, making it a year-round treat. You’ll love how this recipe can elevate your desserts and impress your family and friends!
Tips and Tricks
To make the most of your cherry pie filling, consider these tips:
- Use fresh, ripe cherries when in season for the best flavor, but frozen cherries work well too—just thaw and drain excess liquid.
- For an added depth of flavor, try adding a splash of almond extract along with the vanilla.
- Allow the filling to cool completely before using it in your pie to prevent a soggy crust.
- Use a cornstarch slurry to thicken your filling; it will help achieve that perfect consistency without any lumps.
Make Ahead Tips
This cherry pie filling can be made in advance, making it perfect for busy bakers:
- Prepare the filling up to two days ahead of time and store it in an airtight container in the refrigerator.
- You can also freeze the filling for up to three months; just thaw it in the refrigerator overnight before using.
- If you want to save time on pie day, consider making a double batch so you’ll have filling ready for your next dessert craving!
Recipe Variations
There are numerous ways to customize your cherry pie filling:
- Swap in different fruits like blueberries, raspberries, or mixed berries for a unique twist.
- Add spices such as nutmeg or ginger to create a more complex flavor profile.
- For a healthier version, substitute some of the sugar with honey or maple syrup.
- Make a boozy version by adding a splash of cherry brandy or bourbon for an adult dessert.
How to Serve
To serve your cherry pie filling, consider these delightful options:
- Spoon it generously over a warm slice of vanilla ice cream or cheesecake for a decadent dessert.
- Use it as a filling for hand pies or layered in a trifle with whipped cream and cake.
- Garnish with fresh mint leaves or a dusting of powdered sugar for an elegant presentation.
- Pair it with a dollop of whipped cream or crème fraîche for a gourmet touch.
Pairing Suggestions
Enhance your cherry pie filling experience with these pairing suggestions:
- A glass of sweet Riesling or a fruity rosé wine complements the sweet-tart flavors beautifully.
- For non-alcoholic options, consider serving it with a refreshing cherry soda or iced tea.
- Serve alongside buttery shortbread cookies or a scoop of vanilla bean ice cream for a delightful dessert platter.
How to Store
To ensure your cherry pie filling stays fresh:
- Store any leftovers in an airtight container in the refrigerator for up to 5 days.
- For longer storage, freeze in a freezer-safe container for up to 3 months.
- When ready to use, thaw overnight in the refrigerator and reheat gently on the stovetop or microwave, stirring to combine.
Equipment Needed
You won’t need much to make this cherry pie filling, but here are a few essentials:
- A medium saucepan for cooking the filling.
- A mixing spoon for stirring.
- A measuring cup and spoons for accurate ingredient measurements.
- A fine mesh strainer (optional) for draining excess liquid from thawed cherries.
Dietary Adaptations
For those with dietary restrictions, here are some adaptations:
- To make it vegan, simply use a plant-based sweetener instead of honey.
- For a gluten-free version, ensure that your cornstarch is certified gluten-free.
- Adjust the sugar content for those watching their sugar intake; a sugar substitute can work well here.
Seasonal Adaptations
Depending on the season, feel free to modify this recipe:
- In the summer, fresh cherries are at their peak, so use those for the best flavor.
- In the fall, consider adding pumpkin spice or apple slices to create a seasonal twist.
- For winter, you can use frozen cherries, and add a hint of citrus zest for brightness.
Recipe FAQs
Here are some frequently asked questions regarding cherry pie filling:
- Can I use canned cherries? Yes, but be sure to drain the liquid and adjust the sugar accordingly.
- How can I thicken my filling? If it’s too runny, mix a little cornstarch with water to create a slurry and add it to the filling while cooking.
- How long does it take to cook? The filling will typically take about 10-15 minutes on the stovetop once the cherries are added.
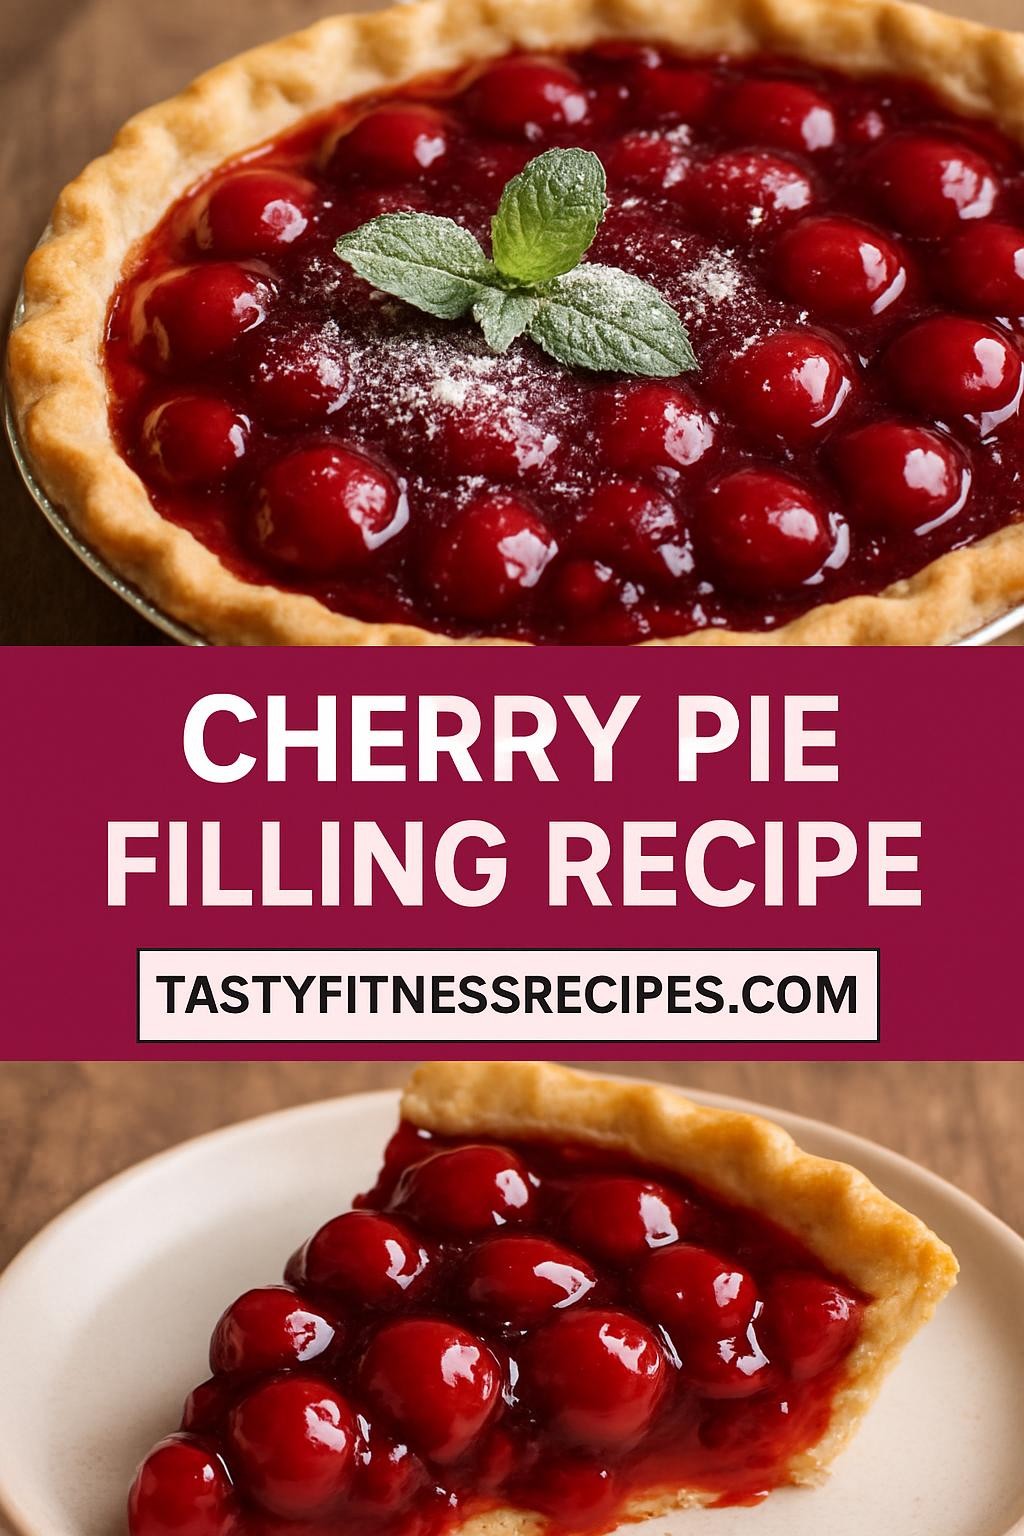
Cherry Pie Filling

Cherry Pie Filling is a delightful concoction that captures the essence of summer in every bite.
Ingredients
- 4 cups fresh or frozen cherries (pitted)
- 1 cup granulated sugar (adjust to taste)
- 2 tablespoons cornstarch
- 1/4 cup water
- 1 teaspoon vanilla extract
- 1/2 teaspoon almond extract (optional)
- 1 teaspoon lemon juice
- 1/2 teaspoon ground cinnamon (optional)
Instructions
- If using fresh cherries, wash and pit them. If using frozen, thaw and drain excess liquid.
- In a medium saucepan, combine the cherries, sugar, lemon juice, and cinnamon (if using).
- In a small bowl, whisk together cornstarch and water until smooth.
- Place the saucepan over medium heat and stir until the mixture begins to bubble.
- Slowly add the cornstarch slurry to the bubbling cherry mixture, stirring constantly.
- Cook for an additional 2-3 minutes until thickened, then remove from heat.
- Stir in vanilla and almond extract (if using), and let the filling cool completely before using.
Nutrition Information
Yield
4Serving Size
1Amount Per Serving Calories 286Total Fat 1gSaturated Fat 0gTrans Fat 0gUnsaturated Fat 0gCholesterol 0mgSodium 3mgCarbohydrates 71gFiber 3gSugar 64gProtein 1g
TastyFitnessRecipes.com, occasionally offers nutritional information for recipes contained on this site. This information is provided as a courtesy and is an estimate only. This information comes from online calculators. Although tastyfitnessrecipes.com attempts to provide accurate nutritional information, these figures are only estimates.
Final Thoughts
Making your own cherry pie filling is a rewarding experience that not only fills your kitchen with a delightful aroma but also results in a delicious treat that can be enjoyed in numerous ways. Whether you use it in a classic pie, as a topping for desserts, or simply savor it on its own, this recipe is sure to become a cherished addition to your recipe collection. Enjoy the process, get creative with variations, and don’t hesitate to share your cherry-filled creations with family and friends!