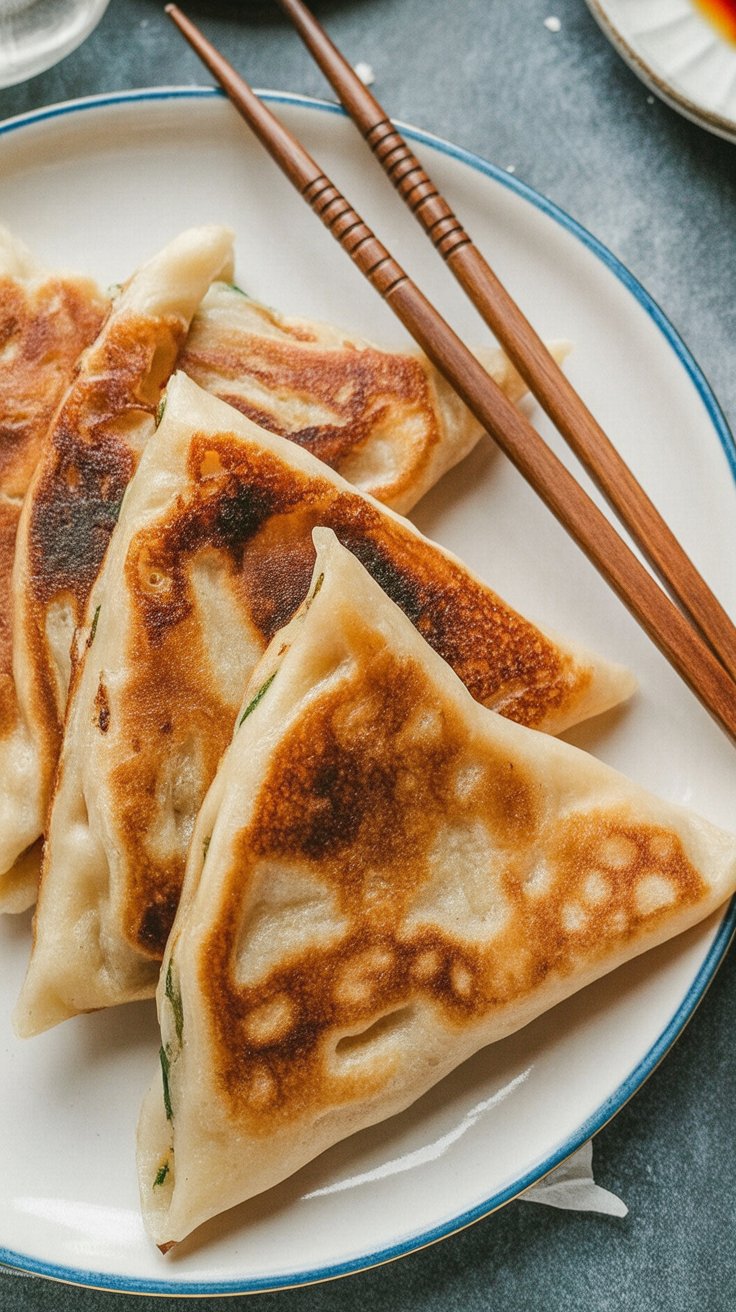
Golden, flaky, and just the right amount of chewy inside — these Chinese scallion pancakes are one of those recipes that remind me why I love simple comfort food so much. I’ve had my fair share at dim sum places, but nothing beats the ones you make at home, still sizzling from the pan. Oh, and yes — they’re naturally vegan!
 Why This Recipe Feels Like a Keeper
I’ve played around with scallion pancakes for a while now, tweaking this and that, and finally landed on a version that’s easy, foolproof, and still gives you that lovely flaky crunch we all chase.
-
No special ingredients: Just flour, water, oil, and green onions.
-
Super crispy outside, soft-chewy layers inside.
-
More green onion than the usual – trust me, it’s worth it.
-
No need for lard or chicken fat – plant-based oil does a great job and keeps things lighter.
I used to make a version with chicken fat — delicious but not exactly pantry-friendly. After getting some questions about vegetarian options, I tried this plant-based one and honestly haven’t looked back.
 What You’ll Need
You won’t need to raid an Asian market. Everything you need is probably already in your kitchen:
-
All-purpose flour
-
Hot water + cold water (this combo gives the dough its elastic, layered texture)
-
Salt
-
Vegetable oil (I love using peanut oil for a little extra flavor)
-
Scallions (use a lot!)
Optional: A pinch of ground Sichuan peppercorn if you want that slight numbing aroma. I skip it when I make this for my nephews — they’re not fans — but it’s nice for grown-up batches.
How to Prep the Scallions (It Makes a Difference)
Instead of slicing the scallions into rounds, I slice them lengthwise first, then chop into tiny half-moons. This makes them easier to spread out in the dough and helps you avoid those big puffy air pockets when rolling. Plus, you can sneak in way more scallions per bite — which is exactly what we want.

 Let’s Talk About Oil Choices
Traditional versions use lard, and it really does make the pancakes rich and flaky. I used to be all-in on using rendered chicken fat, especially when I had leftovers from making soup.
But these days, I lean toward peanut oil for a nutty aroma that plays well with the onions. Neutral vegetable oil works fine too, and if I’m feeling fancy, I’ll swirl in a spoonful of sesame oil to wake things up.
Step-by-Step: Making the Dough
This dough isn’t hard to make. I’ve done it both ways — by hand and with the stand mixer — and I honestly like kneading it myself. It’s a bit of a therapy session, if you ask me.
-
Start with hot water – mix it into your flour slowly, stirring as you go.
-
Add the cold water and stir until you get shaggy bits of dough.
-
Knead until smooth, about 5 minutes. Let it rest for 20 minutes, then knead briefly once more to bring it together.
You’re aiming for a stiff but elastic dough — not too dry, not too sticky. You can always sprinkle in a little flour or water to adjust.
Make That Filling Paste
Instead of brushing oil straight onto the dough, mix a paste of:
-
Flour
-
Salt
-
Your oil of choice
This paste helps layer the pancakes properly and keeps the filling from leaking out when you roll them.
Shaping the Pancakes Like a Pro
This is the part where it all comes together:
-
Divide dough into 6 pieces.
-
Roll one piece into a thin rectangle.
-
Spread on your oil-flour paste — leave a small border around the edges.
-
Add chopped green onion — pile it mostly toward one end.
-
Roll it up tightly, like a jelly roll.
-
Coil it into a snail shape, tuck the end underneath, then gently press it flat.
-
Rest the shaped pancakes for 10–15 minutes before final rolling.
That resting time? Don’t skip it. It gives the gluten time to chill out, so you can roll without tearing.
Cooking the Pancakes: My Favorite Part
You’ll need a pan with a decent layer of oil — not deep-frying, just enough to crisp the bottom.
-
Heat the pan (I use cast iron, but nonstick works too).
-
Place the pancake in and wiggle it around so it doesn’t stick.
-
Cook covered for a couple of minutes.
-
Flip and cook covered again.
-
Finish cooking uncovered until golden brown and crisp.
Give the pancake a gentle press with your spatula while cooking — it helps with browning and flattens any stubborn bubbles.
Best Way to Store (or Freeze) Them
Here’s what I usually do when I make a big batch:
Freeze Before Cooking
-
Roll them out, then stack with parchment in between.
-
Slide into a freezer bag, press out the air, and freeze for up to 3 months.
-
To cook, thaw for about 8–10 minutes at room temp, then fry as usual.
Leftovers?
I rarely have any — my family devours these. But if you do:
-
Store in the fridge for up to 3 days.
-
Reheat on a pan or in the microwave. The texture gets a bit chewier, but still good.
Chinese Scallion Pancakes
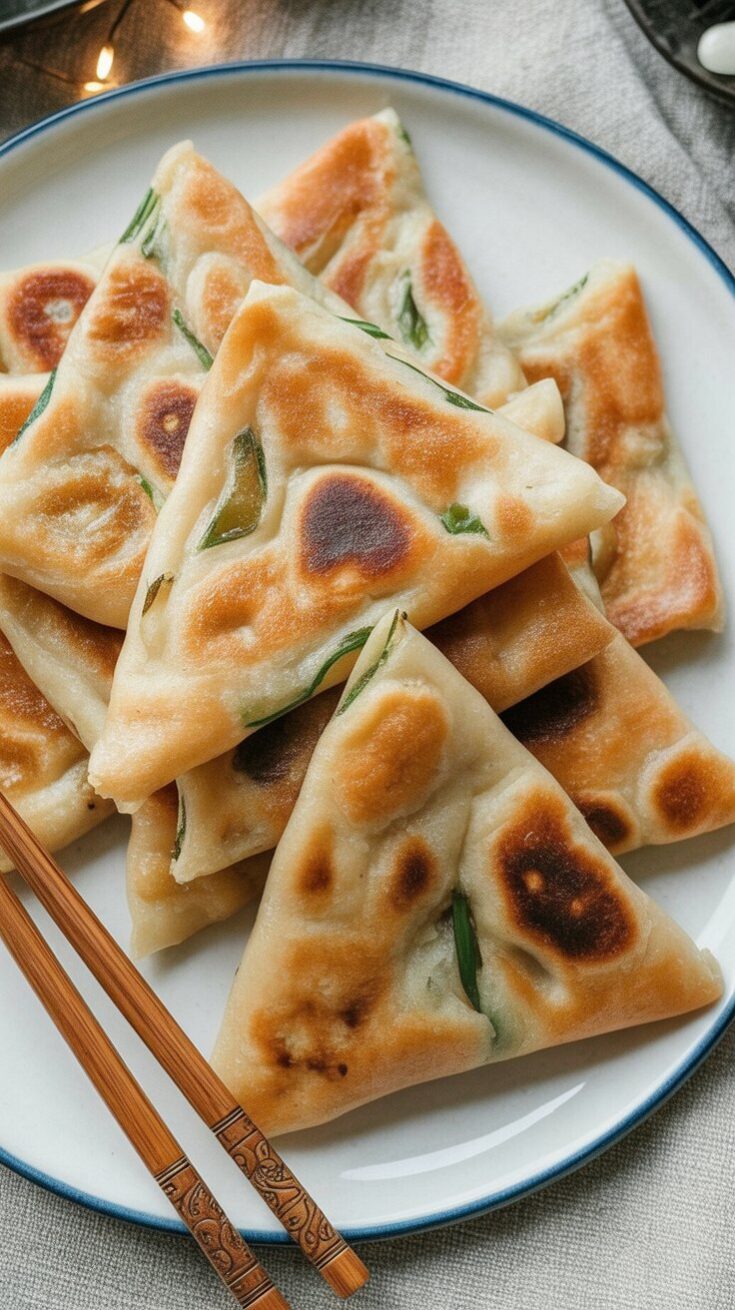
Flaky, golden on the outside, and just the right amount of chew inside—these Chinese scallion pancakes are one of those snacks I never get tired of making.
Ingredients
For the dough:
- 2 cups all-purpose flour
- ½ teaspoon salt
- ½ cup boiling water
- ¼ cup cool water
For the filling:
- ¼ cup peanut oil (or another neutral oil like olive, melted coconut oil, or even chicken fat)
- 1/3 cup all-purpose flour
- ¾ teaspoon salt
- 1 cup green onions, chopped and halved lengthwise
To cook:
- Vegetable oil, for frying
Optional dipping sauce:
- 1½ tablespoons soy sauce
- 1 tablespoon Chinkiang vinegar (or rice vinegar)
- ¼ teaspoon sugar
- 1 tablespoon water (to mix)
Instructions
- Start with the dough: In a large mixing bowl, stir together flour and salt. Gradually add the boiling water while mixing with chopsticks or a fork—it’ll look shaggy at this stage. Slowly add the cool water and keep stirring until you see little dough flakes. Bring everything together into a ball with your hands, kneading for about 5 minutes until smooth. If it feels dry, add a teaspoon of water at a time. Cover and let it rest for 20 minutes.
- If you’re using a stand mixer, follow the same method with a dough hook, letting the machine knead for about 3 minutes.
- Prepare the filling: While the dough rests, stir together the flour, oil, and salt in a small bowl to form a paste. Set aside. If you're making the dipping sauce, mix the soy sauce, vinegar, sugar, and water until dissolved.
- Shape the pancakes: After resting, give the dough another light knead for a minute, then divide it into 6 equal pieces. Roll each into a ball.
- Take one dough ball and roll it out into a thin rectangle (roughly 6x10 inches). Spread a spoonful of the oil-flour paste over the surface, leaving a small edge uncoated. Scatter green onions over the paste, concentrating most of them along one edge.
- Start rolling from the edge with the most scallions, creating a log. Lightly flatten the log, pinch one end closed, and coil it inward like a cinnamon roll. Tuck the end underneath and gently press down to form a puck-like disk. Repeat for all 6 pieces.
- Roll them out again: Flatten each coiled disk into a circle, about 7 to 8 inches wide. Don’t worry if some onions peek out or air bubbles form.
- Freeze or cook: If you’re saving them for later, place each pancake between parchment paper sheets and freeze in a sealed bag for up to 3 months.
- Time to fry: Heat a cast iron or nonstick pan with enough oil to coat the bottom. Once hot, lay in a pancake and swirl it briefly to prevent sticking. Cover and cook over medium heat for about 1 minute per side, flipping once. Uncover and press the pancake down gently with a spatula to encourage even browning. Cook until both sides are golden and crispy, about 3 minutes total.
- Repeat with the remaining pancakes.
- Serve it hot: Let them cool slightly before slicing into wedges. Serve with the dipping sauce on the side for that extra punch of flavor.
Notes
- Let the pancakes thaw at room temp for about 10 minutes, then cook as usual.
- Leftover pancakes can be stored in a sealed zip-top bag in the fridge for up to 3 days. To reheat, simply toss one in a skillet over medium heat until warmed through and crispy again—no need for the microwave!
Nutrition Information
Yield
6Serving Size
1Amount Per Serving Calories 285Total Fat 12gSaturated Fat 2gTrans Fat 0gUnsaturated Fat 9gCholesterol 0mgSodium 665mgCarbohydrates 39gFiber 2gSugar 1gProtein 6g
TastyFitnessRecipes.com, occasionally offers nutritional information for recipes contained on this site. This information is provided as a courtesy and is an estimate only. This information comes from online calculators. Although tastyfitnessrecipes.com attempts to provide accurate nutritional information, these figures are only estimates.
My Real Take
I’ll be honest — these take a little time, especially the first time you make them. But they’re easier than a lot of other Chinese snacks, and so satisfying. When I make a batch, I always freeze half, because I know I’ll want some later when the craving hits.
And that first bite — hot, flaky, onion-y — it’s completely worth every minute. Just don’t be surprised if they disappear before you finish cooking the last one.
Try other Pancake recipes: