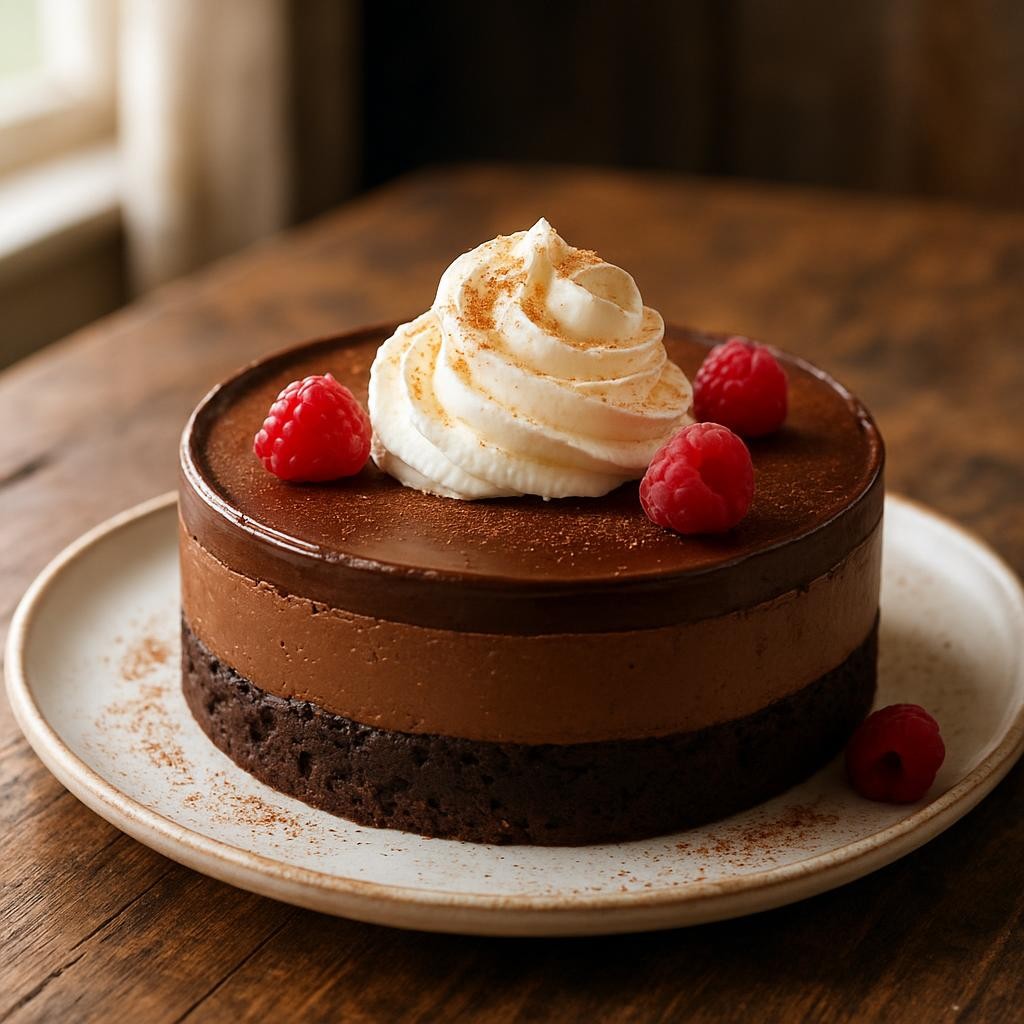
Indulging in a slice of Chocolate Brownie Cheesecake is like savoring the ultimate dessert experience, where rich, fudgy brownie meets creamy, velvety cheesecake. This decadent treat combines two beloved desserts into one show-stopping centerpiece, making it perfect for celebrations or a sweet night in. With its luscious layers and delightful chocolate flavor, this dessert is sure to impress anyone lucky enough to take a bite.
Why You Will Love This Recipe
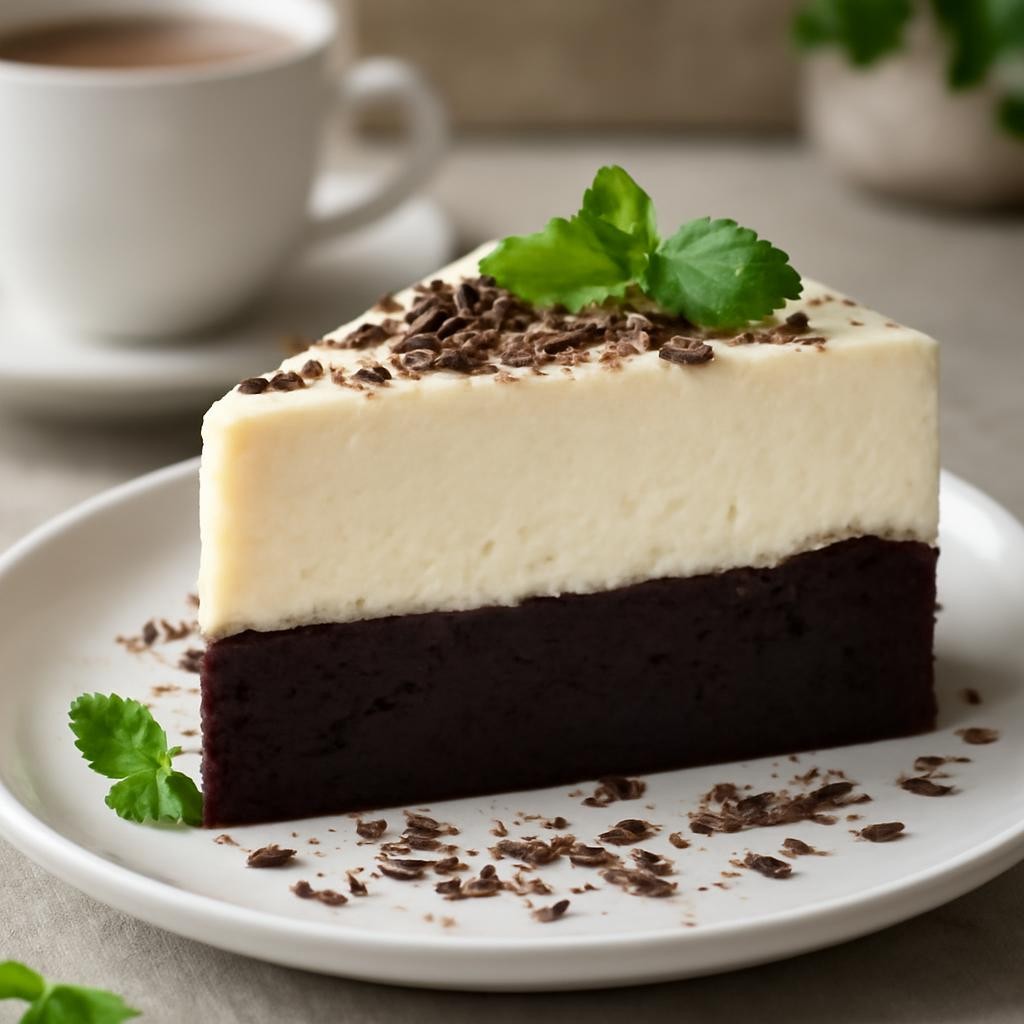
This Chocolate Brownie Cheesecake will quickly become a favorite for its heavenly taste and easy preparation. The dense, chocolatey brownie layer provides a perfect foundation for the smooth and creamy cheesecake, creating a delightful contrast in textures. Not only is it delicious, but this recipe is also straightforward, making it accessible for bakers of all skill levels. Whether you’re a novice or a pro in the kitchen, this dessert will fit seamlessly into your lifestyle—perfect for gatherings, holidays, or a special treat just for you!
Tips and Tricks
- Quality Ingredients: Use high-quality chocolate and fresh cream cheese for the best flavor. Dark chocolate often works beautifully for a richer taste.
- Room Temperature Ingredients: Allow your cream cheese and eggs to come to room temperature before mixing. This helps create a smooth and lump-free cheesecake batter.
- Don’t Overmix: When combining the cheesecake ingredients, mix just until combined to avoid incorporating too much air, which can lead to cracks in the cheesecake.
- Water Bath: For a smooth finish, consider baking your cheesecake in a water bath. Wrap the springform pan in aluminum foil to prevent water from seeping in.
Make Ahead Tips
You can prepare this Chocolate Brownie Cheesecake in advance, as its flavors only improve with time. The brownie base can be made a day ahead and stored in the refrigerator. The cheesecake layer can also be prepared a day in advance. Once assembled, store the cheesecake in the fridge for up to five days. For longer storage, consider freezing individual slices for up to three months—just ensure they’re wrapped tightly to prevent freezer burn.
Recipe Variations
- Flavor Infusions: Add a teaspoon of espresso powder to the brownie batter for a mocha flavor or incorporate vanilla extract into the cheesecake mixture for added depth.
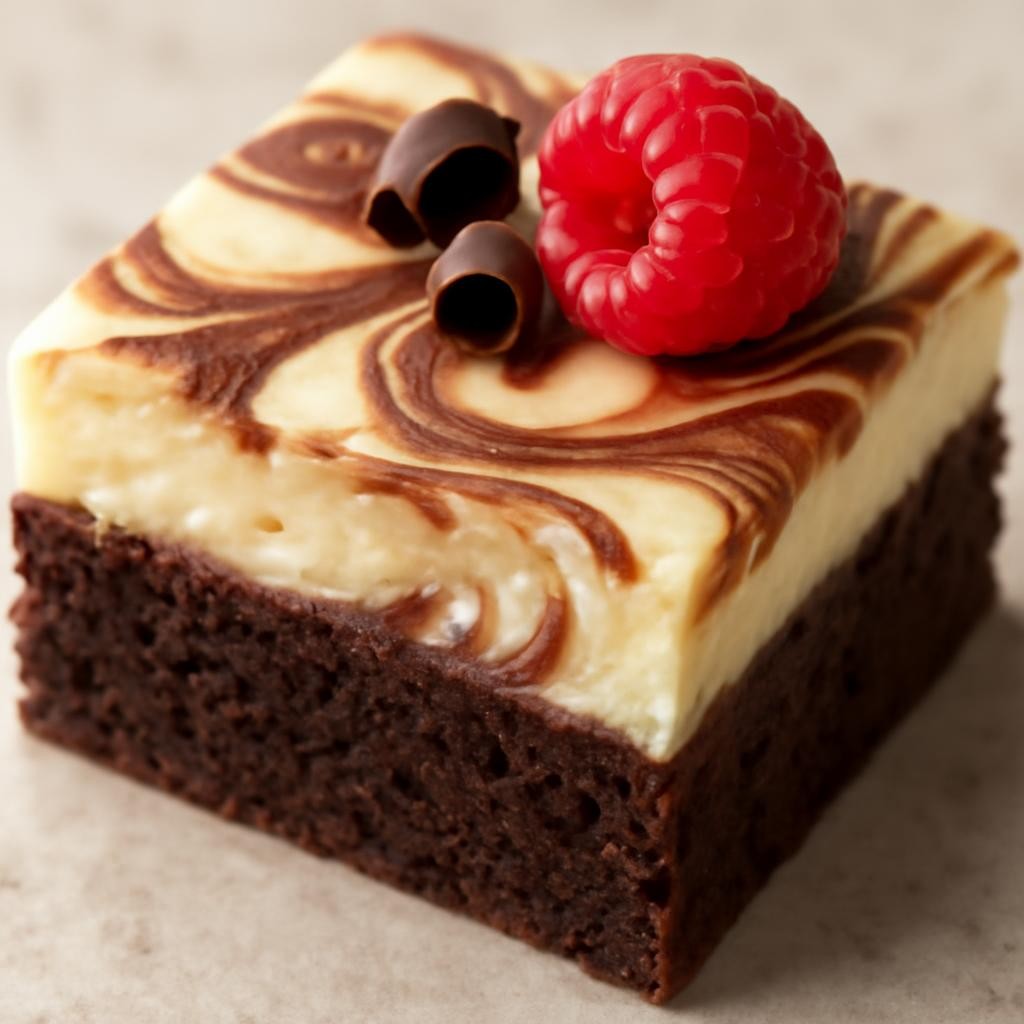
- Swirls: Create a marbled effect by swirling in some peanut butter or raspberry puree on top of the cheesecake before baking.
- Toppings: Experiment with various toppings like whipped cream, chocolate ganache, or fresh berries for added decoration and flavor.
How to Serve
To serve your Chocolate Brownie Cheesecake, slice it into generous wedges and place them on dessert plates. Garnish with a dollop of whipped cream, a drizzle of chocolate sauce, or a sprinkle of cocoa powder for visual appeal. For a sophisticated touch, consider serving alongside fresh raspberries or a scoop of vanilla ice cream to balance the rich chocolate flavors.
Pairing Suggestions
Enhance your dessert experience with a glass of rich, full-bodied red wine, such as Cabernet Sauvignon, which complements the chocolate perfectly. If you prefer a non-alcoholic option, a smooth coffee or a creamy chai latte can also pair beautifully. For a lighter option, serve with a delicate herbal tea like chamomile or peppermint.
How to Store
Leftover Chocolate Brownie Cheesecake should be covered with plastic wrap or stored in an airtight container in the refrigerator, where it will stay fresh for up to five days. To freeze, wrap individual slices tightly in plastic wrap and then in aluminum foil, ensuring no air is trapped. This method allows for up to three months of storage. When ready to enjoy, thaw in the refrigerator overnight and serve chilled.
Equipment Needed
- 9-inch springform pan: Essential for easy removal of the cheesecake.
- Mixing bowls: For combining the brownie and cheesecake batters.
- Electric mixer: Helps achieve a smooth and lump-free cheesecake filling.
- Rubber spatula: Great for folding and mixing ingredients gently.
- Aluminum foil: Useful for creating a water bath if desired.

Dietary Adaptations
For a vegan version of this Chocolate Brownie Cheesecake, substitute the cream cheese with a vegan cream cheese alternative and use aquafaba (chickpea water) as a replacement for eggs. To make it dairy-free, opt for coconut cream or other dairy-free cream cheese. Nut-free options can be achieved by using non-nut-based chocolate and ensuring your baking ingredients are labeled allergen-free.
Seasonal Adaptations
In the fall, consider incorporating pumpkin puree into the cheesecake layer for a seasonal twist. During the summer months, fresh berries can add a refreshing contrast to the rich flavors. You can also experiment with spices like cinnamon or nutmeg to complement seasonal ingredients.
Recipe FAQs
- Can I use a different type of chocolate? Yes, you can use semi-sweet or even milk chocolate, depending on your preference for sweetness.
- How long should I bake the cheesecake? Typically, it takes about 60-70 minutes at 325°F (165°C). Always check for a slight jiggle in the center.
- Can I make this without a springform pan? While a springform pan is ideal, you can use a regular cake pan, but it will be harder to remove and slice.
Chocolate Brownie Cheesecake

Indulging in a slice of Chocolate Brownie Cheesecake is like savoring the ultimate dessert experience, where rich, fudgy brownie meets creamy, velvety cheesecake.
Ingredients
For the brownie layer:
- 1 cup unsalted butter
- 2 cups granulated sugar
- 4 large eggs
- 1 teaspoon vanilla extract
- 1 cup all-purpose flour
- 1 cup unsweetened cocoa powder
- ½ teaspoon salt
- 1 teaspoon baking powder
For the cheesecake layer:
- 24 oz cream cheese, softened
- 1 cup granulated sugar
- 3 large eggs
- 1 teaspoon vanilla extract
- ½ cup sour cream
Instructions
- Preheat the Oven: Preheat your oven to 325°F (165°C). Grease a 9-inch springform pan and set aside.
- Make the Brownie Layer: In a saucepan, melt the butter over low heat. Remove from heat and stir in sugar, eggs, and vanilla until well combined. Mix in flour, cocoa powder, salt, and baking powder until just combined. Pour the brownie batter into the prepared springform pan and spread it evenly.
- Bake the Brownie Layer: Bake in the preheated oven for 20-25 minutes, or until a toothpick inserted into the center comes out with a few moist crumbs but not wet batter. Remove from the oven and let it cool slightly.
- Prepare the Cheesecake Layer: In a mixing bowl, beat the cream cheese until smooth. Gradually add the sugar and mix until well combined. Add eggs one at a time, mixing well after each addition. Stir in vanilla and sour cream until smooth.
- Assemble the Cheesecake: Pour the cheesecake batter over the brownie layer in the springform pan, spreading it evenly.
- Bake the Cheesecake: Bake for 60-70 minutes, or until the center is set but still slightly jiggly. Turn off the oven and leave the cheesecake inside with the door ajar for 1 hour.
- Cool and Chill: Remove from the oven and let it cool at room temperature for another hour. Then refrigerate for at least 4 hours or overnight before serving.
- Serve: Carefully remove the sides of the springform pan and slice the cheesecake. Serve with your favorite toppings.
Nutrition Information
Yield
12Serving Size
1Amount Per Serving Calories 656Total Fat 40gSaturated Fat 23gTrans Fat 0gUnsaturated Fat 13gCholesterol 212mgSodium 354mgCarbohydrates 66gFiber 2gSugar 53gProtein 10g
TastyFitnessRecipes.com, occasionally offers nutritional information for recipes contained on this site. This information is provided as a courtesy and is an estimate only. This information comes from online calculators. Although tastyfitnessrecipes.com attempts to provide accurate nutritional information, these figures are only estimates.
Final Thoughts
Making a Chocolate Brownie Cheesecake is a rewarding baking adventure that results in an irresistible dessert. With its combination of flavors and textures, this dessert is sure to be a hit at any gathering or simply enjoyed on a quiet evening. Remember, the key is to take your time and savor the process, just as you will savor every bite of this delicious creation. Enjoy!