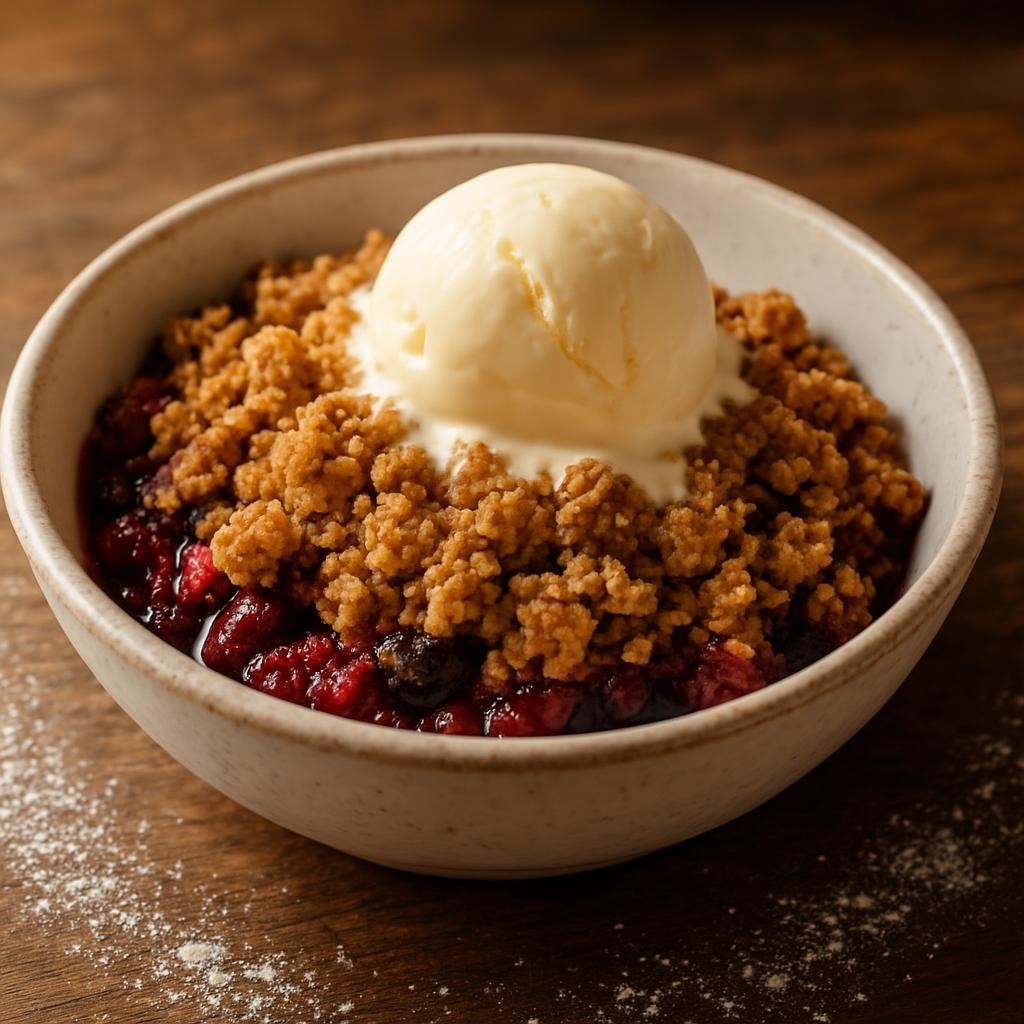
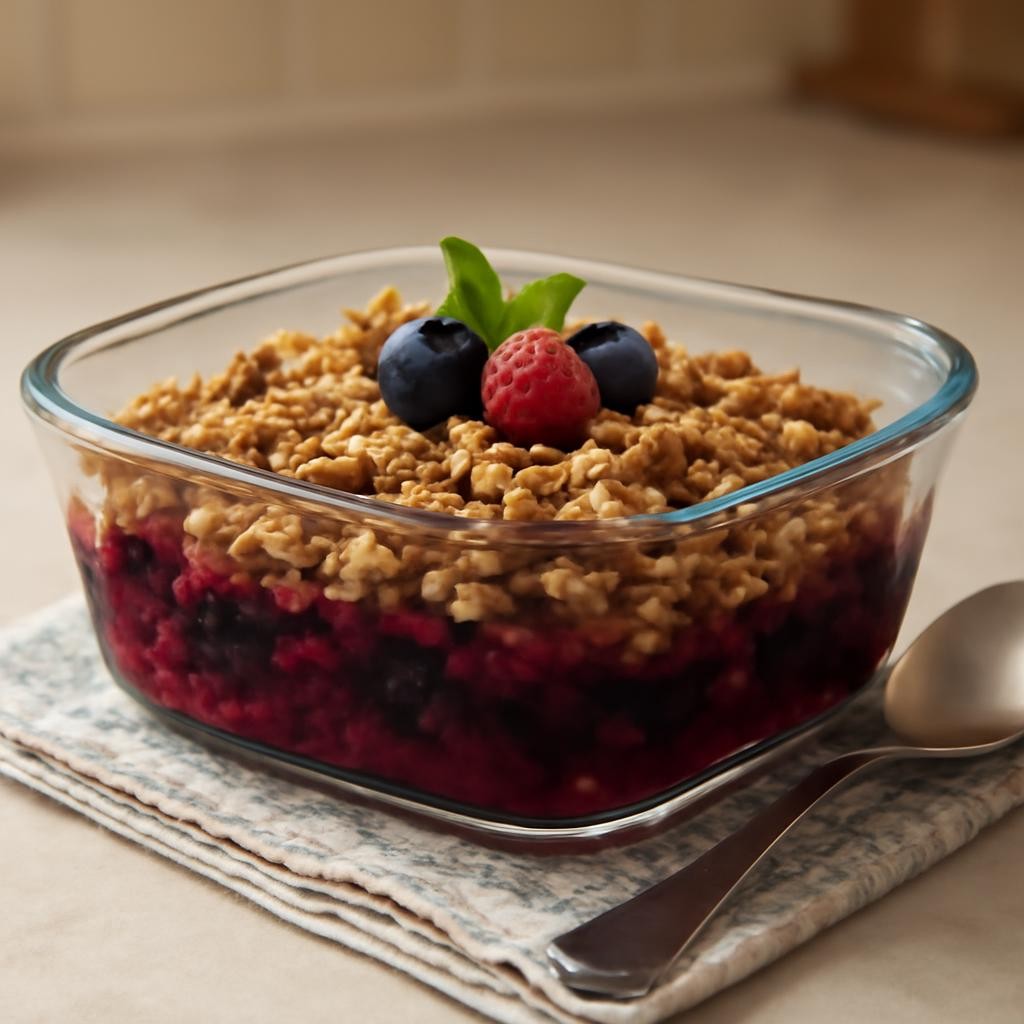
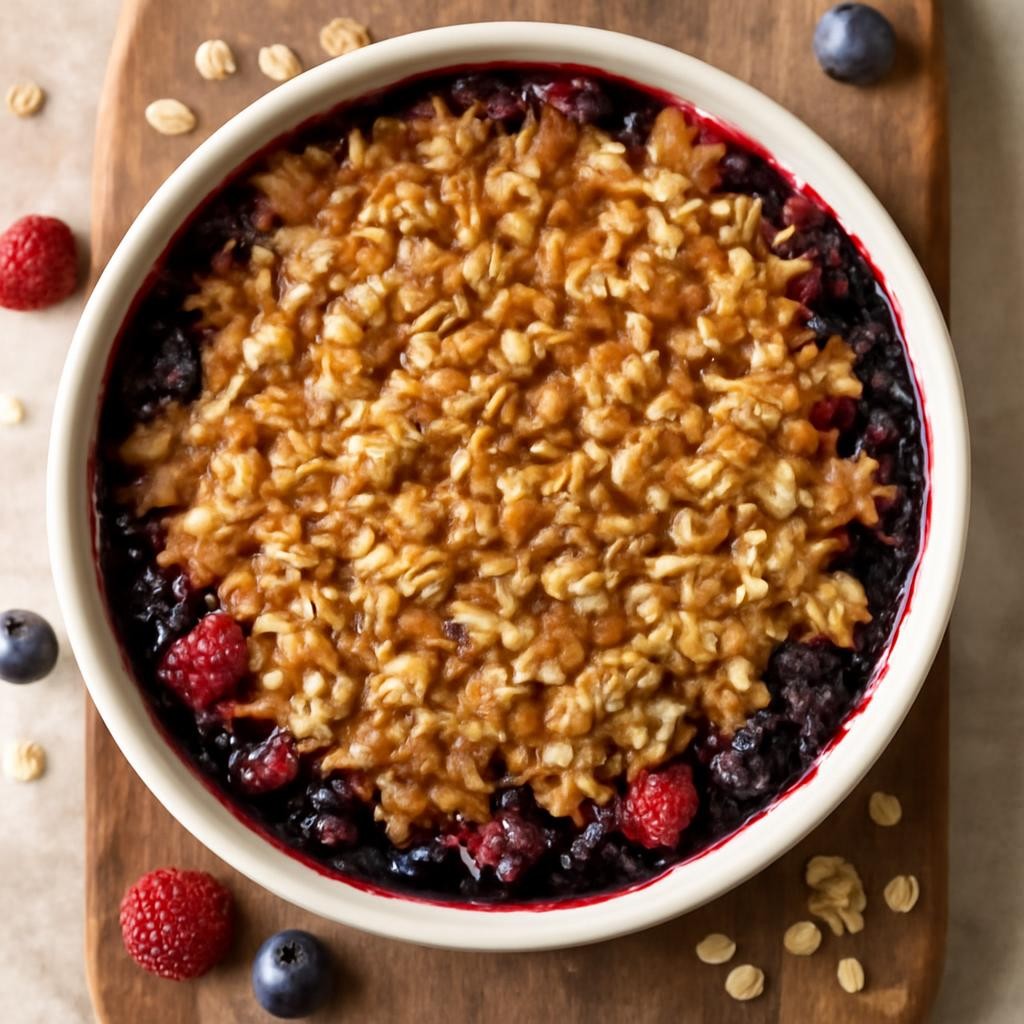
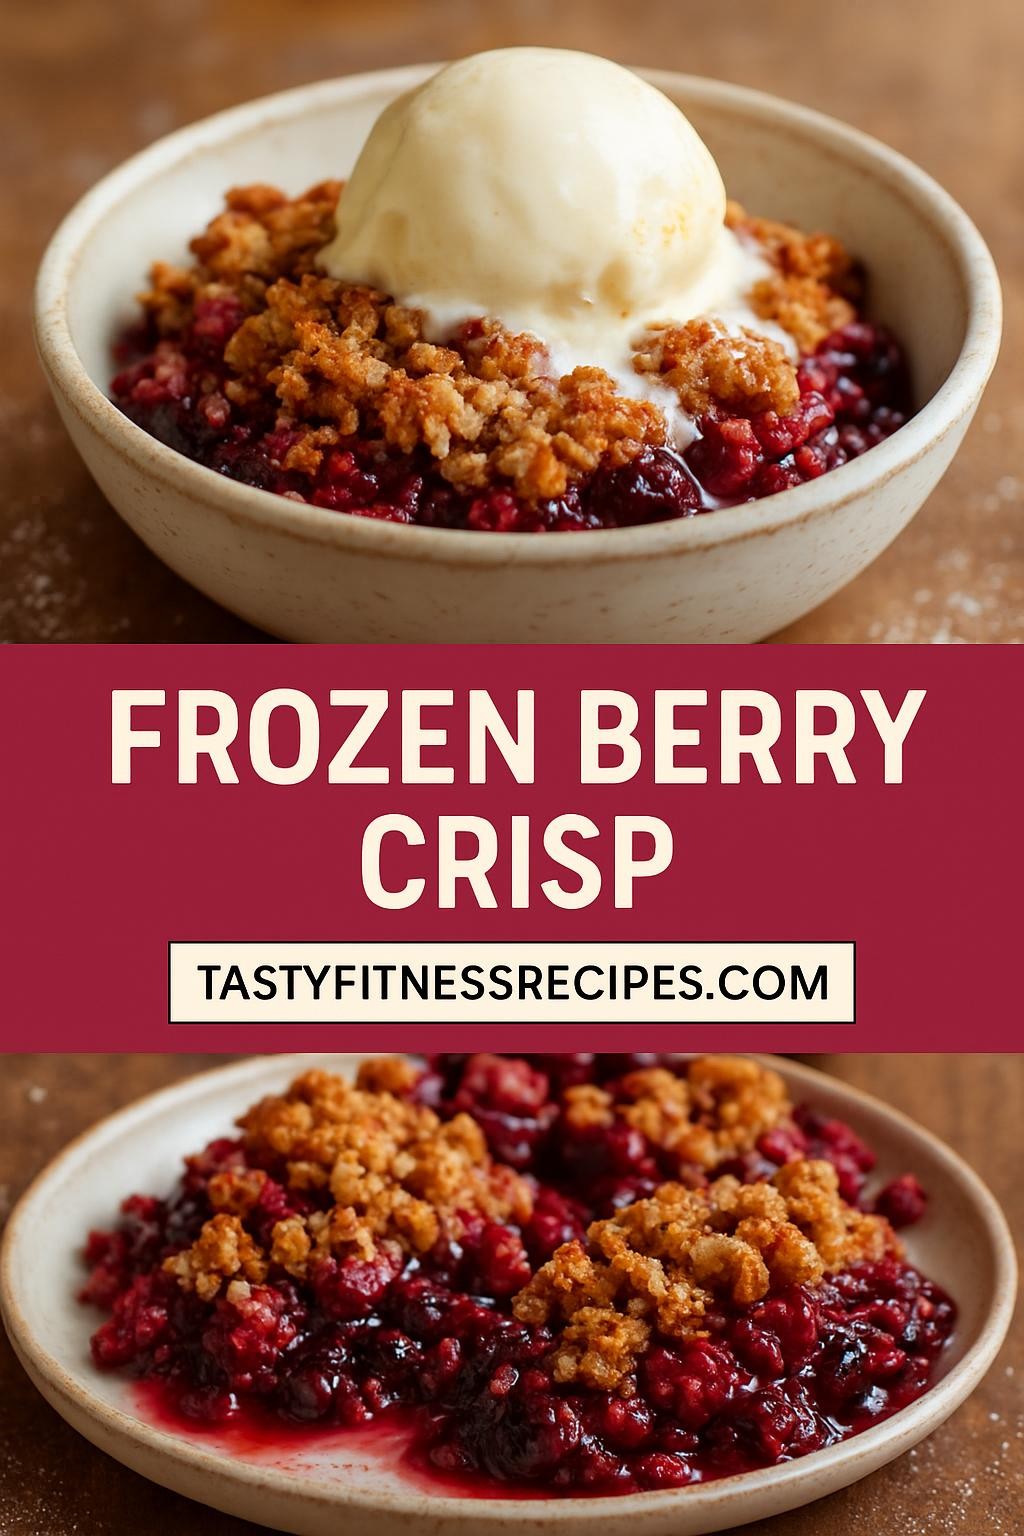
Frozen Berry Crisp is a delightful dessert that combines the tangy sweetness of mixed berries with a buttery, crunchy topping. Ideal for any occasion, this dessert is not only quick to prepare but also incredibly satisfying. The warm, bubbling berry filling paired with the crisp topping creates a symphony of textures and flavors that will leave your taste buds dancing. Whether you top it with a scoop of vanilla ice cream or enjoy it on its own, this Frozen Berry Crisp is sure to become a favorite in your dessert repertoire.
Why You Will Love This Recipe
Readers will absolutely adore this recipe for its vibrant flavors and ease of preparation. The combination of frozen berries provides a burst of freshness and sweetness, while the oat topping adds a satisfying crunch. This dessert is perfect for busy weeknights or impromptu gatherings, as it requires minimal ingredients and time. Additionally, it’s a fantastic way to indulge in a dessert that fits well into a balanced lifestyle, as it offers fruit benefits while still satisfying your sweet tooth.
Tips and Tricks
To ensure your Frozen Berry Crisp turns out perfectly, consider these tips:
- Use a mix of frozen berries such as blueberries, raspberries, and strawberries for a more complex flavor profile.
- Allow your berries to thaw slightly before mixing in sugar and cornstarch to get the best consistency.
- For added flavor, consider adding a splash of vanilla extract or a sprinkle of cinnamon to the berry mixture.
- If you want a more crumbly topping, use your hands to mix the butter and oats until they resemble coarse crumbs.
- To save time, you can prepare the topping a day in advance and store it in the refrigerator until you’re ready to bake.
Make Ahead Tips
This Frozen Berry Crisp is a wonderful make-ahead dessert. You can prepare the berry filling and topping separately and store them in the refrigerator for up to 2 days. When you’re ready to bake, simply combine them in a baking dish and proceed with the baking instructions. Alternatively, you can assemble the entire dish ahead of time and cover it tightly with foil or plastic wrap before placing it in the freezer for up to 2 months. Just remember to bake it straight from the freezer, adjusting the baking time slightly to ensure it cooks through.
Recipe Variations
Feel free to get creative with this recipe! Here are some variations you can try:
- Substitute the frozen berries with apples or peaches for a different fruity flavor.
- For a nutty twist, add chopped walnuts or pecans to the topping mixture.
- Make it a bit healthier by swapping out half of the butter for unsweetened applesauce.
- Try adding a layer of granola on top of the crisp for an extra crunch.
- Experiment with spices by adding cardamom or nutmeg for a warm flavor.
How to Serve
To serve your Frozen Berry Crisp, dish out individual portions into bowls and top with a generous scoop of vanilla ice cream or whipped cream. For a touch of elegance, drizzle with a bit of honey or sprinkle with a dusting of powdered sugar. Garnish with fresh mint leaves or a few whole berries on top for a pop of color. The contrast between the warm, gooey berries and the cold ice cream makes for a delightful experience.
Pairing Suggestions
Pair your Frozen Berry Crisp with a refreshing glass of iced tea or a sweet dessert wine like Moscato. For coffee lovers, a rich espresso or a latte complements the sweet and tart flavors beautifully. If you’re looking for a side dish, consider serving it with a simple salad of mixed greens and a light vinaigrette to balance out the sweetness.
How to Store
Leftovers can be stored in an airtight container in the refrigerator for up to 3 days. If you want to keep it longer, you can freeze the crisp for up to 2 months. To reheat, bake it in the oven at 350°F (175°C) until warmed through, approximately 20-25 minutes. You can also microwave individual portions for a quick treat, but be cautious not to overheat, as it can become soggy.
Equipment Needed
For this recipe, you’ll need:
- A 9×9-inch baking dish (or similar size)
- Mixing bowls
- A fork or pastry cutter for mixing the topping
- Measuring cups and spoons
- A spatula for mixing and serving
If you don’t have a 9×9-inch dish, any similar-sized dish will work just fine!
Dietary Adaptations
To make this recipe vegan, substitute the butter with a vegan butter alternative or coconut oil. For a gluten-free version, use gluten-free oats and ensure your cornstarch is certified gluten-free. If you need it to be nut-free, simply omit any nuts from the topping. You can also use maple syrup instead of sugar for a healthier sweetener option.
Seasonal Adaptations
In the spring and summer, consider using fresh berries if they are available. In the fall, you could swap the berries for spiced apples or pears. During the winter months, frozen fruits are still a great option, and you can add flavors like ginger or cloves to warm up the dish.
Recipe FAQs
1. Can I use fresh berries instead of frozen?
Yes, fresh berries can be used, but you may need to adjust the sugar based on their sweetness.
2. How do I prevent the topping from becoming soggy?
Make sure to bake it until the topping is golden brown, and allow it to cool slightly before serving.
3. What can I substitute for cornstarch?
You can use arrowroot powder or all-purpose flour as a thickener instead of cornstarch.
4. How long does it take to bake from frozen?
If baking from frozen, increase the baking time to about 45-50 minutes, checking for doneness.
Frozen Berry Crisp

Frozen Berry Crisp is a delightful dessert that combines the tangy sweetness of mixed berries with a buttery, crunchy topping. Ideal for any occasion, this dessert is not only quick to prepare but also incredibly satisfying.
Ingredients
- 4 cups frozen mixed berries (blueberries, raspberries, strawberries)
- 1 cup rolled oats
- 1/2 cup brown sugar
- 1/2 cup all-purpose flour
- 1/2 cup unsalted butter, melted
- 1 tablespoon cornstarch
- 1 teaspoon vanilla extract
- 1/2 teaspoon cinnamon
- Pinch of salt
Instructions
- Preheat your oven to 350°F (175°C).
- In a mixing bowl, combine the frozen berries, cornstarch, vanilla extract, and a tablespoon of brown sugar. Mix well and set aside.
- In another bowl, mix the rolled oats, remaining brown sugar, flour, cinnamon, and salt.
- Pour the melted butter into the oat mixture and stir until well combined.
- In a greased 9x9-inch baking dish, spread the berry mixture evenly on the bottom.
- Top the berries with the oat mixture, spreading it evenly over the top.
- Bake in the preheated oven for 25-30 minutes, or until the topping is golden and the berries are bubbling.
- Remove from the oven and let it cool for at least 10 minutes before serving.
Nutrition Information
Yield
8Serving Size
1Amount Per Serving Calories 250Total Fat 13gSaturated Fat 7gTrans Fat 0gUnsaturated Fat 4gCholesterol 31mgSodium 23mgCarbohydrates 33gFiber 4gSugar 16gProtein 3g
TastyFitnessRecipes.com, occasionally offers nutritional information for recipes contained on this site. This information is provided as a courtesy and is an estimate only. This information comes from online calculators. Although tastyfitnessrecipes.com attempts to provide accurate nutritional information, these figures are only estimates.
Final Thoughts
Creating a Frozen Berry Crisp is not just about baking; it’s about bringing warmth and comfort to your home. This recipe is a versatile and delightful dessert that can be enjoyed year-round, whether you’re serving it at a family dinner or enjoying it on a quiet evening at home. With its simple ingredients and easy preparation, it’s a dish that anyone can whip up and enjoy. So, gather your ingredients and treat yourself and your loved ones to this comforting and delicious dessert!