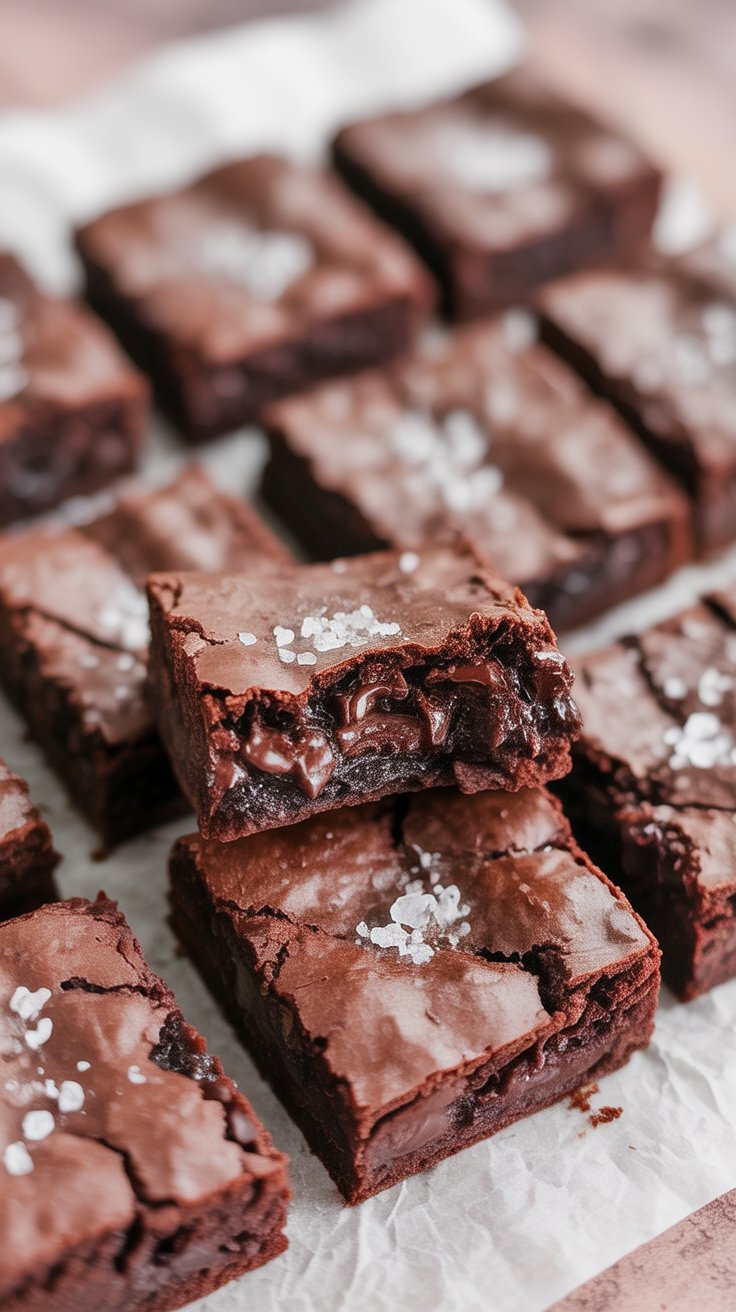
I’ve baked these brownies for school bake sales, late‑night Netflix snacks, and family dinners where dessert needs to be a sure thing. The batter comes together in one bowl, no mixer, and the payoff is that shiny, crinkly top with a thick, chewy middle. Friends always ask for “the chewy ones,” and this is the pan I reach for every time.

What You’ll Get From This Pan
-
Taste: Deep chocolate with a clean finish, sweet but not cloying.
-
Texture: Chewy center with fudgy edges, paper‑thin shiny crust on top.
-
Effort: One bowl, whisk and spatula, under an hour start to finish.
Why These Brownies Always Disappear First
I learned early that the pan material, cocoa type, and a small tweak or two decide whether brownies turn out chewy or cakey. This version hits that sweet spot. A mix of melted butter and neutral oil gives chew without losing butter flavor. Two eggs plus an extra yolk add richness and that bend‑but‑not‑break bite. A spoonful of cornstarch mimics the boxed mix chew many of us grew up with. Chocolate chips in the batter help create that glossy top everyone loves. The method is simple, so the little details get to shine.
Ingredient Notes That Actually Matter
Cocoa powder
Dutch‑process cocoa brings a deeper flavor and a slightly fudgier bite. Natural cocoa works too for a lighter chocolate note and an even chewier texture. Pick one based on what you like and what’s in the pantry.
Chocolate chips
Semisweet chips keep the sweetness balanced. They melt just enough to help that shiny crust form and leave tiny pockets of chocolate inside. A handful of chopped walnuts or pecans fits right in with the chips. Skip the nuts if you want pure chew.
Fat
Melted butter + neutral oil = flavor plus chew. All butter gives great taste but can lean toward fudgy‑cakey. A splash of oil keeps the bite elastic. Avocado or sunflower oil works well.
Sugar
Stick to the full amount. Sugar helps shine, moisture, and structure. Cutting it leads to dry, crumbly squares that go stale fast.
Eggs
Two whole eggs and one extra yolk. The yolk adds fat and protein that support chew. Cold eggs help keep the top flat and the crumb moist.
Flour
A modest amount of all‑purpose flour is the backbone. Too much turns the pan into cake. If you don’t use a scale, fluff the flour, spoon into the cup, and level off.
Cornstarch
Just a spoonful thickens the batter slightly and gives that box‑style chew and glossier top. Tiny ingredient, big result.
Salt + Vanilla
Salt sharpens the chocolate. Vanilla rounds it out. Simple and worth it.
Step‑By‑Step: One Bowl, No Mixer
-
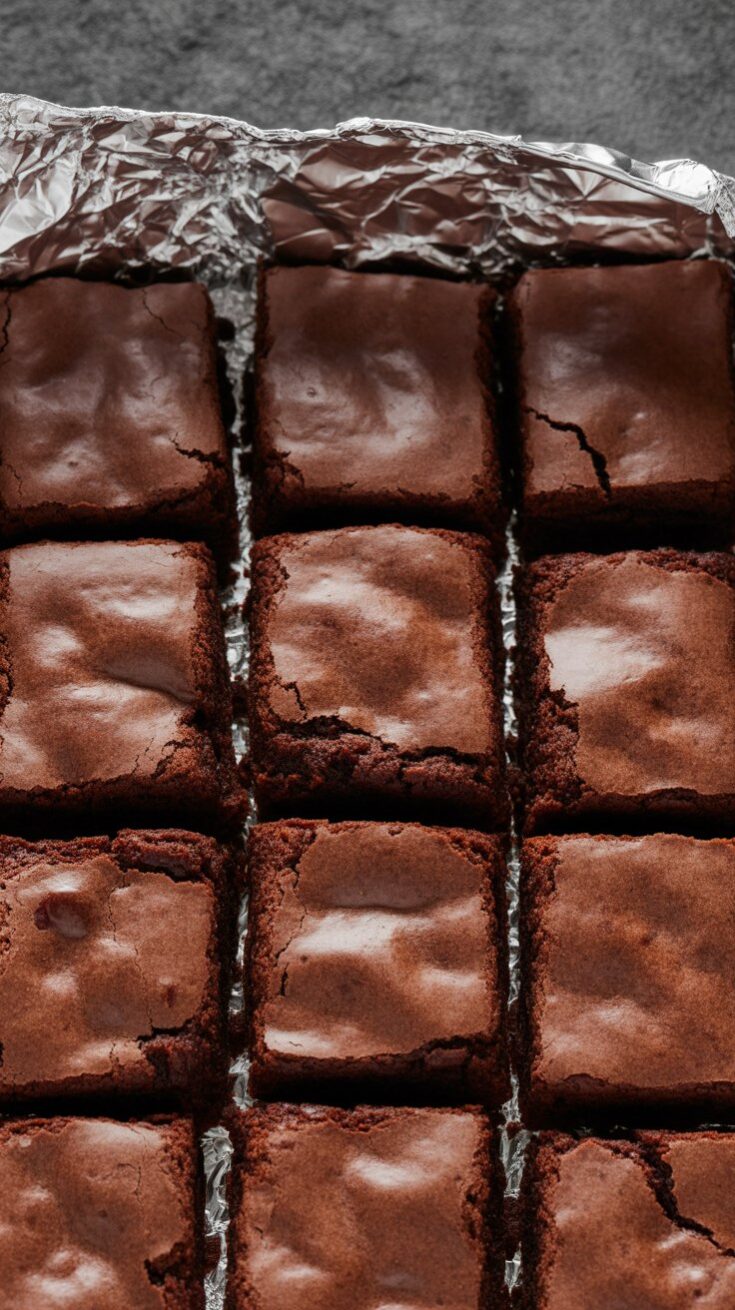
Prep the pan. Line a light‑colored metal 8‑inch or 9‑inch square pan with parchment, leaving handles to lift. Light metal bakes even; glass runs hot at the edges and can leave the center underdone.
-
Whisk the wet base. Warm melted butter, oil, and sugar together until the mixture looks glossy and a bit thick. Whisk in eggs and yolk one at a time, then vanilla. Whisk for a minute to help that shiny crust form.
-
Add the dry mix. Sift in cocoa, flour, cornstarch, and salt. Fold gently until you no longer see dry streaks.
-
Fold in chips (and nuts if using). A few streaks of batter are fine; over‑mixing toughens the crumb.
-
Bake. Spread in the pan, smooth the top, and bake until the edges look set and the center jiggles slightly with a glossy top and thin cracks. A toothpick should come out with moist crumbs, not wet batter.
-
Cool. Let the pan rest on a rack until room temp. Lift out and slice with a warm knife for clean edges.
Tips That Make a Difference
-
Pan choice: Light metal is your friend for even heat. Skip glass and dark nonstick for this one.
-
Shiny top trick: Whisk the eggs and sugar mixture until thick and a bit ribbony before adding dry ingredients. The chips help too.
-
Don’t overbake: Pull the pan while the center still looks slightly soft. Carryover heat finishes the job.
-
Clean cuts: Chill the slab for 30–40 minutes, wipe the knife between cuts, then bring to room temp for serving.
-
Flavor boosts: A pinch of instant espresso deepens chocolate. You won’t taste coffee, just a stronger cocoa note.
-
No mixer needed: A sturdy whisk and a silicone spatula keep the crumb tender.
Make‑Ahead Plan
-
Day 1: Bake, cool, and slice. Store airtight at room temp if serving the next day.
-
Up to 48 hours: Keep the slab whole, wrapped tight. Slice just before serving for the freshest texture.
-
For parties: Bake two pans the day before. Chill, slice into neat squares, then let them come to room temp on a tray under a loose cover.
Serving Ideas
-
Warm sundae: Reheat a square for 10–15 seconds and top with vanilla ice cream and a pinch of flaky salt.
-
Lunchbox treat: Wrap small bars in parchment; they soften to peak chew by midday.
-
Coffee break: A square with hot coffee brings out the cocoa.
-
Dessert board: Arrange brownie bites with strawberries and a bowl of whipped cream.

Storage & Freezer Notes
-
Room temp: Airtight container up to 3 days. Texture stays chewy and the top keeps its shine.
-
Fridge: Up to 5 days. The chill makes them extra fudgy; let sit 10 minutes if you prefer softer.
-
Freeze: Wrap the whole slab or individual pieces, then place in an airtight container. Freeze up to 3 months. Thaw in the fridge overnight or on the counter for a couple of hours.
Batch Size & Pan Options
-
Double batch: Use a light‑colored metal 9×13‑inch pan and double every ingredient. Add a few minutes to the bake time. Watch the center; pull when edges are set and the middle has that soft wobble.
-
Thicker bars: Use an 8‑inch square for extra height. Bake a bit longer than a 9‑inch.
Troubleshooting From My Kitchen Notebook
-
Dry edges, gooey middle: Usually a glass pan or dark pan. Switch to light metal and line with parchment.
-
No shiny top: Under‑mixed eggs and sugar, or no chips. Whisk the wet base well and keep the chips.
-
Cakey texture: Too much flour or over‑mixing. Weigh flour or use the spoon‑and‑level method, and fold gently.
-
Collapsed center: Underbaked or cut while hot. Let the pan cool fully before slicing.
Yield: 16Fudgy Chewy Brownie

These chewy brownies are my go-to when I want something irresistibly rich with that shiny, crackly top and dense, chocolatey middle. No fancy equipment, no fuss—just deep cocoa flavor and the perfect bite every single time.
Prep Time 15 minutesCook Time 30 minutesTotal Time 45 minutesIngredients
- 3/4 cup semisweet chocolate chips
- 1 tablespoon cornstarch
- 1/2 cup all-purpose flour (spooned and leveled)
- 1/4 teaspoon fine sea salt
- 3/4 cup unsweetened cocoa powder (Dutch-processed preferred)
- 1/3 cup vegetable oil
- 1 teaspoon vanilla extract
- 2 large eggs + 1 additional yolk, straight from the fridge
- 1 1/4 cups granulated sugar
- 5 tablespoons unsalted butter
Instructions
- Start by preheating your oven to 325°F. Line an 8×8-inch metal pan with parchment paper or foil, leaving some overhang for easy lifting later, and lightly grease it.
- In a large microwave-safe bowl, melt the butter with the sugar—about 1 minute should do. Give it a good whisk until the sugar dissolves into the butter. Add in the eggs and extra yolk, then whisk vigorously for a full minute to help that shiny crust form. Mix in the vanilla, then stir in the oil and cocoa powder until everything’s smooth and dark.
- Using a spatula, fold in the flour, cornstarch, and salt. Stir just until no streaks remain. Toss in the chocolate chips and give one final gentle mix.
- Scrape the thick batter into your prepared pan, spreading it out evenly. Bake for about 30 minutes, or until the center is set but still tender—look for moist crumbs on a toothpick. Try not to overbake; that’s the secret to keeping them chewy.
- Cool the brownies completely in the pan before slicing. They firm up beautifully as they sit, making it easier to get clean cuts.
Notes
- Keep any leftovers in an airtight container at room temp for up to 3 days. They’re gooey warm, perfectly chewy at room temp, and dense and fudgy if you pop them in the fridge—choose your texture adventure!
Nutrition Information
Yield
16Serving Size
1
Amount Per Serving Calories 216Total Fat 12gSaturated Fat 5gTrans Fat 0gUnsaturated Fat 6gCholesterol 44mgSodium 44mgCarbohydrates 27gFiber 1gSugar 20gProtein 2gTastyFitnessRecipes.com, occasionally offers nutritional information for recipes contained on this site. This information is provided as a courtesy and is an estimate only. This information comes from online calculators. Although tastyfitnessrecipes.com attempts to provide accurate nutritional information, these figures are only estimates.
FAQs
Can I use natural cocoa instead of Dutch‑process?
Yes. Natural cocoa gives a brighter chocolate note and can lean even chewier. Dutch‑process tastes deeper and a touch fudgier. Both work.
Do I really need cornstarch?
A small amount helps with that boxed‑style chew and shine. The brownies still bake up well without it, just a bit less glossy and slightly softer.
Can I skip the chocolate chips?
I wouldn’t. Chips help with the shiny crust and give melty pockets inside. If you’re low on chips, add at least a small handful.
Why no baking powder or baking soda?
Leaveners puff the crumb and push the texture toward cake. Leaving them out keeps the brownies dense and chewy.
Can I swap the oil?
Use any neutral oil with a clean flavor. Avocado, sunflower, or canola work well.
How do I know they’re done?
Edges set, top shiny with fine cracks, center soft but not liquid. A tester comes out with damp crumbs.
If you bake these, tag your pan “for sharing” or the corner pieces might vanish before dinner. This is the brownie I rely on when I need guaranteed chewy squares without fuss. From one home baker to another—enjoy that first bite.
Try other Brownie recipes: