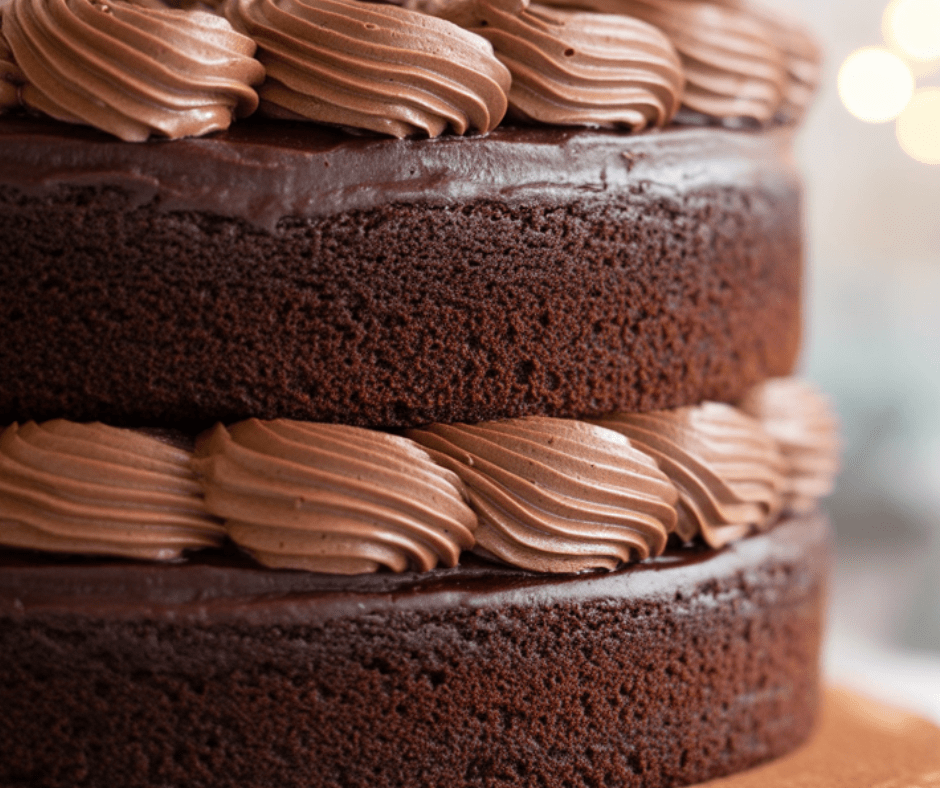
If there’s one chocolate cake recipe I keep coming back to—whether it’s a birthday, a celebration, or just a Thursday—it’s this rich, moist, deeply chocolatey gluten free cake. You’d never guess it skips the gluten or that it can be made entirely dairy free. It’s fluffy, fudgy in the best way, and finished with a dreamy chocolate buttercream that practically melts on your tongue.

And the best part? It’s so simple, you don’t need a reason to make it. But if you do serve it at a party, people will be stunned when you say it’s gluten free. No box mixes here—just real ingredients, done right.
Key Ingredients You’ll Need
Let’s talk about what makes this cake extra special. These are the heavy hitters that bring it all together.
Gluten Free Flour Blend: I always reach for Bob’s Red Mill 1:1 Baking Flour. It’s consistent, has xanthan gum already mixed in, and gives that soft texture we all crave. If you’re using another brand, make sure it has xanthan gum.
Cocoa Powder: You’ll need a full cup—no skimping. This is where the richness comes from.
Eggs: Three large ones. They hold everything together and help the cake rise beautifully.
Sugar: A combo of white and brown sugar gives the best of both worlds—sweetness and that bit of caramel depth from the molasses in brown sugar.
Milk: I usually use almond milk, but any kind works—oat, soy, dairy, whatever you’ve got.
Coffee (or Hot Water): Coffee enhances the chocolate flavor without tasting like coffee. But hot water works in a pinch.
Oil: Use a neutral oil. I like refined avocado oil for its light taste, but any mild oil is fine.
How To Make This Gluten Free Chocolate Cake
Alright, let’s get baking. Here’s how I do it—nothing fancy, just good cake.
- Prep your pans.
You can use a 9×13-inch pan or two 8-inch round cake pans. Spray the bottom lightly with oil, then line with parchment paper to avoid any stickage. Set aside. - Make the batter.
In a large mixing bowl, whisk all the wet ingredients except the coffee or boiling water. Sift in your dry ingredients, then whisk to combine. - Add the coffee.
Pour in the hot coffee or water and whisk again. The batter will look a bit runny—don’t worry, that’s exactly what we want. - Bake.
Pour the batter into your prepared pan(s). If you’re making a layer cake, divide the batter evenly. Bake at 350°F for:- 35–45 minutes (for a sheet cake)
- 32–37 minutes (for round layers)
You’ll know it’s done when a toothpick poked into the center comes out clean.
- Cool down.
Let the cakes rest in their pans for about 15 minutes. Then gently turn them out onto a cooling rack. Peel off the parchment and flip them right side up. - Frost and finish.
Once they’re completely cool, slather on that buttercream. Decorate with sprinkles if you’re feeling fancy!
My Go-To Gluten Free Flour
I’ll say it again—Bob’s Red Mill 1:1 is my ride-or-die. It’s the reason this cake doesn’t turn out dry or rubbery. King Arthur’s GF flour blend is also solid, but I recommend sticking to Bob’s for this recipe.
Whatever blend you use, make sure it has xanthan gum—that’s what gives the cake structure and that soft, tender bite.
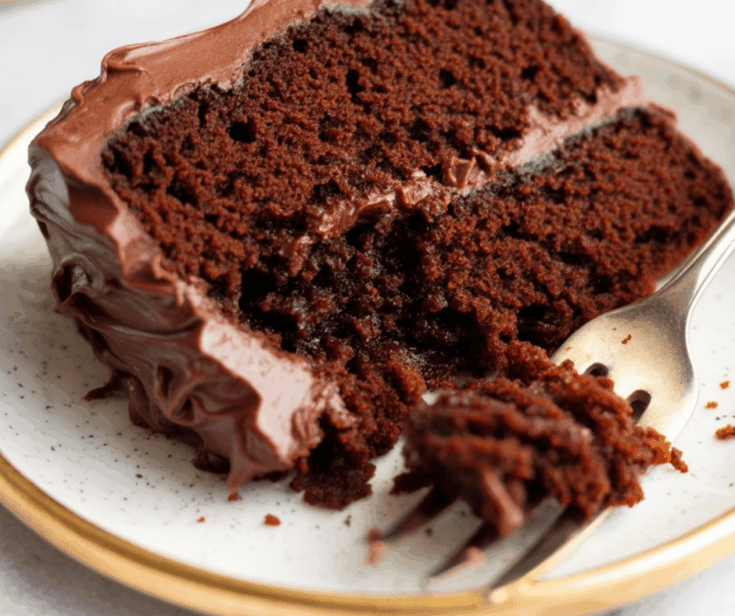
What Makes the Texture So Perfect?
I’ve had a lot of trial-and-error moments with gluten free cakes, and here’s what I’ve learned:
- Eggs are essential. Three eggs give lift and structure. This cake isn’t vegan, and I don’t recommend egg substitutes for this version. But if you need a vegan option, check out my vegan GF chocolate cake.
- Mixing matters. Overmix, and your cake could sink. Undermix, and it might be dense. I find that using a whisk gives you just the right amount of air without overdoing it.
- The boiling water trick. It activates the cocoa and gives that full-bodied chocolate flavor. Don’t skip this—it’s my not-so-secret weapon.
How To Store It (And Freeze It!)
This cake is just as good on day three as it is fresh—if you store it right.
- Keep it in an airtight container at room temperature for 3–4 days.
- Or stash it in the fridge for up to a week.
- I usually just leave mine on a cake stand with a lid, and it stays moist and lovely.
Want to prep ahead? You can freeze the unfrosted cake layers! Just cool them completely, wrap tightly in plastic wrap, and freeze for up to 2 months. Thaw in the fridge overnight before frosting.
FAQs
Can I make this cake ahead of time?
Yes! You can bake the cake layers in advance and freeze them, or even just bake and frost the day before. It holds up great.
Does it really taste like regular chocolate cake?
Absolutely. Most people can’t even tell it’s gluten free—and if you use vegan butter for the frosting, it’s dairy free too!
Can I make cupcakes with this recipe?
You sure can. Just adjust the baking time—start checking around 18–22 minutes.
Can I skip the coffee?
Yes, but I recommend using hot water in its place. The hot liquid helps bloom the cocoa and adds moisture.
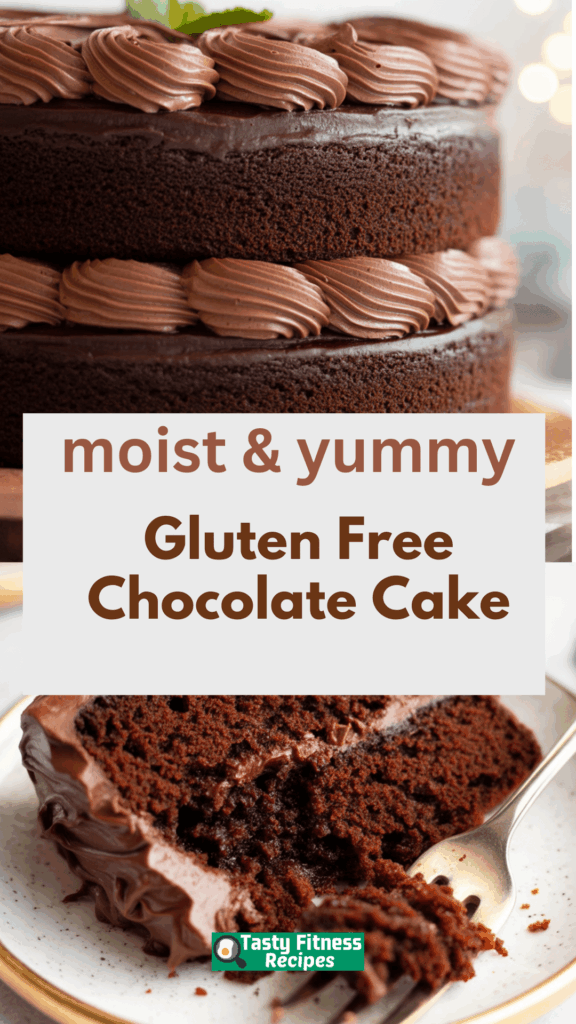
Gluten Free Chocolate Cake
This one-bowl gluten-free chocolate cake is ideal for birthdays, celebrations, or simply when you're craving something sweet! It's moist, fluffy, and has the perfect crumb — you won’t believe it’s gluten-free!
Ingredients
Dry:
- 2 ⅔ cups gluten-free all-purpose baking flour, sifted
- 1 cup cocoa powder, sifted
- 1 ½ teaspoons baking powder
- 1 teaspoon baking soda
- ½ teaspoon salt
Wet:
- 1 cup milk (dairy or non-dairy)
- 1 cup white sugar
- ¾ cup light brown sugar
- 3 eggs
- 1 teaspoon vinegar (white or apple cider)
- 1 tablespoon vanilla extract
- ⅔ cup oil (safflower, canola, refined avocado, etc.)
- 1 cup hot brewed coffee or boiling water
Buttercream:
- ¾ cup butter (1 ½ sticks)
- ½ cup sifted cocoa powder
- 3–5 cups sifted powdered sugar (adjust for desired consistency)
- 2–4 tablespoons milk (dairy or non-dairy)
- 2 teaspoons vanilla extract
Instructions
- Preheat oven to 350°F (175°C).
- Prepare either one 9×13 cake pan or two round 8-inch cake pans. Lightly oil the bottom and line with parchment paper. Set aside.
- In a large mixing bowl, whisk together all wet ingredients, except the coffee or boiling water.
- Add in the sifted dry ingredients and whisk until combined.
- Pour in the coffee or boiling water and whisk until smooth. The batter will be thin.
- Pour the batter into the prepared pan(s). For layer cakes, divide the batter evenly—using a kitchen scale can help.
- Bake for 35–45 minutes for a sheet cake or 32–37 minutes for layer cakes, or until a toothpick inserted comes out clean. Ovens vary, so check early.
- Allow to cool in the pan for 10–20 minutes, then carefully invert onto a wire rack. Peel off the parchment and flip the cake upright.
- Let the cake cool completely before applying frosting.
For the Buttercream:
- In a stand mixer or using a handheld mixer, beat softened butter until creamy.
- Mix in the sifted cocoa powder.
- Gradually add powdered sugar, one cup at a time, until desired consistency is reached.
- Beat in milk and vanilla until well combined.
- Frost the cooled cake and decorate with sprinkles if desired. Enjoy!
Notes
- You can adjust the amount of cocoa powder in the buttercream to get your preferred color and chocolate intensity. Using less cocoa may require more sugar, and vice versa.
- It’s recommended to use a high-quality gluten-free flour blend that includes xanthan gum for best results.
- Avoid using cocoa powders with weak flavor or poor absorption, as they can negatively affect the final result.
Nutrition Information
Yield
16Serving Size
1Amount Per Serving Calories 1272Total Fat 20gSaturated Fat 7gTrans Fat 0gUnsaturated Fat 12gCholesterol 61mgSodium 299mgCarbohydrates 274gFiber 2gSugar 258gProtein 5g
TastyFitnessRecipes.com, occasionally offers nutritional information for recipes contained on this site. This information is provided as a courtesy and is an estimate only. This information comes from online calculators. Although tastyfitnessrecipes.com attempts to provide accurate nutritional information, these figures are only estimates.
How To Serve
This cake is a showstopper on its own, but you can dress it up for any occasion:
- Sprinkle crushed nuts or mini chocolate chips over the frosting.
- Add fresh berries and a dusting of cocoa powder.
- Serve with a scoop of dairy-free vanilla ice cream for a next-level treat.
Try other recipes: