There was a time when I’d grab a boxed gluten-free cake mix for birthdays and school parties because, well, it just felt safe. But after a while, they all started tasting the same—kinda bland, kinda chalky, and definitely not satisfying. That’s when I started experimenting, and this homemade gluten-free vanilla cupcake recipe has been my go-to ever since. These cupcakes are soft, fluffy, and topped with a buttercream that’s dangerously good. Once you taste these, you won’t miss the mix—promise.

What Makes These Cupcakes a Keeper
This is one of those recipes that quietly becomes a family favorite. I’ve made these for everything from weekend treats to school celebrations where allergy-friendly snacks are a must. You’d never guess they’re gluten-free. They’re light without being dry, and the frosting? Let’s just say I’ve had to stop myself from eating it straight out of the bowl.
If you’ve tried store-bought gluten-free cupcakes that tasted like cardboard, trust me—this will change your mind. They’re easy to whip up, and you probably have most of the ingredients already in your kitchen.
What You’ll Need to Make It Happen
Unsalted Butter – This gives the cupcakes that soft, tender crumb. I always let it sit out for about 30 minutes before starting. If you need a dairy-free swap, Smart Balance works fine.
Granulated Sugar – Just regular white sugar to sweeten everything up.
Eggs – These give structure and help the cupcakes hold together.
Vanilla Extract – Go for pure vanilla if you can. It really makes a difference in both the cupcake and the frosting.
Gluten-Free All-Purpose Flour Blend – I usually stick with a rice flour-based blend that has xanthan gum included. I’ve had good luck with Pillsbury. Not all blends behave the same, so results can vary.
Baking Powder – For that nice dome on top.
Salt – Just a pinch to keep the sweetness balanced.
Milk – Regular whole milk works great, but I’ve also used almond or oat milk when baking for dairy-free friends.
Confectioners’ Sugar – This is for the buttercream. Make sure it’s sifted for a smooth finish.
Let’s Bake These Step-by-Step
For the Cupcakes:
Start by preheating your oven to 350°F and lining a muffin pan with cupcake liners. If you’re out of liners, a spritz of non-stick spray works fine too.
In a big bowl, cream your butter until it’s smooth. Add the sugar and beat until it’s fluffy—it should almost look like frosting already.
Crack in your eggs and pour in the vanilla. Mix until everything is fully blended.
Now add your gluten-free flour blend, baking powder, and salt. Mix just until combined.
Pour in the milk and mix for 1-2 minutes until you’ve got a smooth, creamy batter.
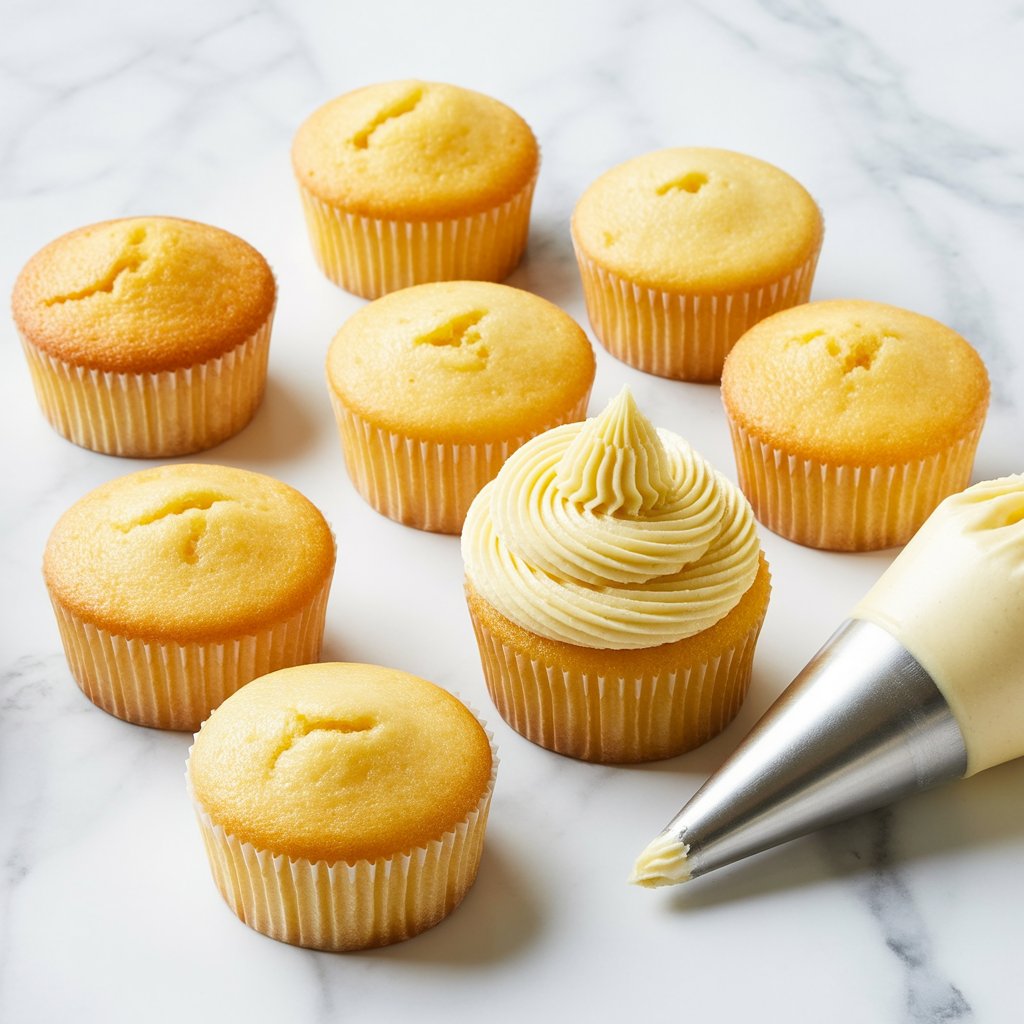
Use an ice cream scoop (my favorite tool for cupcakes) to fill each cupcake liner about ¾ full. It keeps things tidy and gives you even-sized cupcakes.
Bake for 25 minutes, or until a toothpick comes out clean. Every oven is a little different, so keep an eye on them near the end.
Let them cool completely before frosting. A wire rack helps them cool faster without getting soggy bottoms.
For the Frosting:
In a separate bowl, cream the softened butter until it’s light and smooth.
Stir in the vanilla.
Add the confectioners’ sugar, one cup at a time, mixing well after each addition.
Pour in the milk and whip it until fluffy and spreadable. If it’s too thick, add a teaspoon of milk at a time until it’s just right.
To make piping easier, I stand a piping bag in a tall glass while I fill it—less mess, more control. I usually use the Wilton 1M tip for that bakery-style swirl.
My Go-To Baking Tips
-
Measuring Flour Matters: Don’t scoop directly from the bag. Use a spoon to fill your measuring cup, then level it off with a knife. It helps keep the batter light and avoids dense cupcakes.
-
Don’t Overmix: Just mix until everything comes together. Overmixing can make your cupcakes sink or turn gummy.
-
Uniform Size = Even Baking: That greased ice cream scoop is a small investment that makes a big difference.
-
Let Them Cool: I’ve made the mistake of rushing into frosting too many times. Wait until the cupcakes are totally cool or the frosting will melt and slide right off.
Common Mistakes I’ve Made (So You Don’t Have To)
Cupcakes Spilling Over the Sides?
You probably filled the cupcake liner too high. I stop at ¾ full—any more and they rise too fast, spill over, and get messy.
Cupcakes Sinking in the Middle?
This usually happens if I overmixed the batter or added too much milk. Stick to the measurements and stir gently—no need to beat the batter to death.
Frosting Melting Off?
Been there. Even if the cupcakes feel cool, they can still be warm inside. I wait a good 30–40 minutes after baking before frosting just to be safe.
Storing and Freezing Tips
Short-Term: If you’re planning to eat them in a day or two, just pop them in an airtight container at room temp. If your kitchen runs hot, stash them in the fridge for up to 4 days.
Freezer Friendly: These freeze like a charm. I often make a batch ahead of time and freeze them individually wrapped for birthday parties or school events. Wrap each cupcake tightly in plastic wrap, then place in a freezer-safe bag. They’ll stay good for up to 3 months. Thaw at room temp for a few hours or overnight in the fridge.
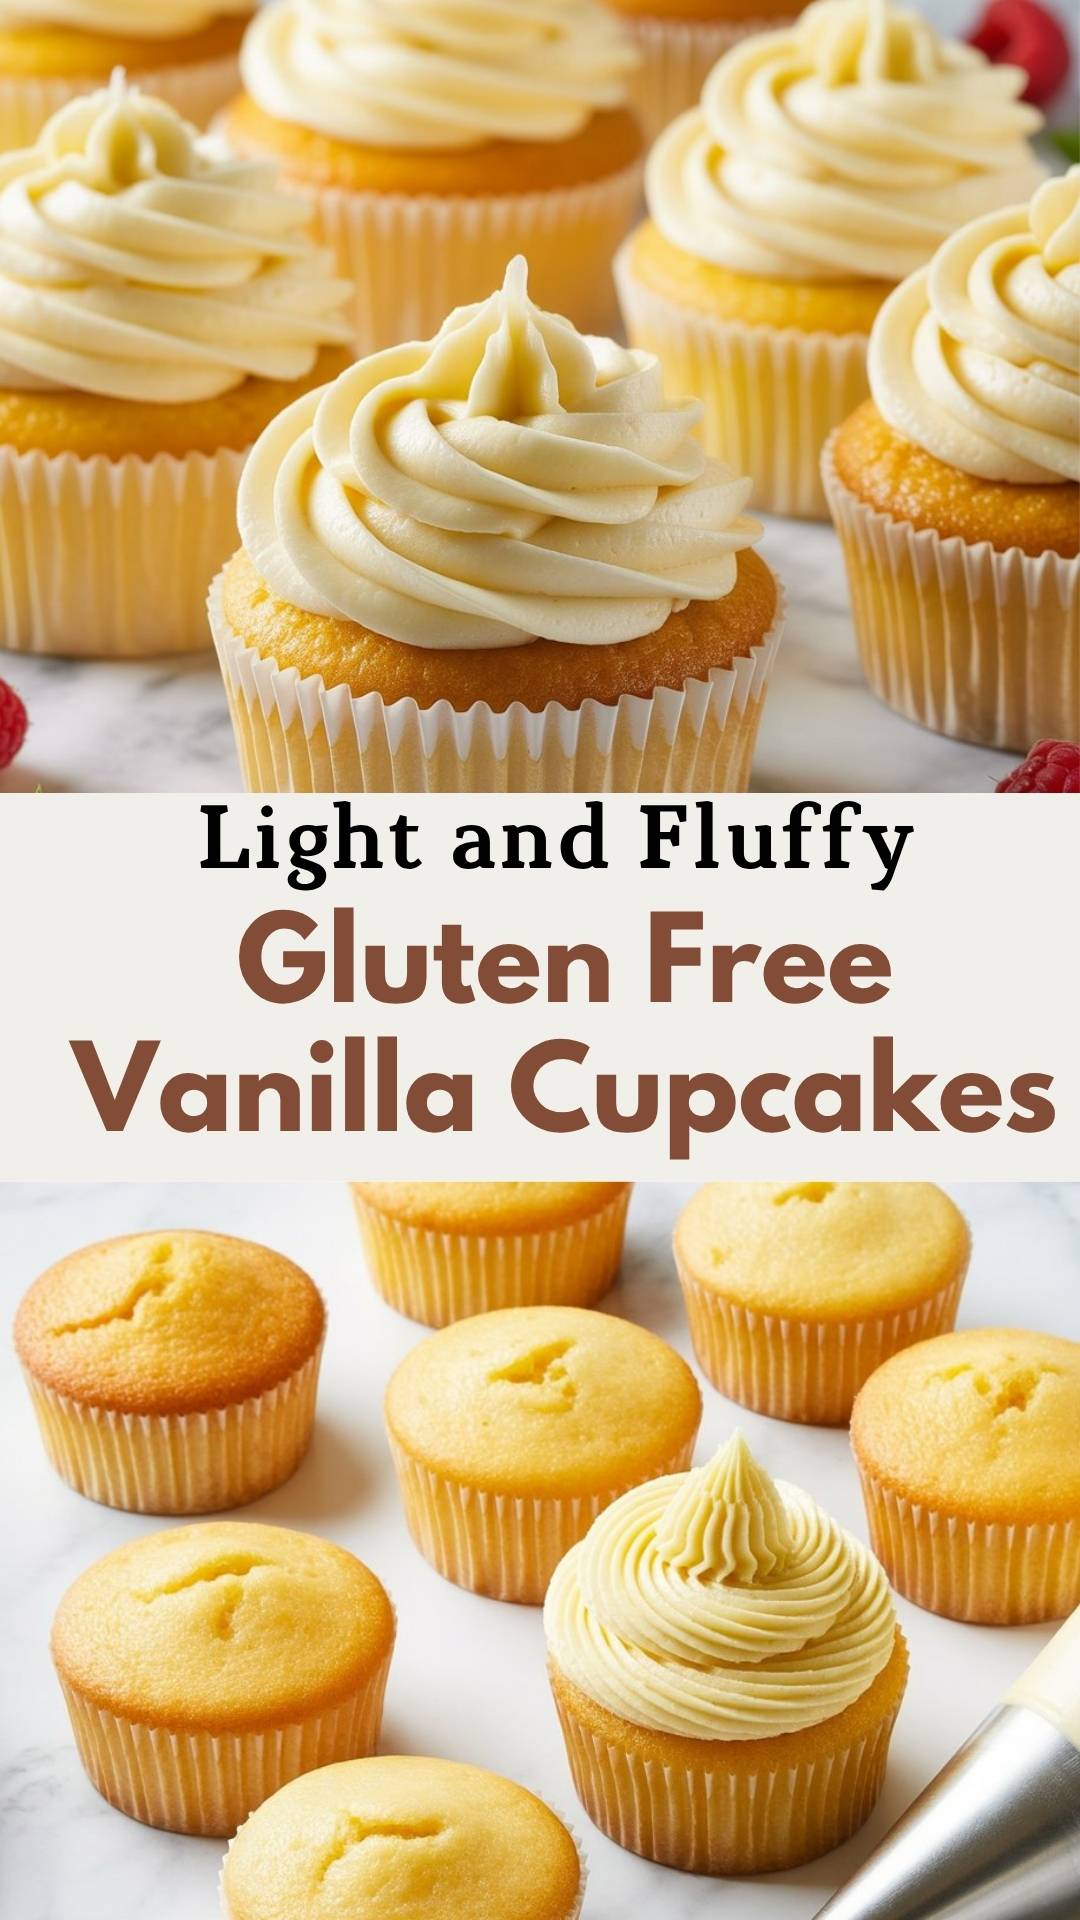
Gluten Free Vanilla Cupcakes
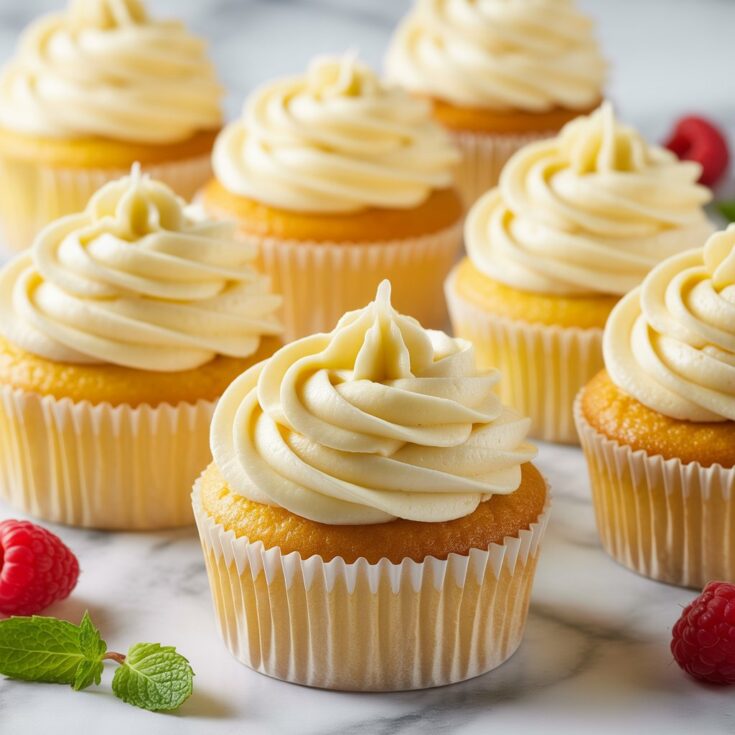
Light, fluffy, and topped with dreamy vanilla buttercream—these gluten-free vanilla cupcakes are always a hit at birthdays, potlucks, or just because. They’re easy to whip up and just as good with a dairy-free twist!
Ingredients
For the Cupcakes:
- 1 cup milk (use unsweetened almond, coconut, or cashew milk for dairy-free)
- 1 1/4 cups gluten-free all-purpose flour with xanthan gum (I usually go with Pillsbury GF blend)
- 6 tablespoons unsalted butter, softened (or Smart Balance for dairy-free)
- 3/4 cup granulated sugar
- 2 large eggs
- 1 tablespoon pure vanilla extract
- 1 3/4 teaspoons gluten-free baking powder
- 1/4 teaspoon salt
For the Vanilla Buttercream:
- 4 cups powdered sugar
- 3 tablespoons milk (or dairy-free milk of choice)
- 3/4 cup unsalted butter, softened (Smart Balance works great if you're avoiding dairy)
- 1 tablespoon pure vanilla extract
- 1/4 teaspoon salt
Instructions
- Start by preheating your oven to 350°F. Line a muffin tin with cupcake liners or lightly grease with gluten-free spray if you prefer going liner-free.
- In a large mixing bowl, beat the softened butter until creamy. Add sugar and continue mixing until it’s light and fluffy. Crack in the eggs one at a time, followed by vanilla, and mix until smooth.
- Now, stir together your gluten-free flour, baking powder, and salt in a separate bowl. Slowly add the dry mixture to the wet ingredients while mixing on low. Pour in the milk and beat the batter for a good two minutes until everything’s nice and smooth.
- Scoop the batter evenly into the cupcake liners—I swear by using a greased ice cream scoop for perfect portions. Bake for around 25 minutes, or until a toothpick poked into the center comes out clean.
- Let them cool completely on a wire rack before frosting.
- Making the Buttercream : Cream the softened butter in a large bowl until fluffy. Stir in vanilla extract and salt. Gradually add the powdered sugar, one cup at a time, mixing well after each addition. Pour in the milk and beat until the frosting becomes smooth and easy to spread or pipe.
- Want to get fancy? I usually pop a piping bag into a tall glass to fill it—less mess, more control. A star tip like Wilton 1M gives that classic swirl.
Notes
- Use the spoon-and-level method when measuring flour—don’t scoop straight from the bag.
- An ice cream scoop helps get uniform cupcakes without the drips and mess.
- Wait until cupcakes are fully cooled before frosting or it’ll melt right off.
- These freeze like a dream! Just pop them in an airtight container and they’ll keep for up to 3 months.
Nutrition Information
Yield
12Serving Size
1Amount Per Serving Calories 424Total Fat 19gSaturated Fat 11gTrans Fat 0gUnsaturated Fat 6gCholesterol 79mgSodium 186mgCarbohydrates 61gFiber 0gSugar 50gProtein 3g
TastyFitnessRecipes.com, occasionally offers nutritional information for recipes contained on this site. This information is provided as a courtesy and is an estimate only. This information comes from online calculators. Although tastyfitnessrecipes.com attempts to provide accurate nutritional information, these figures are only estimates.
Cupcake Q&A: Helpful Notes
Can I use almond flour instead?
Almond flour behaves differently—it doesn’t absorb moisture the same way. I’d stick with a gluten-free all-purpose blend for best results.
Can I make these dairy-free?
Yes! Use a dairy-free butter substitute and almond or oat milk. The texture might change a tiny bit, but they still turn out soft and tasty.
Can I color the frosting for themed events?
Absolutely. Just mix in a few drops of food coloring after the frosting is ready. I like using gel food coloring for vibrant results without thinning it out.
Let me know if you try these out—I love hearing how they turn out in different kitchens! I’ve made them for birthdays, bake sales, even office potlucks, and they’ve never let me down. Once you’ve made these from scratch, those boxed mixes just don’t hit the same.
Try other Cupcake recipes: