If you’ve ever tried the famous banana pudding from that little bakery in New York (yep, you know the one), then you already know it’s not just hype — it’s dangerously addictive. Creamy, airy, layered with vanilla pudding, just-ripe bananas, and those buttery-soft vanilla wafers that turn melt-in-your-mouth good after a chill in the fridge. The best part? You can make it right at home, no plane ticket needed.
 This one’s a no-bake crowd-pleaser that feels fancy but couldn’t be simpler. I’ve taken their original recipe and given it a few personal tweaks — mainly making sure there are enough wafers in every single spoonful (because yes, I’m that person). Let’s get right into it.
Why I’m Hooked on This Banana Pudding
I’ll admit it — I didn’t expect to fall for this dessert. I’m not big on trends, and banana desserts are usually not at the top of my list. But a trip to NYC changed everything.
I spotted the bakery purely by accident — it was just a few steps from our hotel. I figured I’d try their famous banana pudding out of curiosity. One spoonful and I was standing on the street, stunned. Light, fluffy, not too sweet, and those softened wafers? Pure comfort.
By the time we flew back home, I’d had it three times — and each time, I found myself wishing there were more wafers in the mix. So when I saw the recipe in their official cookbook, I knew I had to make it my way: with a wafer in every single bite.
What You’ll Need to Make It
Only five ingredients — seriously. But it’s all about how and when you use them. Here’s what I keep in mind:
-
Bananas: Go for firm, just-ripe bananas with a little green left at the stems. They hold their shape and don’t brown as quickly.
-
Vanilla Wafers: In the U.S., Nilla wafers are classic. Where I live, I usually grab whatever brand is closest in texture — crisp but not too hard.
-
Instant Vanilla Pudding Mix: It has to be instant — the kind that sets up quickly without needing to be cooked.
-
Sweetened Condensed Milk: Brings richness and sweetness to the pudding base.
-
Heavy Cream: This is what makes the pudding so fluffy — whip it till stiff peaks form.
How to Make Banana Pudding Step-by-Step
Let’s talk timing first — this pudding isn’t hard to make, but it does require a bit of chilling. I usually prep it in two stages: the pudding base the night before, and assembly the morning of the day I’m serving it.
Make the pudding base:
Whisk cold water, sweetened condensed milk, and vanilla pudding mix in a bowl. It’ll look thin at first, but don’t worry. Cover it with plastic wrap and refrigerate for 3 to 4 hours until it thickens.
Whip the cream:
Once the pudding is chilled, whip the heavy cream until you get stiff peaks. Gently fold the whipped cream into the pudding mixture — I use a rubber spatula and take my time to avoid deflating the cream.
Assemble the layers:
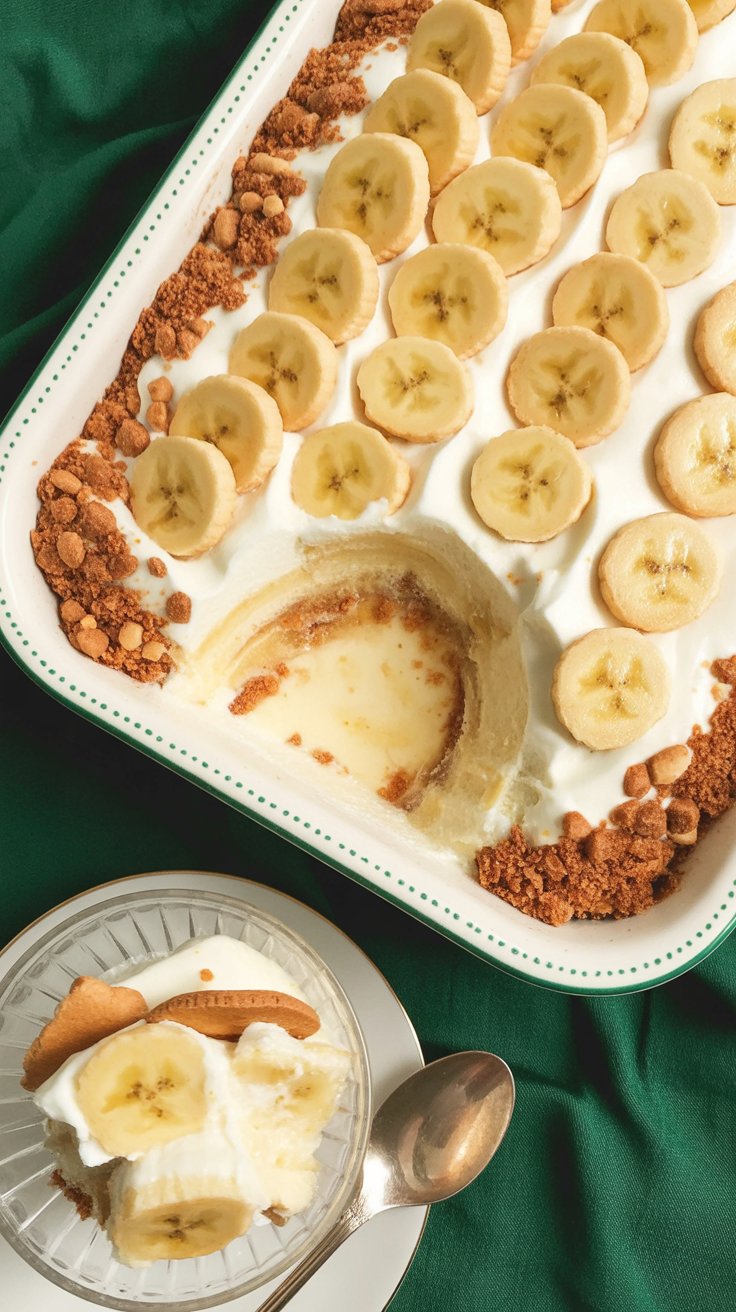
Grab your favorite casserole dish — I use an 8×12-inch one. Start with a layer of the pudding, then vanilla wafers, then banana slices. Repeat the layers and finish with a final layer of pudding on top.
Chill again:
Cover the dish tightly and refrigerate for 7 to 12 hours. This wait time is what makes the wafers soft and cake-like, and the flavors come together beautifully. I usually prep it in the morning for an evening gathering.
 Tips I’ve Learned from Making It on Repeat
-
Let it sit overnight if you can. I know it’s tempting to dig in early, but the wafers need time to soak up that creamy goodness.
-
Slice bananas thinly. Too thick and they take over the texture. Thin slices blend better with the pudding.
-
More wafers, more fun. I’ve found that doubling the amount of wafers compared to the original recipe makes every spoonful balanced — no bites left behind.
-
Fresh bananas on top. For serving, I slice a fresh banana and crumble a few extra wafers just before digging in. It gives a nice contrast to the softened layers.
How I Serve It for Guests
This is my go-to for potlucks, holiday spreads, or just a casual get-together where I want to bring something that looks like I fussed (but really didn’t).
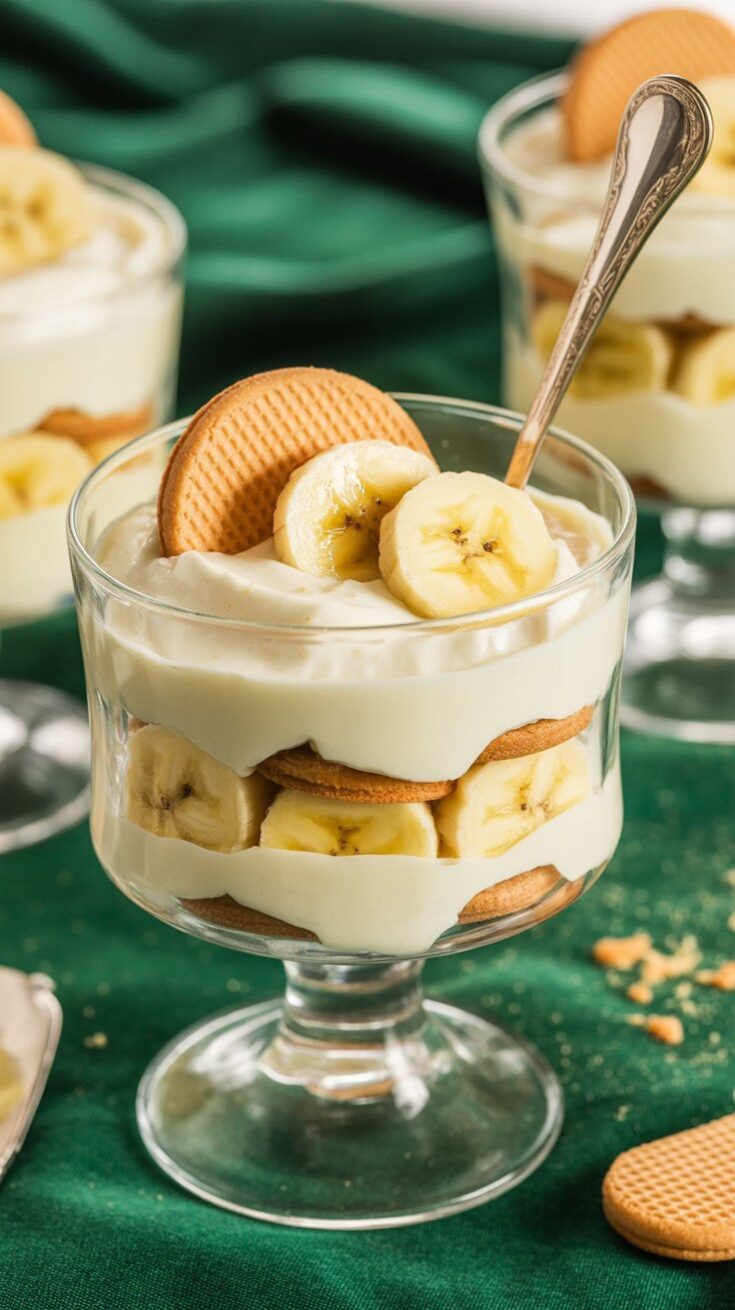
If I’m hosting, I serve it in the dish itself with a big spoon. But for something a bit fancier, I’ll layer it into clear dessert cups. It looks bakery-style and makes portioning super easy.
Pro tip: Chill the cups before filling them — it helps the pudding set faster and keeps it cool for longer.
Can I Make It Ahead?
Yes, and honestly, you should.
I always prep the pudding base the night before — it gives me peace of mind knowing part of the work is done. Assemble it in the morning and refrigerate till serving time. It holds up beautifully for 24 hours.
If you need to stretch it to 36 hours, it’s doable — the bananas might brown a bit, but the flavor stays on point.
Storage Tips
To be honest, leftovers don’t last long in our house — but if you happen to have some:
-
Store covered in the fridge for up to 48 hours.
-
The bananas inside the layers hold up well for about a day.
-
After that, they might start to brown, but the pudding still tastes amazing.
-
Don’t freeze it — the texture won’t survive the thaw.
 Your Questions Answered
Can I use cook-and-serve pudding instead of instant?
I wouldn’t recommend it — the texture just isn’t the same. Instant pudding keeps this recipe quick and fuss-free.
Can I make it without bananas?
Sure, but then it’s really just vanilla pudding with wafers. The bananas bring balance and a bit of tang that cuts through the sweetness.
What brand of wafers should I use if I’m not in the U.S.?
I’ve had luck with generic vanilla cookies that are light and crisp. You want something that will soak in the pudding without getting soggy too fast.
Can I add anything extra?
If you’re feeling bold, a drizzle of caramel on top or a handful of chopped pecans adds a fun twist. But honestly, this classic version is tough to beat.
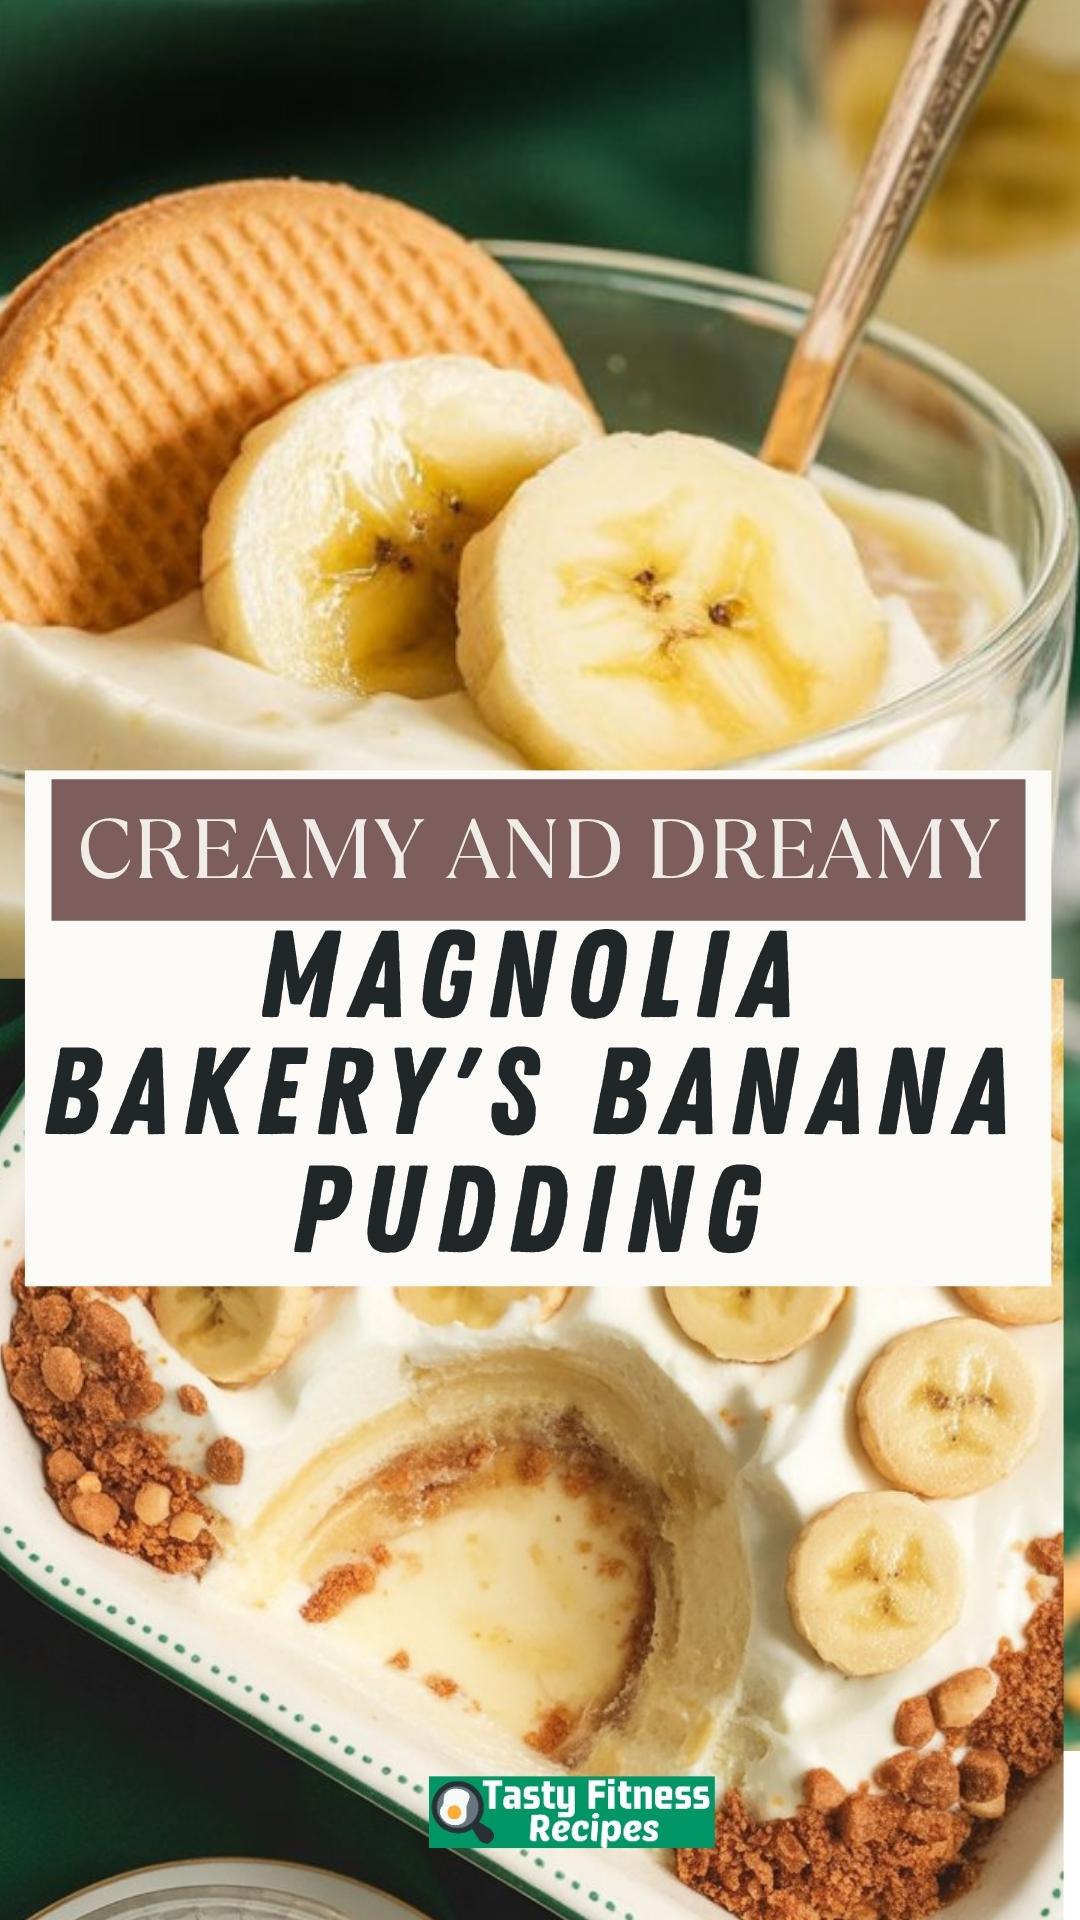
Magnolia Bakery's Banana Pudding
If there’s one dessert that disappears faster than it’s made, it’s this banana pudding. Creamy, dreamy layers of whipped vanilla pudding, bananas, and vanilla wafers—chilled until perfectly soft and scoopable.
Ingredients
- 4 cups sliced bananas (about 4 to 6 ripe bananas)
- 3 cups cold heavy whipping cream (35%)
- 396 g sweetened condensed milk (1 can)
- 1 ½ cups ice cold water
- 96 g instant vanilla pudding mix (1 box, 3.4 oz)
- 680 g vanilla wafers (about 2 boxes, 12 oz each)
Instructions
- Start by whisking together the condensed milk and ice-cold water in a mixing bowl until smooth. Stir in the pudding mix and whisk again until the mixture is thick and lump-free. Cover the bowl and refrigerate it for a few hours, or until the pudding firms up and holds its shape when scooped.
- While the pudding sets, whip the heavy cream using a hand mixer or stand mixer until stiff peaks form. Once the pudding is ready, gently fold in the whipped cream—taking care not to deflate the mixture. You’ll end up with a light, fluffy vanilla cream.
- Now grab a deep 8×12-inch casserole dish. Start with a spoonful of the cream mixture spread across the bottom. Add a single layer of vanilla wafers, followed by a generous layer of banana slices. Repeat the layers: cream, wafers, bananas—ending with a final layer of the vanilla cream on top.
- If you have any broken wafer pieces left, crumble them over the top. Cover the dish tightly with plastic wrap and refrigerate for at least 7 hours, though overnight (10–12 hours) gives the best texture. The wafers soften into a cake-like layer, and the bananas stay sweet and mellow when nestled between the creamy layers.
- Right before serving, you can add some fresh banana slices on top if you’d like. Scoop into bowls and watch it vanish.
Notes
- This dessert holds up well in the fridge for 24–48 hours. The bananas may brown slightly after a day, but they’re hidden under the cream and still taste fantastic. For best results, don’t add banana slices on top until it’s time to serve.
Nutrition Information
Yield
12Serving Size
1Amount Per Serving Calories 652Total Fat 34gSaturated Fat 18gTrans Fat 1gUnsaturated Fat 14gCholesterol 84mgSodium 360mgCarbohydrates 82gFiber 3gSugar 55gProtein 8g
TastyFitnessRecipes.com, occasionally offers nutritional information for recipes contained on this site. This information is provided as a courtesy and is an estimate only. This information comes from online calculators. Although tastyfitnessrecipes.com attempts to provide accurate nutritional information, these figures are only estimates.
Final Thoughts
If you’ve never made this pudding at home before, now’s the time. It’s foolproof, no-bake, and downright addictive. And once you serve it, don’t be surprised if everyone starts asking for “your banana pudding recipe” — just smile and say it’s a family favorite.
Try other Pudding recipes: