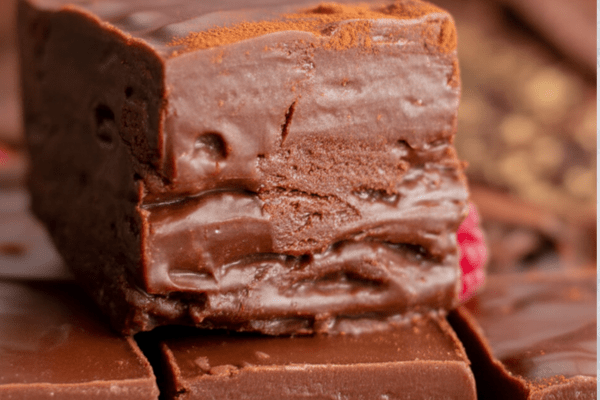
If you’re after a classic, no-nonsense chocolate fudge that tastes like a warm childhood memory, this is the one. Smooth, creamy, and irresistibly rich—this marshmallow fudge is pure chocolate heaven. No nuts, no swirls, no add-ins. Just the old-school fudge we all grew up sneaking pieces of from the fridge when no one was looking.

What Makes This Fudge Special?
This isn’t one of those fancy, overly complicated fudge recipes. No swirling in peanut butter, no peppermint crunch. It’s just rich, semi-sweet chocolate made unbelievably smooth with marshmallow creme. It’s the kind of treat that melts in your mouth and brings you right back to sitting around your family kitchen.
So, What Exactly Is Fudge?
Fudge is a soft chocolate candy made by cooking sugar, milk, and butter, then stirring in chocolate and other flavorings. This version uses marshmallow creme (a trick from the classic Kraft recipe) to guarantee that perfect melt-in-your-mouth texture. You’ll find fudge in quaint candy shops and Christmas tins—but honestly, it’s so much better homemade.
Why Is It Called “Fudge”?
No one really knows, but the word “fudge” originally meant “to mess up.” Rumor has it someone botched a batch of caramels and ended up with this soft, chocolatey creation. A sweet accident we’re very thankful for.
Ingredients You’ll Need
High quality makes all the difference here. Don’t skimp.
- Salted butter (unsalted is fine, but salted gives it more depth)
- Granulated sugar
- Evaporated milk (full-fat only!)
- Semi-sweet chocolate chips (Ghirardelli, Guittard, or Lindt—avoid off-brands)
- Marshmallow creme (also called marshmallow fluff)
- Vanilla extract
Can I Use Substitutes?
Sweetened Condensed Milk Instead of Evaporated Milk?
Nope. Not the same thing. They behave very differently in candy making.
Can I Use Marshmallows Instead of Marshmallow Creme?
Only if you’re absolutely desperate. Marshmallows contain cornstarch, which can make your fudge dry and grainy. If you must, use fresh ones and weigh out about 7 ounces.
Tips for the Best Fudge Every Time
- Measure everything before you start. Seriously.
- Use a heavy-bottom pot.
- Do NOT scrape the pot when pouring fudge into the pan.
- Use high-quality chocolate.
- Stick to marshmallow creme—not regular marshmallows.
- Keep sugar off the sides of the pot and spoon.
- Stir gently and constantly for 5 minutes or until 234–236°F.
How to Make Mom’s Easy Fudge
Step 1: Get Prepped
Have every ingredient measured and waiting. Remove foil seals. Tear open that chocolate chip bag. Line your pan with parchment. Trust me, once you start, there’s no pause button.
Step 2: Melt the Butter
Add the butter to a heavy-bottomed pot and melt over medium heat. Use it to coat the sides of the pot—this helps stop sugar crystals from forming later.
Step 3: Add Sugar & Evaporated Milk
Carefully pour the sugar into the center of the pot—no splashes on the side. Stir slowly with a wooden spoon, pulling in the butter from the edges. Add evaporated milk and gently mix.
Step 4: Bring to a Boil
Turn the heat to medium-high and stir constantly. Once the boil is steady (bubbles from the center), reduce the heat slightly and start your 5-minute timer. Stir gently but constantly. No breaks!
Pro tip: You can use a candy thermometer and aim for 234–236°F if you want to be extra sure.
Step 5: Add Chocolate
Turn off the heat and move the pot off the burner. Immediately stir in the chocolate chips until fully melted and smooth. No chunks allowed!
Step 6: Microwave the Marshmallow Creme
Heat the creme (with foil removed!) for 10–15 seconds until it starts to puff. This makes it way easier to scoop out.
Step 7: Add Marshmallow Creme and Vanilla
Stir the warmed creme into the chocolate mixture. Once mostly mixed in, add the vanilla. Stir until the color is consistent and the texture is silky smooth.
Step 8: Pour and Let It Set
Pour the fudge into your parchment-lined pan. Don’t spread it or smooth the top—those natural ripples are beautiful. And whatever you do, don’t scrape the pot into the pan. Those bits dry out quickly and will ruin your fudge’s perfect top.
Step 9: Save the Scraps
Scoop out the leftover fudge from the pot into a small bowl. That’s your reward for being the fudge maker. Enjoy it warm—no judgment.
Step 10: Let It Cool
Leave the fudge to cool completely at room temperature—this takes a few hours. Don’t try cutting it while it’s still warm or it’ll fall apart.
Step 11: Slice & Serve
Once it’s firm, lift it out using the parchment and cut it with a sharp knife. Wipe the blade between cuts for clean slices. I usually go for 7×7 rows to get 49 perfect squares.
Frequently Asked Questions
Why Did My Fudge Turn Out Grainy?
That’s sugar crystals re-forming—probably from some stray sugar on the side of the pan or spoon. Always keep sugar off the edges and make sure everything is well dissolved before adding chocolate.
What If My Fudge Didn’t Set?
Chances are the sugar mixture didn’t get hot enough. You can try re-melting the batch with a little more evaporated milk and heating to 234–236°F. Or use it as a sauce, make truffles, or let it firm up overnight.
Is Fudge a Dessert or a Candy?
Technically, it’s a type of candy. But it makes a pretty great dessert bite at the end of a meal or on a holiday tray.
How to Store Fudge
On the Counter
Fudge keeps well at room temperature for 2–3 weeks. Keep it covered and slice only what you need. Pre-sliced pieces dry out faster.
In the Fridge
Don’t do it. The fridge zaps the moisture and makes fudge crumbly.
In the Freezer
Wrap the block tightly in plastic or place it in a freezer-safe bag. It’ll last about 2 months. Let it thaw completely at room temp before slicing.
How to Serve
Cut into bite-sized squares and pile on a holiday plate, serve after dinner with coffee, or wrap in little boxes to gift. This fudge also makes a lovely addition to cookie boxes during the holidays.
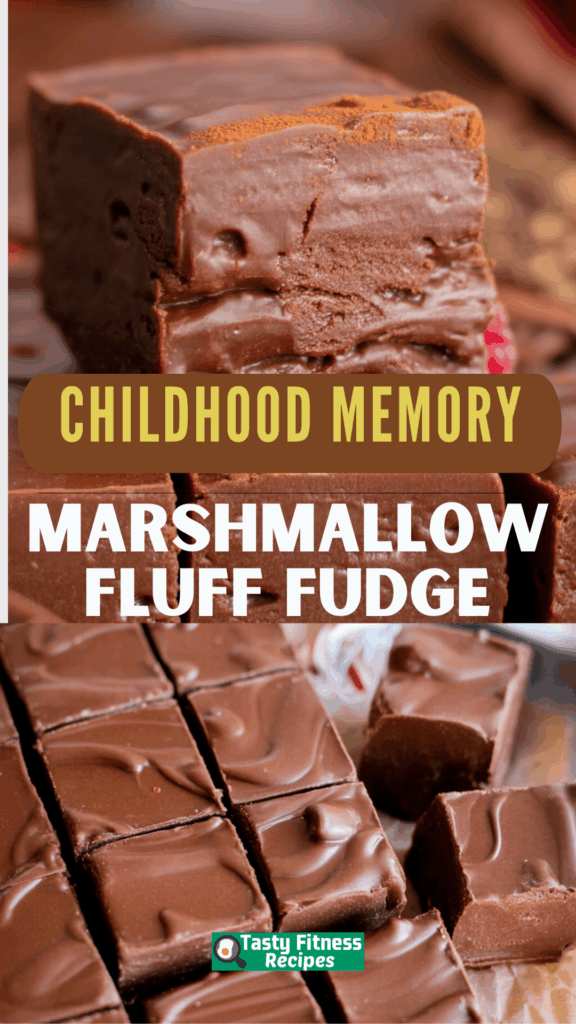
Marshmallow Fluff Fudge
If you're after a classic, no-nonsense chocolate fudge that tastes like a warm childhood memory, this is the one.
Ingredients
- 3/4 cup butter, this is 1 and 1/2 sticks; do not use margarine
- 2 & 1/2 cups white granulated sugar
- 2/3 cup full-fat evaporated milk, do not use sweetened condensed milk
- 12 ounce package (high quality) semi-sweet chocolate chips, 2 cups
- 7 ounce jar marshmallow cream, also called marshmallow fluff
- 1 teaspoon vanilla extract
Instructions
- Get all your ingredients ready before you begin, since fudge sets quickly and it’s important to have everything measured and prepared in advance.
- Line an 8×8 or 9×9 inch square pan with parchment paper and set it aside.
- Open the chocolate chips and remove all the foil from the marshmallow creme container so they’re ready to use.
- In a heavy 3-quart saucepan over medium heat, add the butter. As it melts, use a spoon to spread the butter up the sides of the pan to grease it well.
- When the butter is mostly melted, slowly pour the sugar into the center, keeping it away from the sides of the pan. Gently draw the butter in from the edges to evenly moisten the sugar. Make sure there are no sugar crystals left on the pan or spoon to prevent grainy fudge.
- Add the evaporated milk and stir thoroughly, ensuring all the dry sugar dissolves before the mixture begins to boil.
- Bring the mixture to a rolling boil over medium-high heat, stirring constantly with a wooden spoon.
- Once it’s boiling, set a timer for five minutes and reduce the heat to medium. Continue stirring constantly. If you’re using a candy thermometer, the temperature should reach 234–236°F. If it hits this temperature before five minutes, remove it from the heat to prevent overcooking and drying out the fudge.
- Add the chocolate chips and stir briskly until the mixture is completely smooth and melted, ensuring there are no lumps.
- Microwave the marshmallow creme for 10–15 seconds to make it easier to scoop.
- Add the marshmallow creme to the chocolate mixture and stir with a wooden spoon until it’s nearly combined.
- Pour in the vanilla extract and continue stirring until the mixture is evenly mixed with no white streaks. Stop once everything is well blended.
- Pour the finished mixture into the prepared pan immediately, leaving behind any bits in the pot that look dry or overcooked.
- Gently shake the pan to help the fudge settle evenly, letting the top stay naturally rippled rather than smoothing it out.
- Allow the fudge to cool completely at room temperature.
- Once cooled, cut it into pieces and serve. Cutting a 7×7 grid yields about 49 small, rich pieces.
- Store covered with plastic wrap at room temperature, and enjoy sneaking a piece whenever you pass through the kitchen—it’s all part of the holiday fun.
Notes
- Candy making requires precision, and this fudge recipe includes several important steps. Take the time to read through all the details carefully before you begin.
Nutrition Information
Yield
49Serving Size
1Amount Per Serving Calories 112Total Fat 7gSaturated Fat 4gTrans Fat 0gUnsaturated Fat 3gCholesterol 9mgSodium 31mgCarbohydrates 13gFiber 0gSugar 11gProtein 1g
TastyFitnessRecipes.com, occasionally offers nutritional information for recipes contained on this site. This information is provided as a courtesy and is an estimate only. This information comes from online calculators. Although tastyfitnessrecipes.com attempts to provide accurate nutritional information, these figures are only estimates.
Final Thoughts
This fudge is a tradition in our home, one I look forward to every December. And every year, it tastes like coming home. Whether you’re gifting it, sharing it, or sneaking pieces when no one’s looking—just make sure you enjoy every last bite.
Try other recipes: