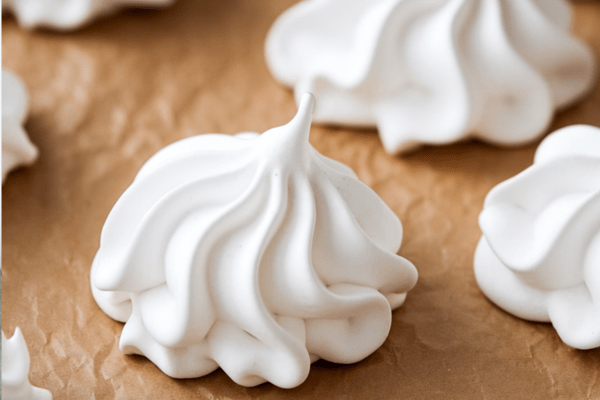
These meringue cookies are one of those treats that feel almost magical to me. Made with just five simple ingredients, they bake up into these airy, delicate little bites that remind me of sweet vanilla clouds. They’re deceptively light—under 25 calories each—so you can nibble without guilt, but honestly, stopping at one is the real challenge.

If you’ve never tried making meringue cookies before, don’t worry. They need a little patience, especially with the long, slow baking, but I’ll walk you through everything I’ve learned after many test batches in my own kitchen. By the end of this, you’ll be able to turn out these beautiful little cookies whenever the mood strikes.
Why I Always Make These for the Holidays
Every year, when the weather cools down, I find myself pulling out the mixer to whip up a batch of these meringue cookies. Winter is actually the best season for them, since lower humidity means they’re much more likely to hold their perfect, crisp texture.
I’ve ruined a few batches on rainy summer days—miserable, sticky failures that no one wants on the cookie tray. So I always recommend making these on a dry day if you can.
And let me tell you, they’re a hit at holiday gatherings. People love the way they melt in your mouth, and they look so elegant on a cookie platter. They’re also naturally gluten-free, so they’re a nice option if you have guests with dietary needs.
I’ve spent many evenings testing different variations to make sure they’re just right. Vanilla is my classic go-to, but once you master the basic technique, you can add all kinds of flavors and colors to fit the season.
Getting That Perfect Fluffy Gloss: Whipping to Stiff Peaks
If you’re new to meringues, this part can seem mysterious. Four egg whites and a cup of sugar might not look like much in the bowl, but once you start whipping, it transforms dramatically.
I remember the first time I made them, watching in amazement as the mixer turned a puddle of whites into this glossy, billowy mass. It felt like a science experiment that actually worked.
The trick is adding sugar slowly and whipping until you see those famous stiff peaks. When you lift the beater, the peak should stand straight up without folding over. That’s when you know you’re there.
If you’ve ever made angel food cake or whipped cream, it’s a similar idea, but meringues demand even more patience. Don’t rush it. Those extra minutes make all the difference between flat, sad cookies and beautifully airy ones.
My Best Kitchen Tips for Foolproof Meringues
Over the years, I’ve picked up a few lifesaving tips that I never skip.
- Clean equipment is non-negotiable. Any trace of grease or even a drop of yolk can ruin the meringue. I always wash my mixing bowl and beaters with hot soapy water and dry them thoroughly before starting.
- Separate your eggs carefully. I crack each one over a small bowl first so I can check for stray yolk before adding the white to the mixing bowl. It’s slower, but it saves me from starting over.
- Add sugar slowly. One tablespoon at a time lets it dissolve properly. I test it by rubbing a bit of the mixture between my fingers—if it’s still gritty, it needs more beating.
- Don’t stop too soon. Achieving stiff peaks can take several minutes. I’ve ruined batches by giving up early. The meringue should be so thick and glossy you can practically sculpt with it.
- But don’t overdo it. Once you hit stiff peaks, stop! Overbeating breaks the structure and leaves you with a gritty, unworkable mess.
- Fixing chewy meringues. If they turn soft after baking, I pop them back in the oven at 225°F for 10–20 minutes, then leave them to cool inside the oven. That always crisps them up again for me.
Adding Color and Fun Flavors
One of the things I love most about meringue cookies is how easy they are to customize. Once you’re comfortable with the basic recipe, you can get creative.
For the holidays, I make peppermint bark meringues by adding a bit of peppermint extract, striping the inside of my piping bag with red food coloring using a clean baking-only paintbrush, and then dipping the cooled cookies in dark chocolate with crushed peppermint candies.
They look festive, taste amazing, and make fantastic edible gifts.
Other times, I’ll use almond extract, lemon zest, or even swirl in a bit of cocoa. The possibilities are endless. Don’t be afraid to experiment and make them your own.
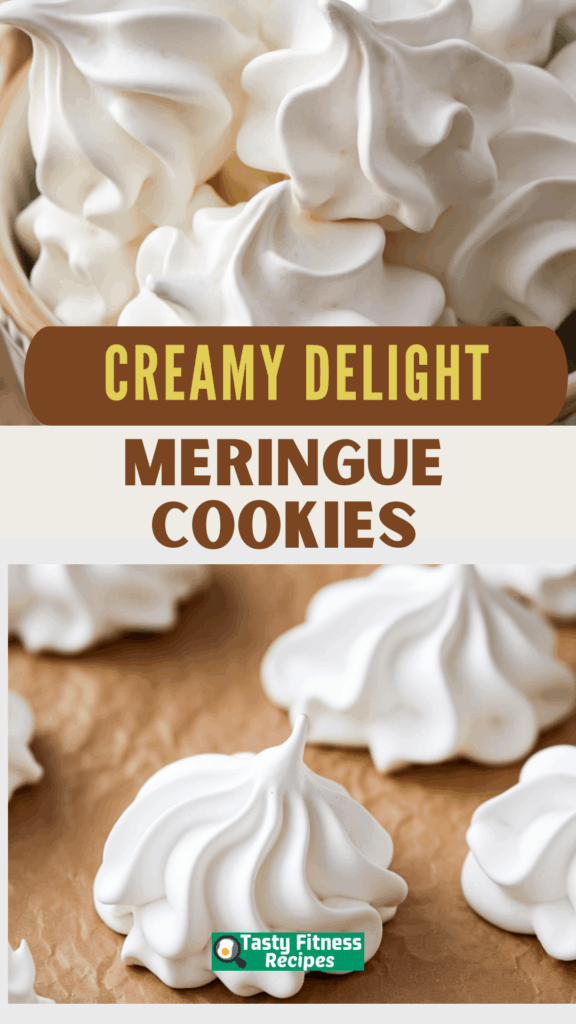
Meringue Cookies
Delicate, melt-in-your-mouth, and just the right touch of sweet—these classic meringue cookies are the perfect bite-sized treat for holidays or anytime you're craving something light and airy.
Ingredients
- 1 teaspoon vanilla extract
- 1 cup granulated sugar (200g)
- ⅛ teaspoon salt
- 4 large egg whites, at room temperature
- ½ teaspoon cream of tartar
Instructions
- Preheat the Oven: Set your oven to 225°F (105°C). Line your baking sheet(s) with parchment paper and set them aside.
- Whip the Egg Whites: In a large, impeccably clean mixing bowl, add the egg whites, salt, and cream of tartar. Using a mixer on low speed, beat the mixture until it begins to look foamy.
- Add the Sugar Gradually: Increase the speed to high, then slowly add in the sugar—about a tablespoon at a time. Give each addition 15–20 seconds to dissolve before adding more. This step is key to getting that glossy finish.
- Whip to Stiff Peaks: Continue beating until the mixture is thick, shiny, and forms stiff peaks. Rub a bit between your fingers—if it still feels gritty, keep mixing.
- Flavor & Optional Color: Gently fold in the vanilla extract. If you're adding any other extract or a touch of food coloring, now’s the time.
- Pipe the Meringues: Fill your piping bag with the fluffy mixture and pipe small swirls onto the parchment-lined sheets. Leave a little space between each, though they won’t spread.
- Bake Low & Slow: Bake for 1 hour. Once done, turn off the oven—but don’t open the door. Let the cookies cool inside the oven for another 1–2 hours to dry out completely.
Notes
- Make sure your bowl and beaters are completely grease-free.
- Avoid any trace of egg yolk in the whites—they won’t whip properly.
- Store your finished meringues in an airtight container, away from humidity and heat to maintain their crisp texture.
Nutrition Information
Yield
80Serving Size
1Amount Per Serving Calories 11Total Fat 0gSaturated Fat 0gTrans Fat 0gUnsaturated Fat 0gCholesterol 0mgSodium 6mgCarbohydrates 3gFiber 0gSugar 3gProtein 0g
TastyFitnessRecipes.com, occasionally offers nutritional information for recipes contained on this site. This information is provided as a courtesy and is an estimate only. This information comes from online calculators. Although tastyfitnessrecipes.com attempts to provide accurate nutritional information, these figures are only estimates.
Final Thoughts from My Kitchen
These little meringue cookies are one of those recipes that seem fancy but are actually so approachable once you understand the basics. They’re light, crisp, and practically dissolve on your tongue—like a sweet secret you get to share with friends and family.
So clear an afternoon, put on some music, and enjoy the simple pleasure of whipping up something beautiful. Trust me, it’s worth the wait in the oven.
Try other Cookies recipes: