Indulge in the rich, creamy delight of Milk Chocolate Fudge with this simple yet decadent recipe. This milk chocolate fudge combines the smoothness of milk chocolate with a melt-in-your-mouth texture, making it the ultimate treat for chocolate lovers. Perfect for any occasion, whether it’s a casual get-together or a festive celebration, this fudge is sure to impress. Plus, it’s easy to make and requires only a handful of ingredients, making it accessible for bakers of all skill levels.
Why You Will Love This Recipe
Readers will love this milk chocolate fudge recipe because it strikes the perfect balance between simplicity and indulgence. The flavor is rich and sweet, thanks to the milk chocolate, which offers a creamy sweetness that appeals to both kids and adults alike. This recipe is straightforward, involving minimal cooking time and effort, making it a stress-free dessert option. Moreover, it fits well into various lifestyles—it’s perfect for holiday gifting, parties, or simply satisfying a sweet craving at home.
Tips and Tricks
To ensure your milk chocolate fudge turns out perfectly, here are some useful tips and tricks. Firstly, use high-quality milk chocolate for a richer flavor—brands like Ghirardelli or Lindt are great choices. Make sure to line your baking dish with parchment paper for easy removal. When melting the chocolate, do it slowly over low heat to avoid burning. Stir continuously until smooth, and don’t rush the cooling process; letting the fudge cool completely in the fridge will enhance its texture. For added flavor, consider folding in a pinch of sea salt or a splash of vanilla extract before pouring it into the mold.
Make Ahead Tips
For busy cooks or meal preppers, this milk chocolate fudge recipe is perfect for making ahead. You can prepare the fudge up to a week in advance and store it in an airtight container in the refrigerator. If you want to make it even earlier, you can freeze it for up to three months. Just ensure to wrap it well in plastic wrap and then in aluminum foil before freezing. When you’re ready to enjoy it, simply thaw it in the fridge overnight.
Recipe Variations
There are numerous ways to personalize this milk chocolate fudge recipe. Consider adding chopped nuts, such as walnuts or pecans, for a delightful crunch. You can also incorporate dried fruits like cranberries or apricots for a chewy texture. If you want a flavor twist, try adding a tablespoon of espresso powder for a mocha fudge or a sprinkle of peppermint extract for a festive touch. For those who prefer a different chocolate experience, swapping in semi-sweet or dark chocolate can create a richer fudge.
How to Serve
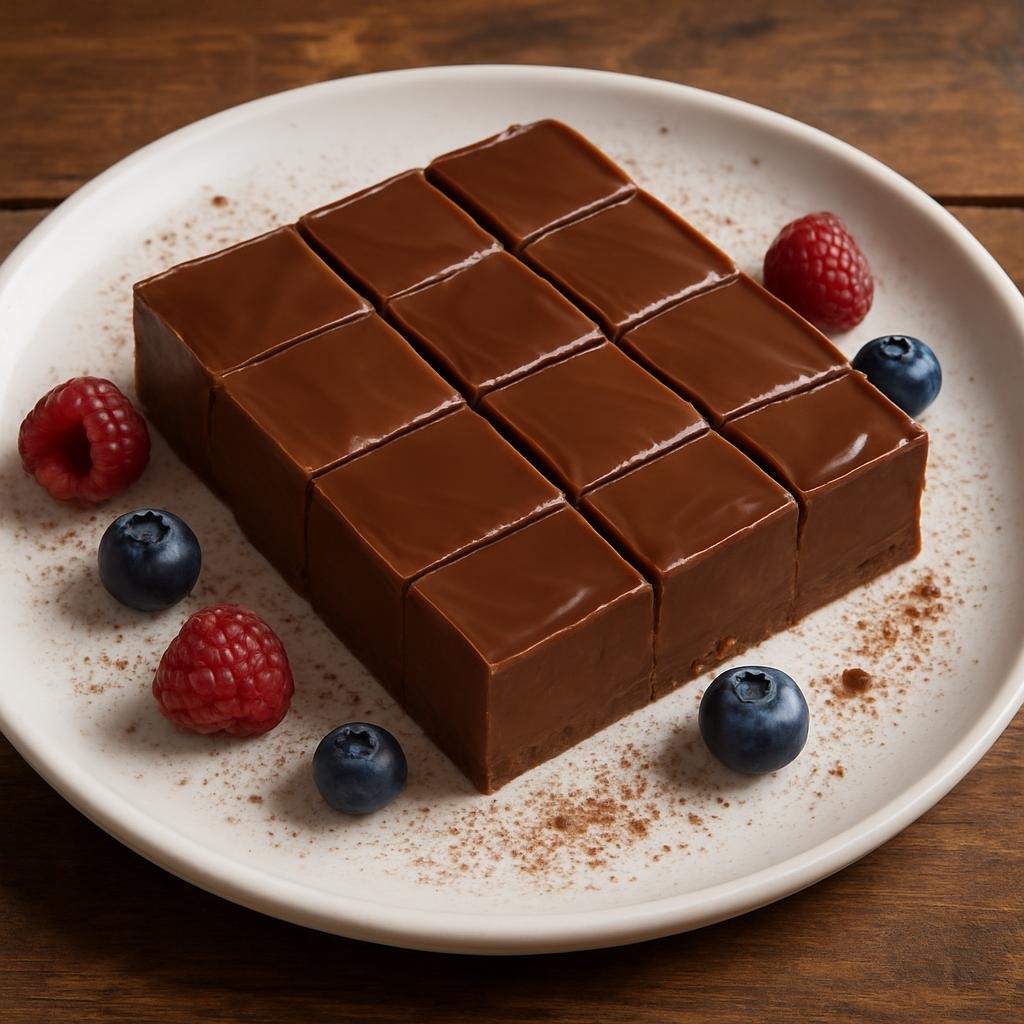
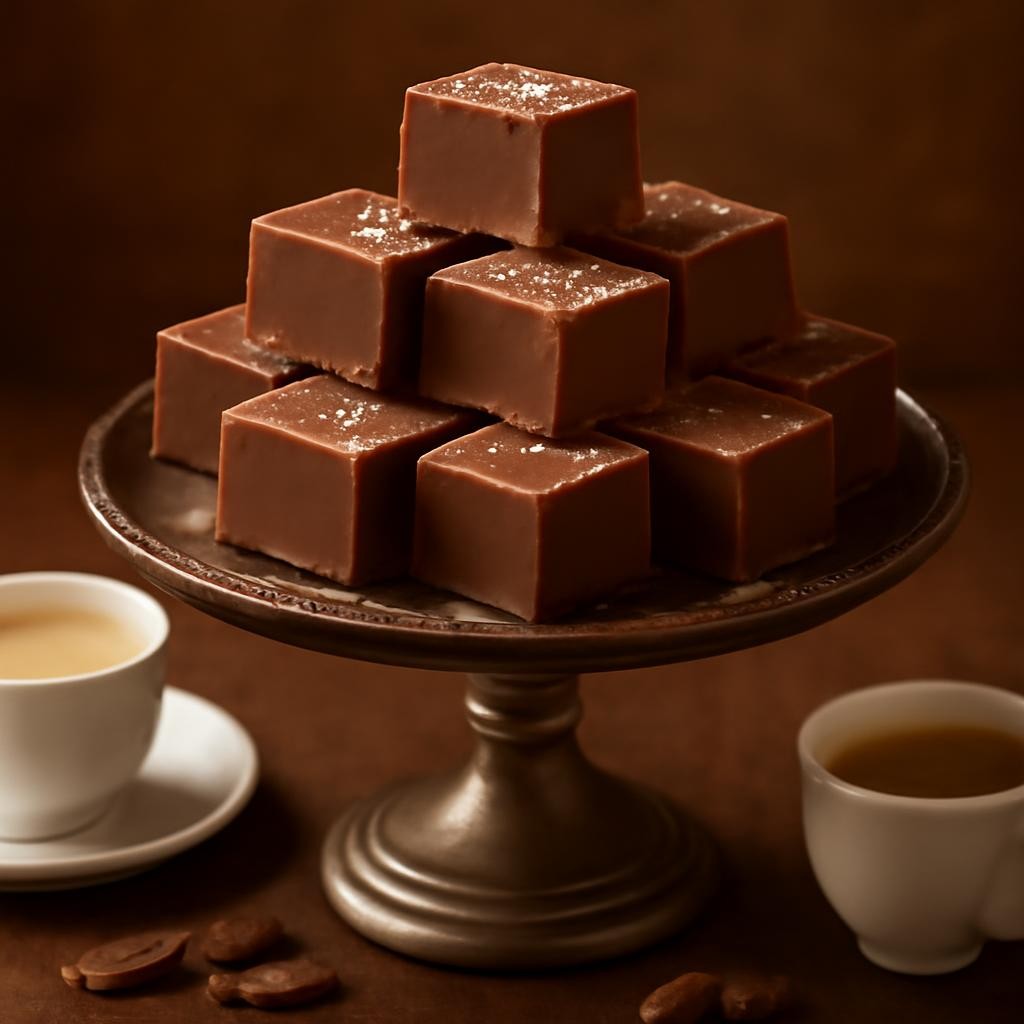
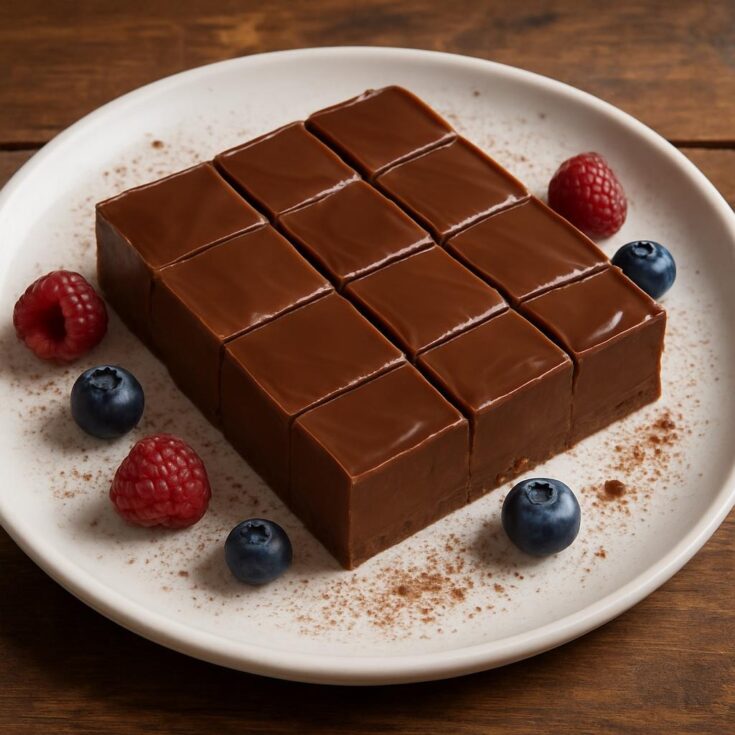
Serve your milk chocolate fudge in bite-sized squares for easy snacking. Garnish with a dusting of cocoa powder or a drizzle of white chocolate for an elegant touch. For a fun presentation, stack the fudge pieces in a decorative jar or on a cake stand. Pair it with a scoop of vanilla ice cream or a dollop of whipped cream for an indulgent dessert. Guests will appreciate the thoughtful presentation and delightful taste.

Pairing Suggestions
To complement the rich flavors of milk chocolate fudge, consider serving it with a glass of cold milk or a hot cup of coffee. For a more sophisticated pairing, a dessert wine like Port or a rich stout beer can enhance the chocolate experience. Alternatively, enjoy the fudge alongside fresh berries or a fruit salad for a refreshing contrast.
How to Store
Store any leftover milk chocolate fudge in an airtight container at room temperature for up to a week. For longer preservation, refrigerate it, where it can last for up to two weeks. If you’re looking to freeze, wrap individual pieces in plastic wrap and place them in a freezer-safe bag. To enjoy, let them thaw in the fridge overnight. Avoid microwaving to reheat, as this may affect the texture.
Equipment Needed
To make this milk chocolate fudge, you will need a few essential kitchen tools: a medium saucepan for melting the chocolate, a heatproof spatula for stirring, a candy thermometer for precision, and an 8-inch square baking dish lined with parchment paper. If you don’t have a candy thermometer, you can use the cold water test (drop a small amount of the fudge into cold water to check if it forms a soft ball).
Dietary Adaptations
For those following special diets, this milk chocolate fudge can be easily adapted. To make it vegan, substitute the milk chocolate with a dairy-free chocolate option and use coconut milk or almond milk instead of sweetened condensed milk. For nut-free versions, ensure that your chocolate does not contain any traces of nuts. If you need a gluten-free option, this recipe is naturally gluten-free as long as you confirm your ingredients are free from gluten contamination.
Seasonal Adaptations
Depending on the season, you can modify this milk chocolate fudge by adding seasonal flavors or toppings. In the fall, consider incorporating pumpkin spice or crushed pecans for a seasonal twist. During the winter holidays, add crushed candy canes or gingerbread spices to bring festive cheer. In summer, top the fudge with fresh berries for a refreshing contrast.
Recipe FAQs
Q: Can I use chocolate chips instead of a chocolate bar?
A: Yes, chocolate chips can be used, but they may not melt as smoothly as a chocolate bar, so be sure to stir well.
Q: How can I tell when the fudge is done?
A: The fudge should reach about 234°F (112°C) on a candy thermometer, or it should form a soft ball when tested in cold water.
Q: Can I add flavorings to the fudge?
A: Absolutely! Vanilla extract, espresso powder, or even flavored extracts like almond or peppermint can enhance the fudge’s taste.
Milk Chocolate Fudge
Indulge in the rich, creamy delight of Milk Chocolate Fudge with this simple yet decadent recipe.
Ingredients
- 2 cups milk chocolate chips or chopped milk chocolate
- 1 can (14 ounces) sweetened condensed milk
- 4 tablespoons unsalted butter
- 1 teaspoon vanilla extract
- A pinch of salt (optional)
Instructions
- Begin by preparing your baking dish. Line an 8-inch square baking dish with parchment paper, leaving some overhang for easy removal later.
- In a medium saucepan, combine the milk chocolate chips, sweetened condensed milk, and butter over low heat.
- Stir continuously until the chocolate is fully melted and the mixture is smooth.
- Remove the saucepan from heat and stir in the vanilla extract and salt (if using).
- Pour the chocolate mixture into the prepared baking dish, spreading it evenly with a spatula.
- Allow the fudge to cool at room temperature for about 30 minutes, then place it in the refrigerator to set completely for at least 2 hours.
- Once set, lift the fudge out using the parchment overhang and cut it into squares.
- Serve and enjoy your delicious milk chocolate fudge!
Nutrition Information
Yield
16Serving Size
1Amount Per Serving Calories 161Total Fat 10gSaturated Fat 6gTrans Fat 0gUnsaturated Fat 3gCholesterol 14mgSodium 30mgCarbohydrates 15gFiber 1gSugar 14gProtein 2g
TastyFitnessRecipes.com, occasionally offers nutritional information for recipes contained on this site. This information is provided as a courtesy and is an estimate only. This information comes from online calculators. Although tastyfitnessrecipes.com attempts to provide accurate nutritional information, these figures are only estimates.
Final Thoughts
Making milk chocolate fudge is not just about creating a delicious dessert; it’s about the joy of sharing something sweet with loved ones. With its rich flavor and creamy texture, this recipe is bound to become a favorite in your household. So whether you’re making it for a special occasion or as a delightful treat for yourself, enjoy every moment of the process and the delicious result!