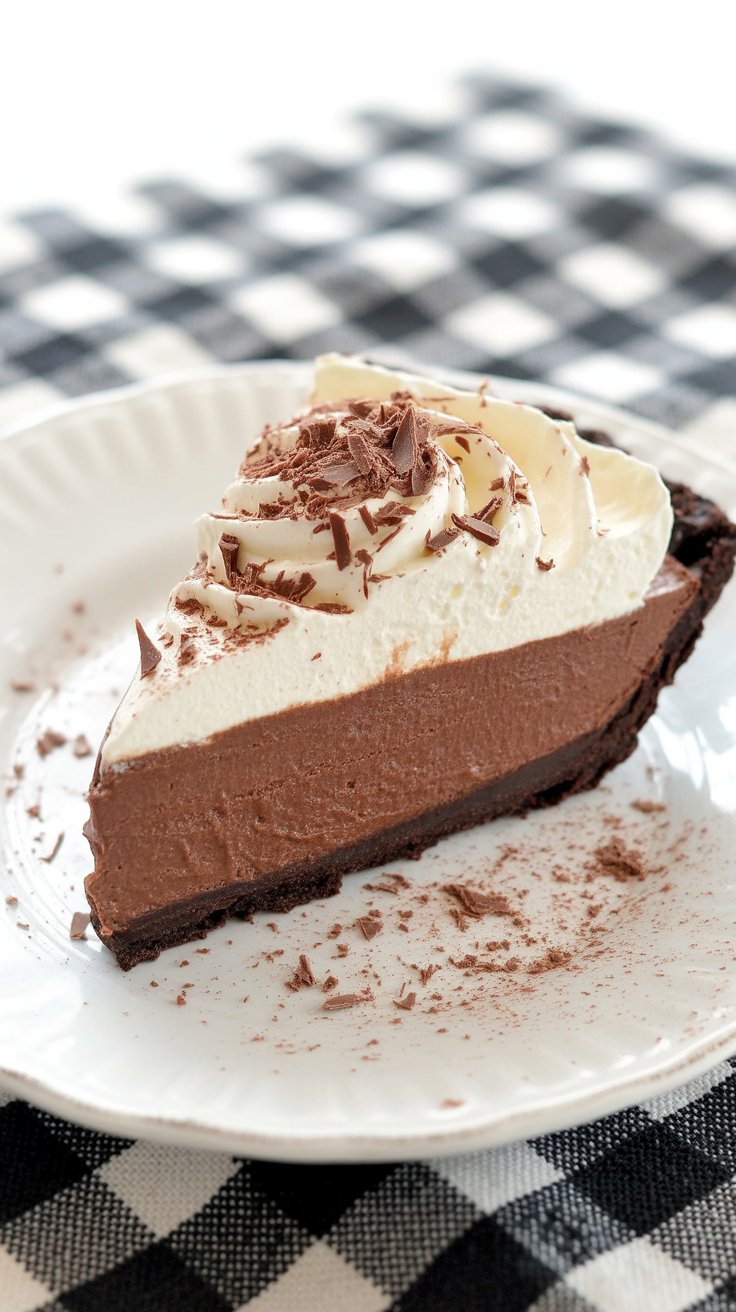
There’s something magical about a dessert that takes barely any effort but still gets rave reviews at the table. This No Bake Chocolate Pudding Pie is one of those go-to recipes I’ve leaned on more times than I can count—especially during hot summer months or when I need something quick for a get-together.
 I first made this pie on a sweltering day when I couldn’t bear turning on the oven. I grabbed a pre-made chocolate crust, a couple of pudding boxes, and a tub of Cool Whip from the fridge—and boom, dessert was done before dinner hit the table. What surprised me most? Everyone went back for seconds.
Let me show you how I make it and how you can tweak it for your own kitchen too.
What You’ll Need
This is one of those “grab it at the supermarket in five minutes” recipes. Here’s what I use:
-
2 boxes of Jell-O instant chocolate pudding mix (the 4.5-serving size ones)
-
2 cups cold milk (I usually use whole milk, but 2% works fine)
-
Cool Whip or any whipped topping, thawed
-
1 pre-made chocolate cookie crust (I usually pick up the Oreo one)
-
Chocolate bar (optional—just for shaving over the top to make it pretty)
Quick tip: Don’t go by the instructions on the pudding box. We use less milk here than the box says, so the filling sets firm enough to slice.
 Putting It All Together
Making this pie is as easy as mixing, layering, and chilling. Here’s how I do it:
-
Whisk the pudding
I pour the pudding mix into a large bowl, add the cold milk, and whisk like crazy until it thickens. It’ll be pretty thick—and that’s what we want. It’s what keeps the pie from being runny. -
Layer one: straight-up pudding
Half of that pudding goes straight into the chocolate crust. I smooth it out gently with a spatula to make sure it covers the bottom evenly. -
Layer two: pudding meets Cool Whip
The remaining pudding gets mixed with half the Cool Whip. This turns it into a lighter, creamier chocolate layer. I gently spread that on top of the first layer. -
Layer three: fluffy finish
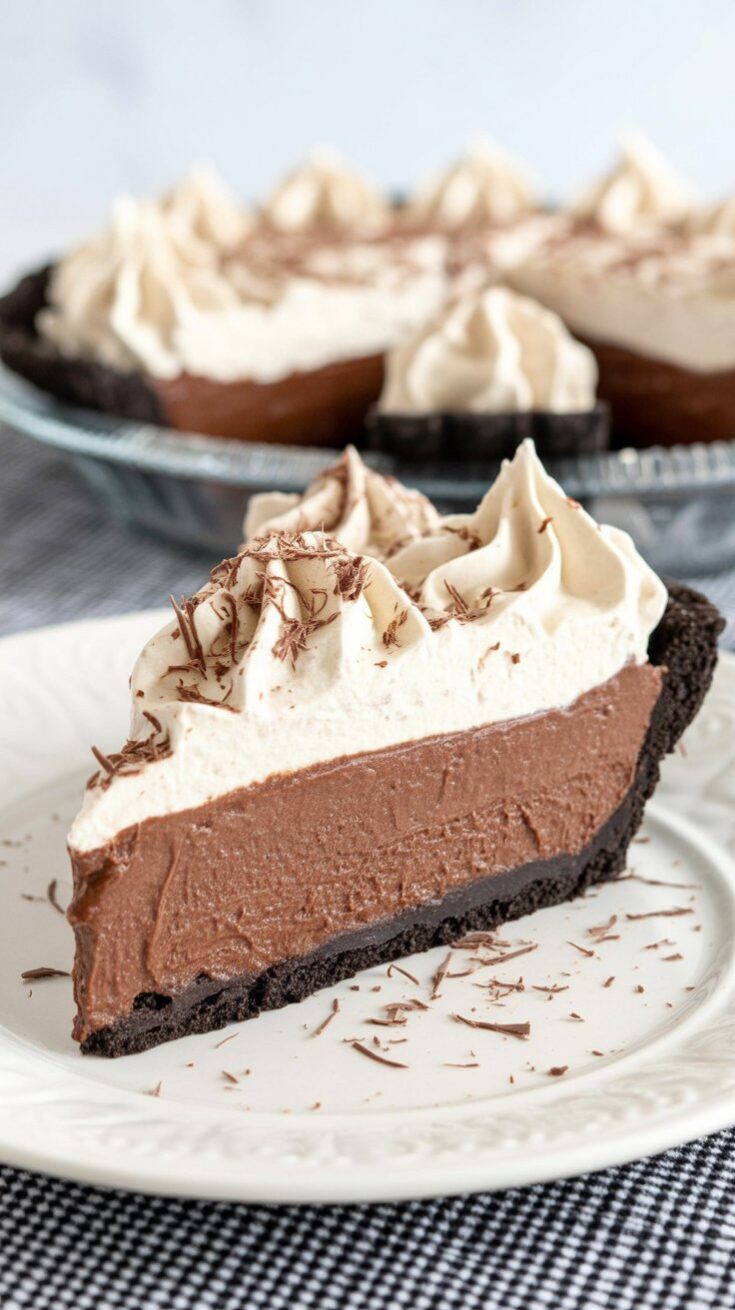
The rest of the Cool Whip gets spread over the top. You can go all the way to the edges, or leave a peek of the chocolate layers—it’s totally your call. -
Optional but worth it: chocolate shavings
If I’ve got a chocolate bar lying around, I grab a veggie peeler and shave some chocolate curls on top. It just makes the pie look a little more special, especially if I’m serving it at a dinner party.
My Tips from the Kitchen
-
Stick with cold milk for mixing the pudding. Warm milk won’t set the way it should.
-
I like using a large whisk or even an electric hand mixer to get the pudding super smooth.
-
If you’re making this for kids, you can even layer in some crushed Oreos or mini chocolate chips between the layers for a surprise crunch.
Making It Ahead of Time
This pie is a total lifesaver when you need to prep dessert ahead. I usually make it the night before and let it chill overnight. It holds up beautifully for 2 days in the fridge.
One thing I sometimes do: I wait to add the final layer of Cool Whip until just before serving. That way, it looks extra fresh and fluffy.
Serving Suggestions
This pie slices best after it’s been in the fridge for a couple of hours. I like to serve it cold with a few extra chocolate curls or a light dusting of cocoa powder. Sometimes, I even add a few fresh berries on top if I want to cut the sweetness a little.
It’s great for:
-
Birthday parties when you need a fuss-free dessert
-
Summer BBQs (no oven needed!)
-
Late-night sweet cravings—I’m guilty of sneaking a slice straight from the fridge
 How I Store It
Cover the pie with plastic wrap or pop the lid back on if your crust came with one, and keep it in the fridge. It’ll stay good for up to 2 days.
I don’t recommend freezing it—the texture gets weird and icy once thawed. And honestly, it usually doesn’t last long enough to need freezing anyway.
Easy Swaps and Variations
-
Different pudding flavors: Try dark chocolate, chocolate fudge, or even butterscotch. One of my cousins loves making this with vanilla pudding and chocolate shavings on top—it’s like a reverse version.
-
Crust options: Graham cracker crusts work just fine. You can even make your own if you’re up for it, but I usually stick with store-bought when I’m in a hurry.
-
Skip the layers if you want: You can make the whole pie with just the chocolate pudding or just the Cool Whip-pudding mix. It’ll still taste great.
-
Toppings: Go wild—crushed Oreos, mini chocolate chips, sprinkles, or even chopped nuts if you’re feeling fancy.
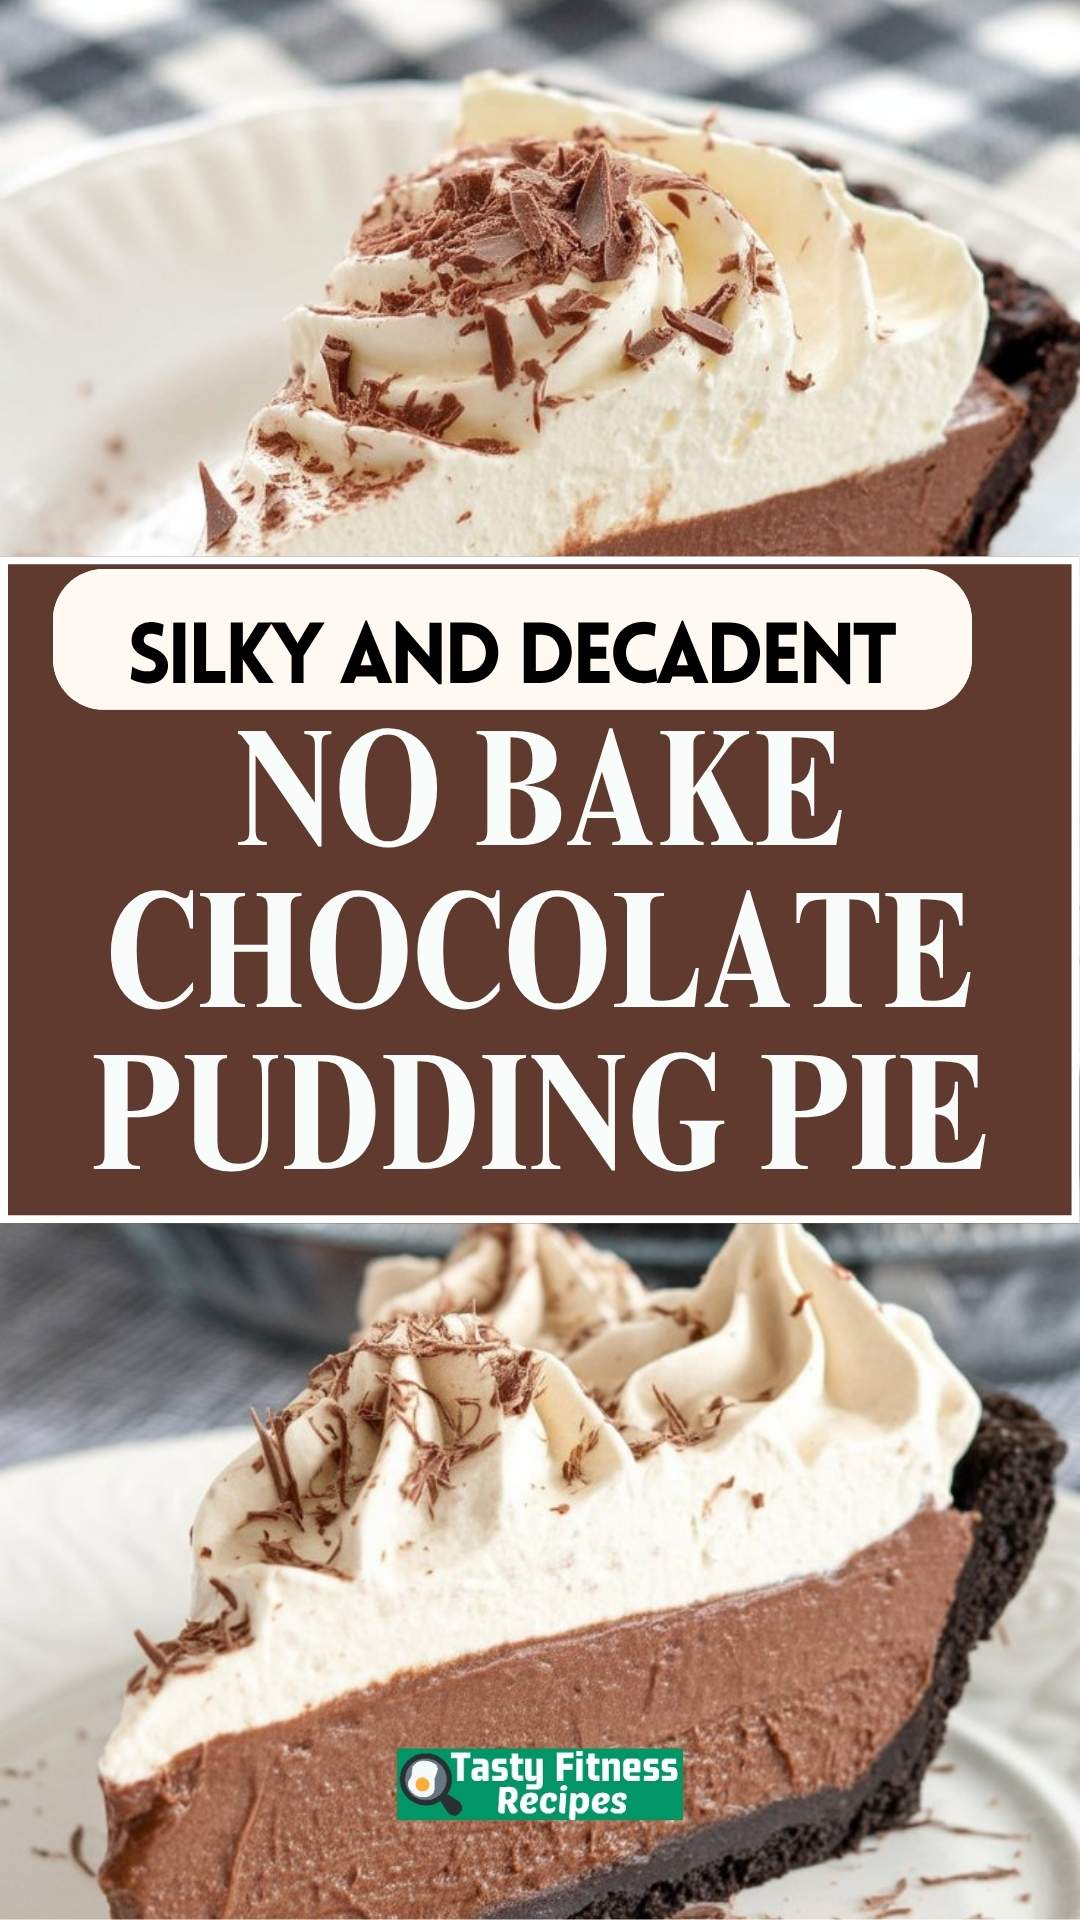
No Bake Chocolate Pudding Pie
This no-bake chocolate pudding pie is what I turn to when I need a quick dessert that never disappoints. It’s creamy, chocolaty, and chilled just right—perfect for summer BBQs, potlucks, or even those "I need chocolate now" moments.
Ingredients
- 2½ cups cold milk (whole or 2%)
- 8 oz tub of Cool Whip (thawed)
- 2 boxes (3.9 oz each) Jell-O instant chocolate pudding mix
- 1 pre-made 6 oz chocolate cookie pie crust
- Chocolate bar, for shaving on top (optional)
Instructions
- Grab a large bowl and whisk together the instant pudding mix and cold milk until smooth and thickened—this usually takes just a couple of minutes.
- Pour half of that chocolatey goodness into the cookie crust and gently spread it into an even layer.
- Next, fold half of the Cool Whip into the remaining pudding until it’s light, fluffy, and mousse-like.
- Spread that over the first pudding layer in the crust, smoothing it out with a spatula.
- Top it all off with the rest of the Cool Whip, spreading gently so the layers stay neat.
- If you’re feeling a little fancy, shave some chocolate on top for that extra touch.
- Pop the pie into the fridge for at least 2 hours to chill and set. Slice and serve straight from the fridge when ready.
Notes
- Stick to the 2½ cups of milk—no need to follow the box directions since we want it extra thick for slicing.
- For clean slices, chill the pie long enough to fully set.
- You can make this a day or two in advance—just hold off on adding the final whipped topping until you’re ready to serve.
Nutrition Information
Yield
8Serving Size
1Amount Per Serving Calories 298Total Fat 16gSaturated Fat 10gTrans Fat 0gUnsaturated Fat 5gCholesterol 9mgSodium 255mgCarbohydrates 34gFiber 1gSugar 19gProtein 6g
TastyFitnessRecipes.com, occasionally offers nutritional information for recipes contained on this site. This information is provided as a courtesy and is an estimate only. This information comes from online calculators. Although tastyfitnessrecipes.com attempts to provide accurate nutritional information, these figures are only estimates.
Common Questions
Can I use homemade whipped cream instead of Cool Whip?
You can, but I recommend using it only for the topping. It doesn’t hold up as well when mixed into the pudding.
How long does it take to set?
Give it at least 2 hours in the fridge. Overnight is even better.
Can I make this pie without a crust?
You could layer it in cups or jars instead—sort of like pudding parfaits. Great for parties or portion control.
Is this the same as chocolate cream pie?
Not quite. Chocolate cream pie usually involves a cooked filling. This is more of a chilled, pudding-based dessert. Quicker, easier, but still delicious.
Let me tell you, this No Bake Chocolate Pudding Pie is one of those desserts that always gets polished off fast—no matter the crowd. It’s cold, creamy, chocolatey, and hits that comfort-sweet spot every time. And the best part? You barely lift a finger to make it.
If you ever find yourself standing in front of the fridge, wondering what to bring to a picnic or just needing a chocolate fix, give this a go. You’ll be glad you did.
Let me know how yours turns out!
Try other Pie recipes: