There are a handful of desserts that take me right back to childhood, and peanut butter fudge is one of them. I remember sitting at my grandmother’s kitchen table, watching her stir the pot with the kind of confidence that only comes from making the same recipe a hundred times. We kids would hover around, waiting for the pan to cool, trying to sneak little spoonfuls of warm fudge before it set. Soft, sweet, and with that rich nutty flavor, it never lasted more than a day in our house.
 This version is creamy, smooth, and unbelievably quick to whip up — no candy thermometer, no fuss. If you’ve ever thought fudge was tricky, this recipe will change your mind. Six pantry staples, five minutes of cooking, and a little patience while it sets, and you’ve got yourself a batch of nostalgia in every bite.
Ingredients You’ll Need
What I love most about this recipe is how basic the ingredient list is. No fancy shopping trip required. Here’s what goes in:
-
Granulated sugar – for sweetness and structure.
-
Light brown sugar – adds a deeper caramel note.
-
Whole milk – keeps everything rich and creamy.
-
Salted butter – the salt balances out all that sweetness beautifully.
-
Creamy peanut butter – the star of the show. I’ve tried natural peanut butter in this, but honestly, the classic store-bought creamy kind gives the best texture.
-
Vanilla extract – just a splash rounds out the flavor.
Tip from my kitchen: if you only have unsalted butter, just toss in a small pinch of salt and it’ll be just right.
How I Make It
Here’s how I like to make this fudge — and a few tricks I’ve learned after a couple of “oops” moments.
Start by adding your sugars, butter, and milk to a pot. I always resist the urge to stir here. My first few tries, I couldn’t help but poke at it, and ended up with grainy fudge. Now I just let it sit and gently nudge the sugar so it’s all wet, then walk away until it starts bubbling.
Once it’s at a good boil, let it bubble for about 2 minutes. Don’t stir, just let it do its thing. Then pull it off the heat and stir in the peanut butter and vanilla. This part always smells incredible — I end up standing over the pot like I’m breathing in warm peanut butter cookies. Stir it quickly until smooth and thick.
Pour it into a parchment-lined pan and smooth it out. Then comes the hardest part: waiting. It needs about 2 hours at room temperature to set. I admit, I’ve cut into it early more than once, and while it’s softer, it’s still absolutely delicious.
 Serving Suggestions
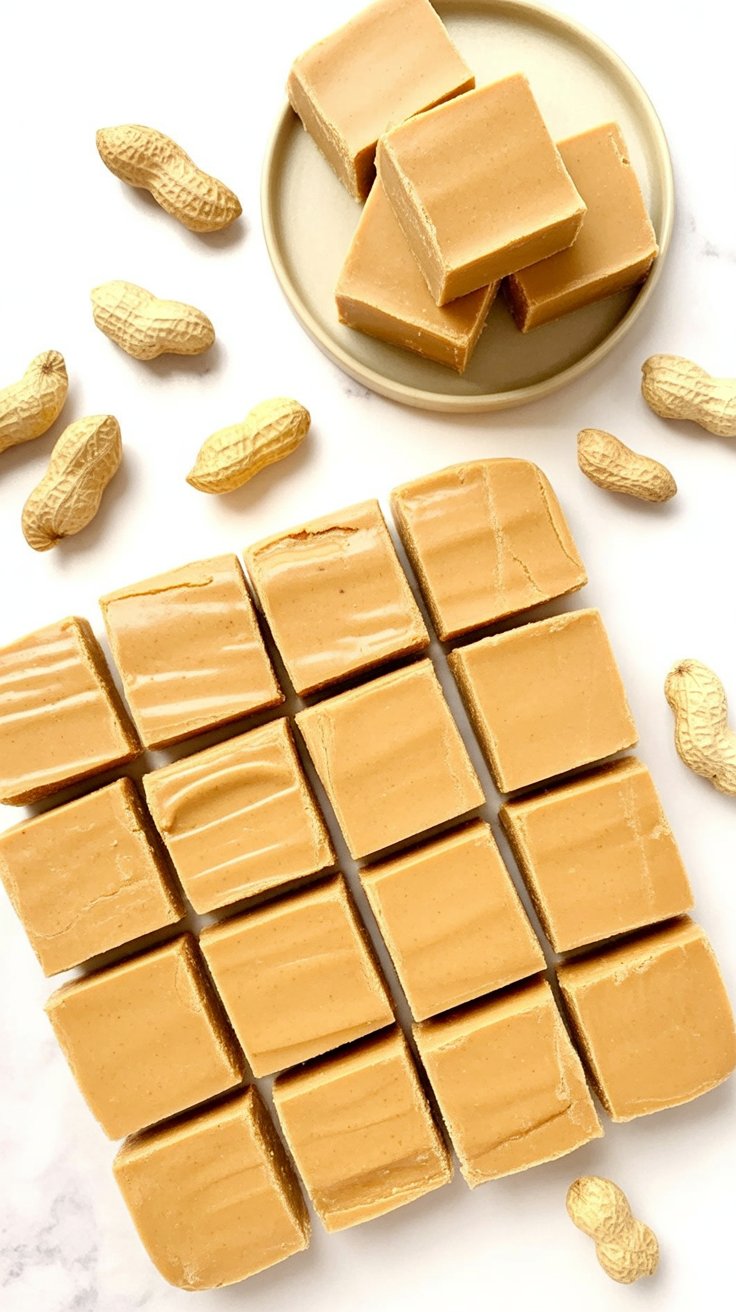
This fudge is melt-in-your-mouth soft at room temperature, which I personally love, but if you want a firmer bite, stick it in the fridge for half an hour before slicing. I often serve it on a small plate with a few roasted peanuts scattered around for that old-school look.
And don’t just save this for the holidays. I’ve packed squares of it into lunchboxes, added them to cookie trays for neighbors, and even kept a stash in the fridge for late-night sweet cravings.
Fun Add-Ins and Twists
This fudge is fantastic on its own, but sometimes I like to have a little fun with it:
-
PB & J – swirl in a teaspoon of strawberry or grape jam before it sets.
-
Fluffernutter – sprinkle mini marshmallows over the top.
-
Chocolate chips – stir them in while the mixture is still warm for a ripple effect.
-
Pretzels or granola – press them into the top for crunch.
-
Reese’s Pieces or M&M’s – for color and a little extra chocolate.
-
Fruit bits – bananas and peanut butter are a classic pair, so don’t be afraid to add thin slices before it cools.
One of my favorites was a version with chopped pretzels and a drizzle of melted chocolate on top — it tasted like a candy bar in fudge form.
Storing Your Fudge
This fudge keeps nicely in an airtight container on the counter or in the fridge for up to a week. Personally, I prefer it chilled since it holds its shape better.
If you want to keep it longer, it freezes beautifully. Just slice it first, wrap the pieces in wax paper, and store them in a freezer bag. That way you can grab a few at a time without defrosting the whole batch. I’ve learned the hard way not to freeze and thaw the same batch over and over, so I portion mine out into smaller bags.
 Questions You Might Have
Why did my fudge turn grainy?
That usually means some sugar crystals formed on the side of the pot and mixed back in. The best fix is prevention: don’t stir while it boils, and use a damp pastry brush to wipe down the sides of the pot if needed.
Can I use crunchy peanut butter?
Yes! It’ll give your fudge a nice bite. I’ve done this a few times and it adds a fun texture.
How long does it take to set?
At room temperature, about 2 hours. In the fridge, closer to 1 hour if you’re impatient.
Can I make this ahead of time for the holidays?
Definitely. I usually make it a week early, store half in the fridge and half in the freezer, then bring it out fresh for gift boxes and dessert trays.
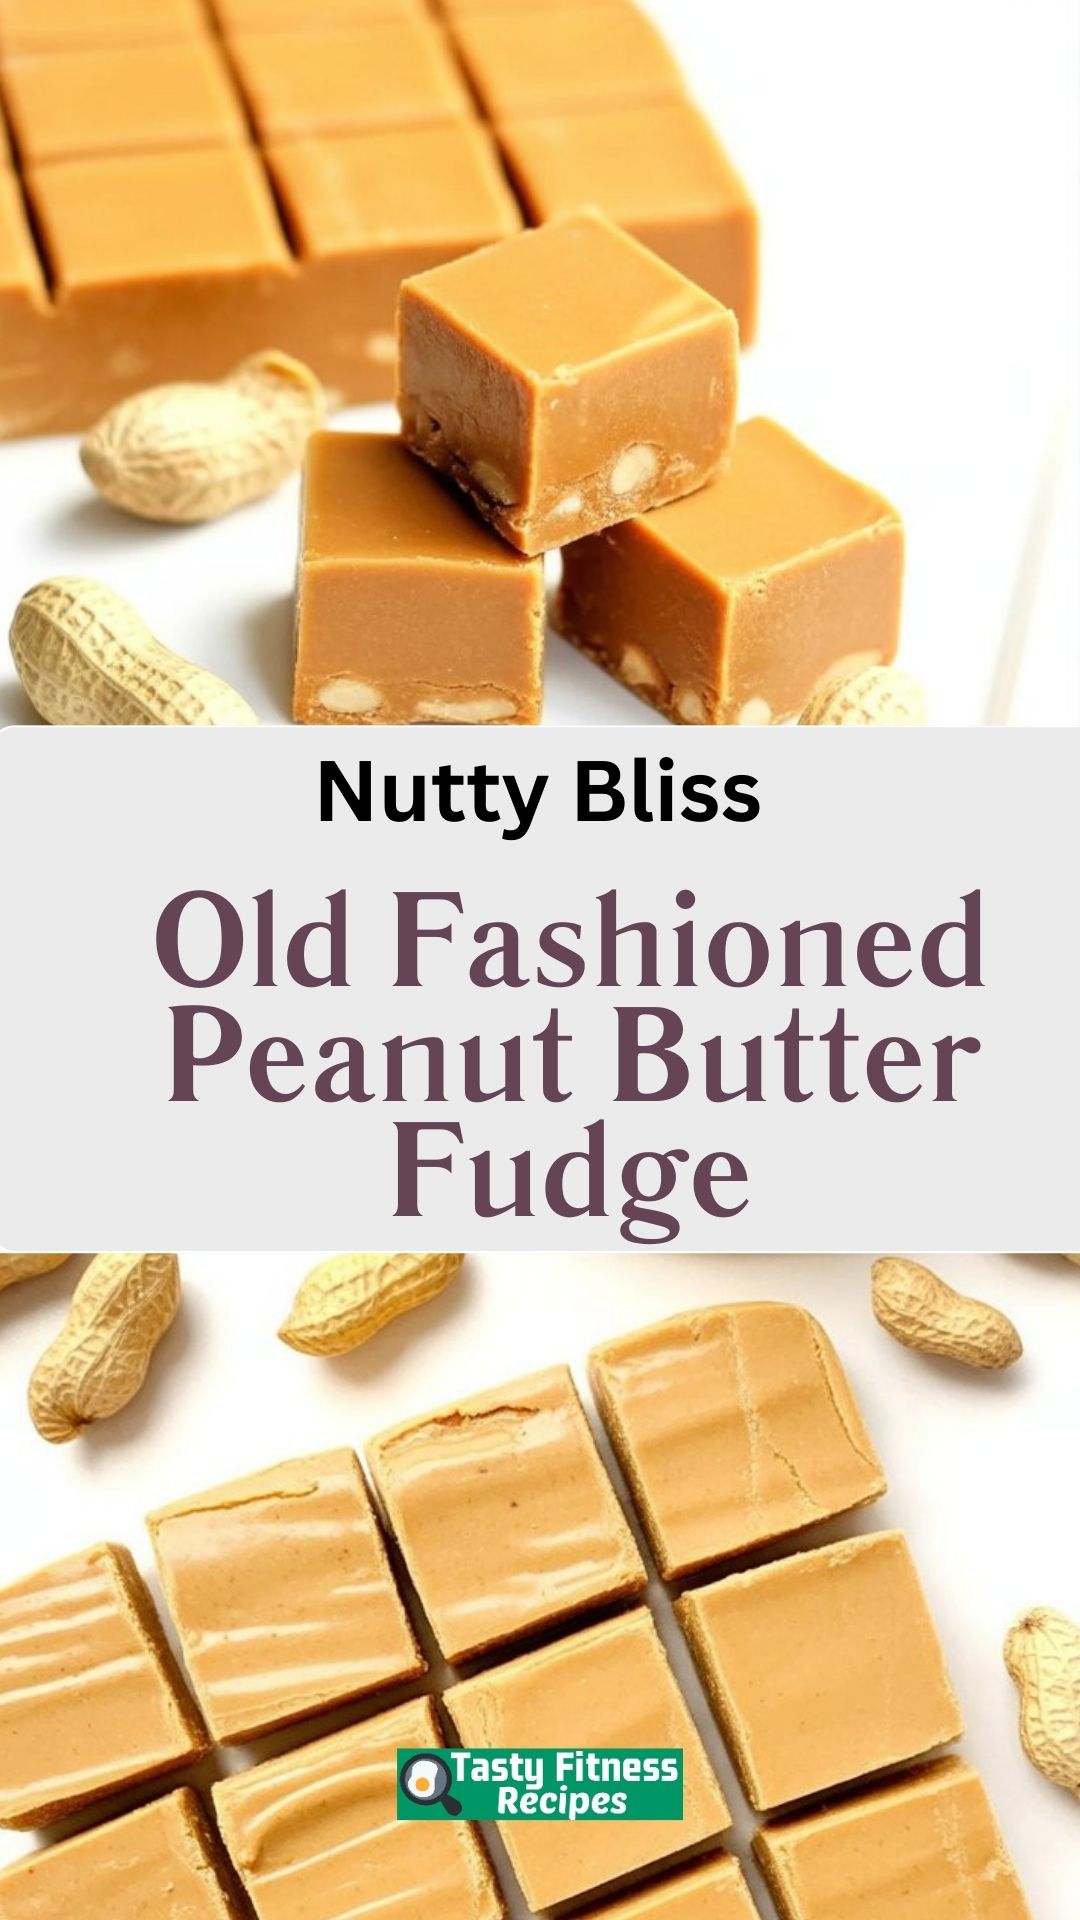
Old Fashioned Peanut Butter Fudge
This creamy, melt-in-your-mouth peanut butter fudge is pure nostalgia. With just a handful of pantry ingredients and no complicated steps, you’ll have a batch of smooth, rich fudge that tastes just like the kind Grandma used to make.
Ingredients
- 1 ½ cups granulated sugar
- ½ cup light brown sugar, packed
- ½ cup whole milk
- 1 tablespoon salted butter
- 1 cup creamy peanut butter
- 1 teaspoon vanilla extract
Instructions
- In a medium pot over medium heat, add the granulated sugar, brown sugar, and butter. Pour the milk over the top without stirring—just make sure all the sugar is moistened.
- As the mixture heats, it will begin to bubble around the edges. Let it come to a steady boil and continue boiling for about 2 minutes without stirring.
- Remove the pan from the heat and quickly stir in the peanut butter and vanilla until smooth and slightly thickened. Work briskly with a spatula or mixer so the mixture blends well.
- Pour the fudge into a parchment-lined 9x9-inch pan, smoothing the top. Leave it to set at room temperature for about 2 hours, then slice into squares.
- Enjoy soft at room temperature, or refrigerate for a firmer bite.
Notes
- Storage: Keep in an airtight container at room temperature or in the fridge for up to 1 week.
- Freezing: Wrap slices in wax paper, layer in a freezer bag, and store for several months. Thaw in the fridge before serving.
- Troubleshooting: A grainy texture can happen if sugar crystals form while boiling—avoid stirring until after it’s removed from the heat.
- Fun Add-Ins: Swirl in jam for a PB&J twist, top with marshmallows for fluffernutter fudge, or add pretzels, candy pieces, or chocolate chips for extra crunch and flavor.
Nutrition Information
Yield
44Serving Size
1Amount Per Serving Calories 73Total Fat 3gSaturated Fat 1gTrans Fat 0gUnsaturated Fat 2gCholesterol 1mgSodium 32mgCarbohydrates 10gFiber 0gSugar 9gProtein 1g
TastyFitnessRecipes.com, occasionally offers nutritional information for recipes contained on this site. This information is provided as a courtesy and is an estimate only. This information comes from online calculators. Although tastyfitnessrecipes.com attempts to provide accurate nutritional information, these figures are only estimates.
Final Thought
Old fashioned peanut butter fudge is one of those recipes that proves simple really is best. It’s quick, easy, and brings pure joy with every bite. For me, it’s more than just candy — it’s a connection to childhood kitchens, holiday gatherings, and little sweet moments that brighten an ordinary day. Make a batch, share it with someone you love, and you’ll see exactly what I mean.
Try other Fudge recipes: