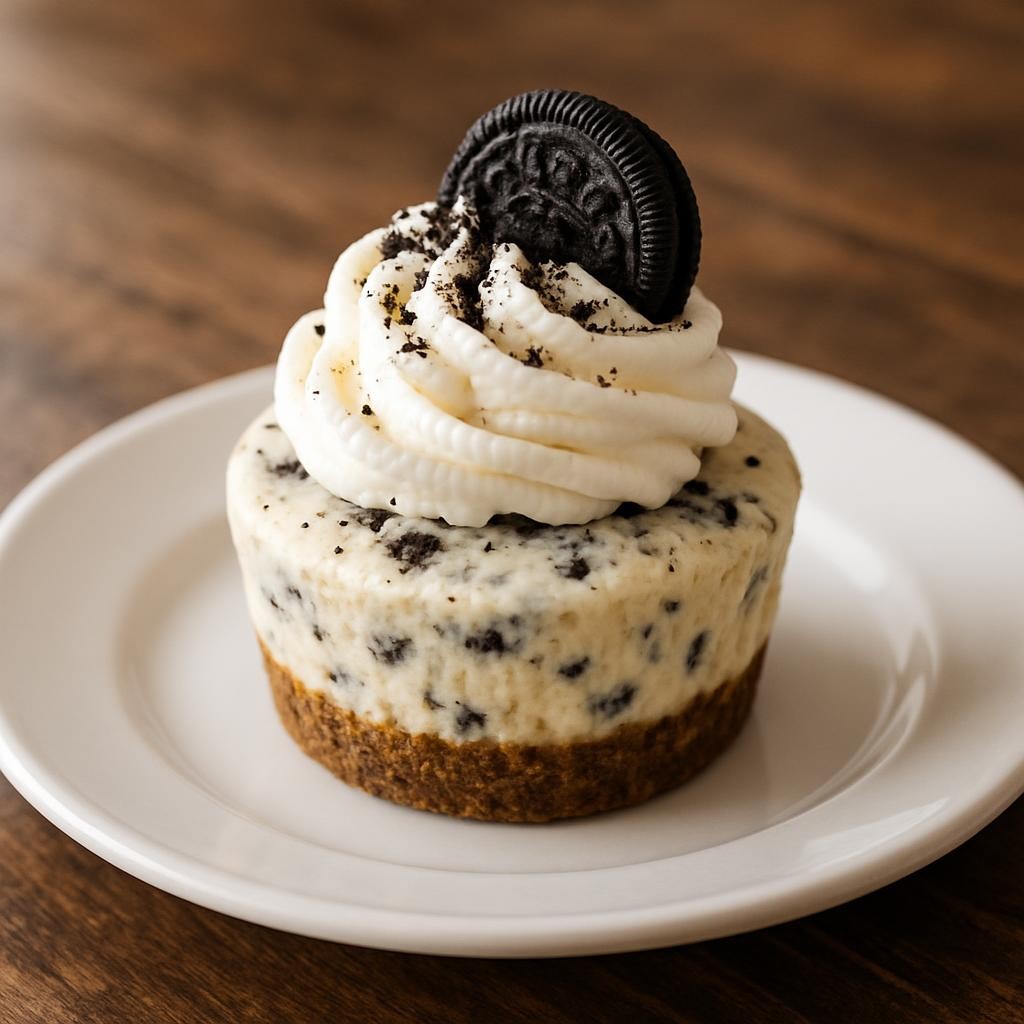
Indulge your sweet tooth with these delightful Oreo Cheesecake Cupcakes! Combining the rich creaminess of cheesecake with the iconic chocolate and cream flavors of Oreos, these cupcakes are a perfect treat for any occasion. Whether you’re celebrating a special event or just want to satisfy your dessert cravings, these mini cheesecakes are sure to impress. With a crunchy Oreo crust and a luscious filling, each bite is a heavenly experience that will leave you wanting more.
Why You Will Love This Recipe
You’ll absolutely adore this Oreo cheesecake cupcake recipe for several reasons. First and foremost, the flavor is a beautiful marriage of creamy cheesecake with the classic taste of Oreos, creating a decadent dessert that appeals to both kids and adults alike. The ease of preparation is another highlight; with simple steps and minimal equipment needed, you can whip these up in no time. Plus, they fit perfectly into a variety of lifestyles—whether you’re gluten-free (with a swap), vegan, or just looking for a rich dessert, these cupcakes can be tailored to suit your dietary needs.
Tips and Tricks
To make your Oreo cheesecake cupcakes even more fabulous, here are some tips and tricks to keep in mind:
- Use room temperature cream cheese for a smooth filling; this helps avoid lumps that can mar the creamy texture.
- Crush your Oreos in a food processor for a finer crumb that holds together better in the crust.
- For an extra touch of flavor, add a splash of vanilla extract to the cheesecake filling.
- Make sure to chill the cupcakes after baking to set the filling properly before serving.
Make Ahead Tips
These cupcakes are perfect for meal prep! You can prepare the crust and filling a day in advance. Simply assemble the cupcakes and store them in the refrigerator overnight. They can also be made up to three days ahead of time, allowing the flavors to meld beautifully. Just keep them covered to prevent drying out or absorbing any fridge odors.
Recipe Variations
Feel free to get creative with these Oreo cheesecake cupcakes! Here are some fun variations:
- Swap out Oreos for other sandwich cookies such as Golden Oreos or even flavored varieties like mint.
- For a chocolatey twist, add cocoa powder to the cheesecake mixture or drizzle melted chocolate over the top before serving.
- If you prefer a fruity flavor, fold in some fresh berries or a fruit puree into the cheesecake filling for a refreshing change.
How to Serve
To serve these cupcakes, remove them from the fridge and let them come to room temperature for a few minutes. This enhances the flavor and texture. Garnish with whipped cream, crumbled Oreo pieces, or a drizzle of chocolate sauce. For an elegant touch, serve on a decorative platter with fresh mint leaves or edible flowers for pops of color.
Pairing Suggestions
Pair these Oreo cheesecake cupcakes with a cold glass of milk for a classic combination. For an adult twist, serve with a rich coffee or an espresso martini. If you prefer something lighter, consider pairing them with a refreshing iced tea or a fruit-infused sparkling water. Complementary side dishes include fresh fruit salads or a scoop of vanilla ice cream for an extra indulgence.
How to Store
Store any leftover Oreo cheesecake cupcakes in an airtight container in the refrigerator for up to five days. They can also be frozen for longer storage; just wrap them individually in plastic wrap and place them in a freezer-safe bag. When ready to enjoy, thaw them in the fridge overnight and serve chilled.
Equipment Needed
You will need a few essential kitchen tools to make these cupcakes:
- Standard muffin tin or cupcake pan
- Mixing bowls
- Electric mixer or whisk
- Food processor (for crushing Oreos)
- Cupcake liners
- Rubber spatula
If you don’t have a food processor, you can crush the Oreos in a zip-top bag using a rolling pin.
Dietary Adaptations
For those with dietary restrictions, here are some adaptations:
- To make these cupcakes vegan, use vegan cream cheese and substitute the eggs with unsweetened applesauce or flaxseed meal mixed with water.
- For a gluten-free version, use gluten-free Oreos and ensure the other ingredients are certified gluten-free.
- If you need a nut-free option, simply check that all packaged ingredients (like cream cheese) are free from nut contamination.
Seasonal Adaptations
While Oreos are available year-round, you can tweak your cupcake for seasonal enjoyment. In the fall, consider adding pumpkin spice to the cheesecake filling for a festive flavor. In the summer, fold in some fresh berries for a refreshing twist, or use chocolate-dipped strawberries as a garnish.
Recipe FAQs
Q: Can I use low-fat cream cheese?
A: Yes, but keep in mind that low-fat cream cheese may alter the texture slightly, making it less creamy.
Q: How do I store leftover cupcakes?
A: Store them in an airtight container in the refrigerator for up to five days, or freeze them for longer storage.
Q: How can I prevent cracking in my cheesecake filling?
A: Avoid overmixing your batter and ensure the cupcakes are baked properly without overcooking. Cooling slowly can also help prevent cracks.
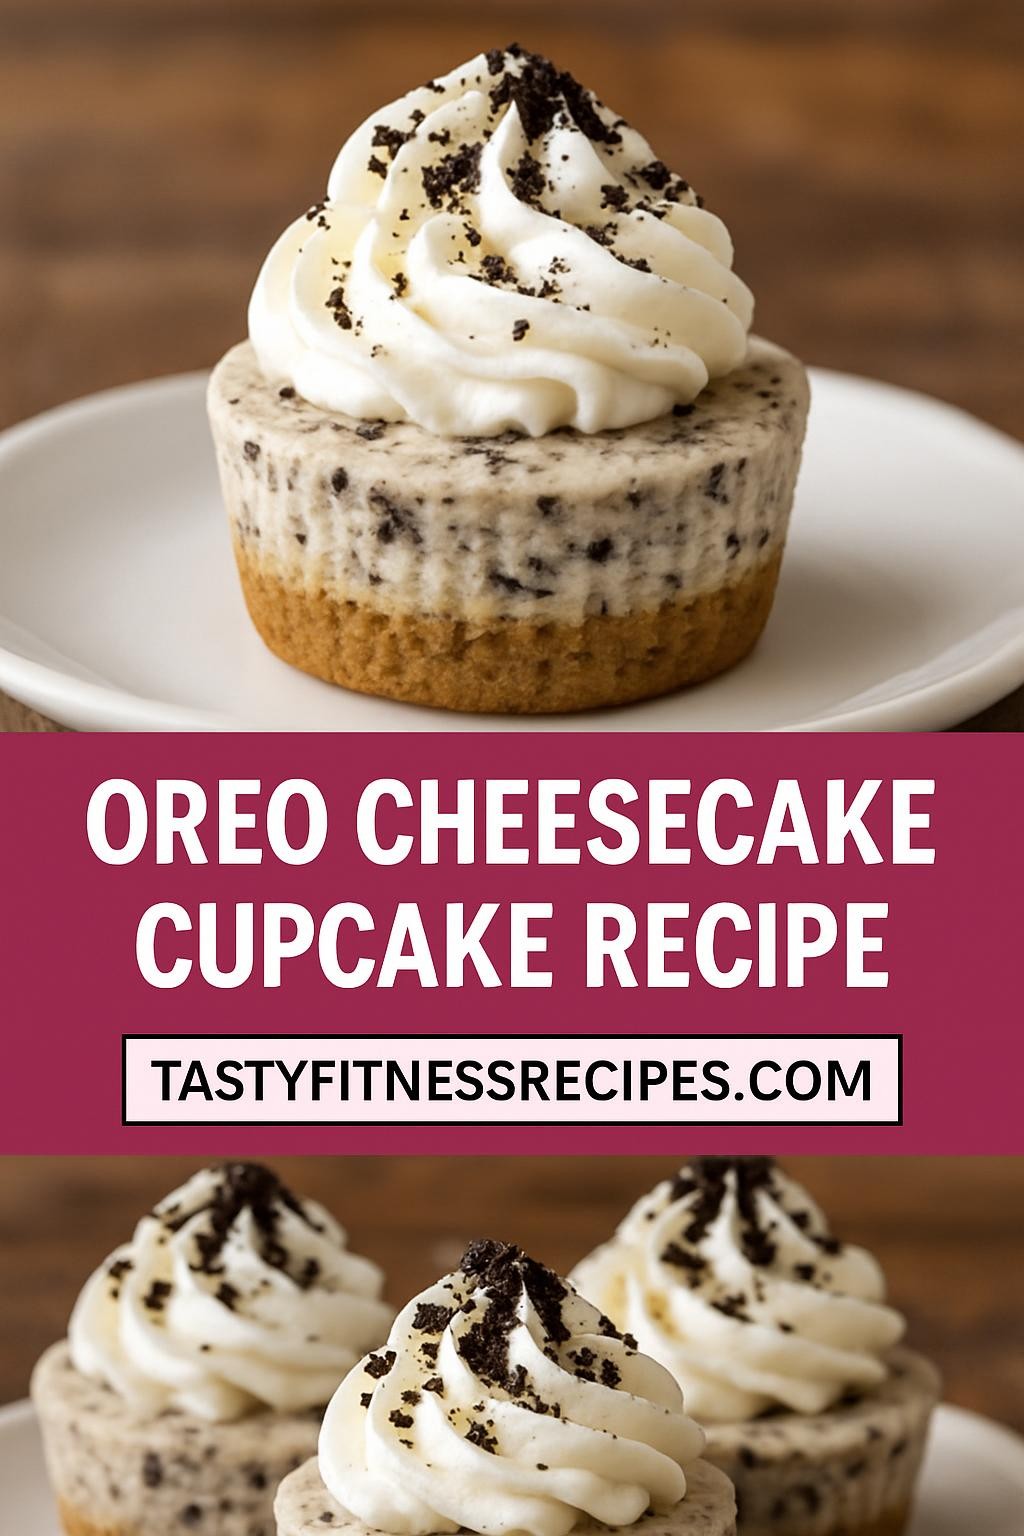
Oreo Cheesecake Cupcake

Indulge your sweet tooth with these delightful Oreo Cheesecake Cupcakes! Combining the rich creaminess of cheesecake with the iconic chocolate and cream flavors of Oreos, these cupcakes are a perfect treat for any occasion.
Ingredients
- 24 Oreo cookies (12 for crust, 12 crushed for filling)
- 1 ½ cups cream cheese, softened
- ¾ cup granulated sugar
- 1 teaspoon vanilla extract
- 3 large eggs
- 1 cup sour cream
- ½ cup all-purpose flour (or gluten-free flour for a gluten-free version)
- Pinch of salt
Instructions
- Preheat your oven to 325°F (160°C) and line a muffin tin with cupcake liners.
- In a food processor, crush 12 Oreos into fine crumbs and mix with 4 tablespoons of melted butter until well combined.
- Divide the Oreo mixture evenly among the cupcake liners and press down firmly to form a crust.
- In a large bowl, beat the softened cream cheese with an electric mixer until smooth and creamy.
- Gradually add the sugar and mix until fully incorporated.
- Add the vanilla extract and eggs, one at a time, mixing well after each addition.
- Stir in sour cream, flour, and salt until just combined, then gently fold in the remaining crushed Oreos.
- Pour the cheesecake batter over the Oreo crusts in the cupcake liners, filling each about ¾ full.
- Bake for 18-20 minutes, or until the edges are set but the centers are slightly jiggly.
- Allow the cupcakes to cool in the pan for 10 minutes before transferring them to a wire rack to cool completely.
- Chill the cupcakes in the refrigerator for at least 2 hours before serving.
Nutrition Information
Yield
12Serving Size
1Amount Per Serving Calories 337Total Fat 20gSaturated Fat 10gTrans Fat 0gUnsaturated Fat 8gCholesterol 87mgSodium 219mgCarbohydrates 36gFiber 1gSugar 24gProtein 6g
TastyFitnessRecipes.com, occasionally offers nutritional information for recipes contained on this site. This information is provided as a courtesy and is an estimate only. This information comes from online calculators. Although tastyfitnessrecipes.com attempts to provide accurate nutritional information, these figures are only estimates.
Final Thoughts
In conclusion, these Oreo cheesecake cupcakes are a delightful treat that combines the best of both worlds—cheesecake and classic cookies. They are not only easy to make but also versatile enough to adapt to various dietary needs and seasonal flavors. Whether you’re serving them at a party, sharing with friends, or enjoying a quiet evening at home, these cupcakes are sure to bring joy to every occasion. Happy baking!