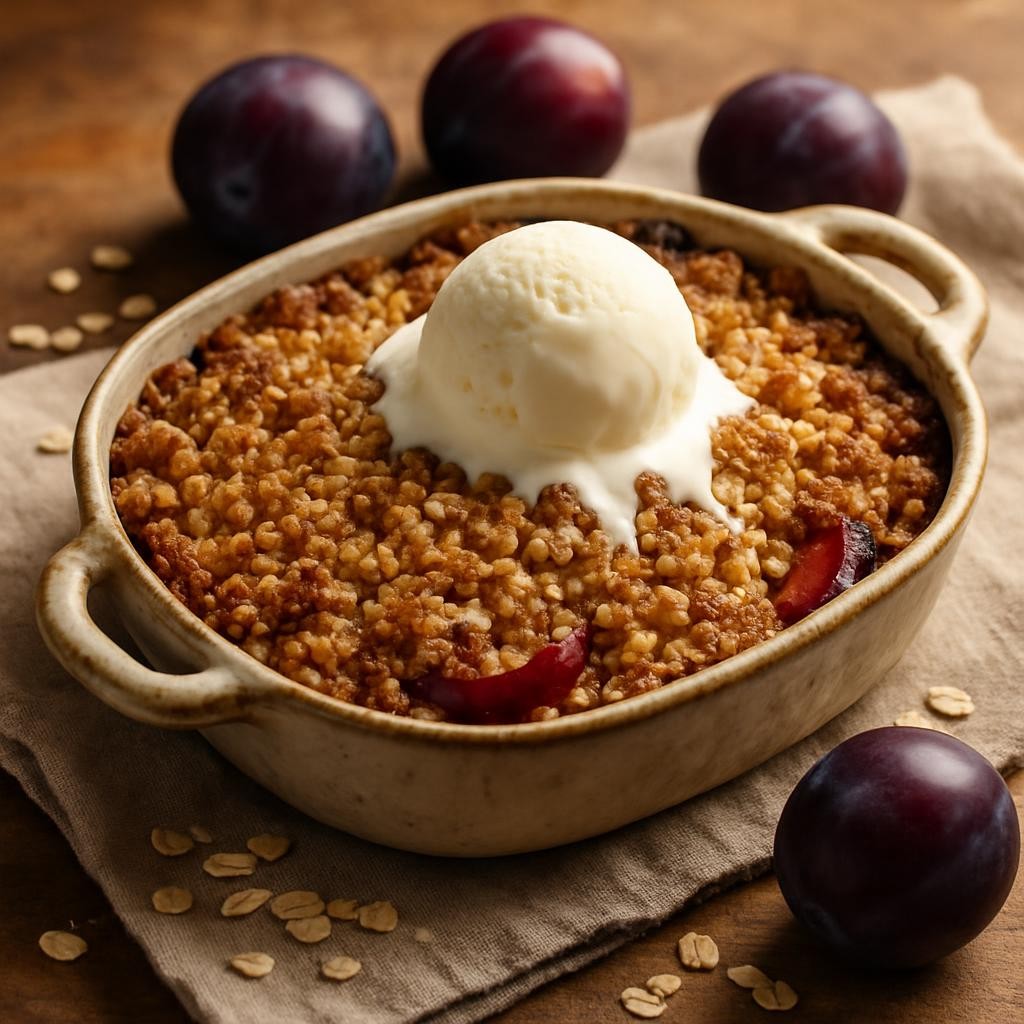
This Plum Crisp recipe is an irresistible dessert that perfectly highlights the sweet and tart flavors of ripe plums. With a buttery, crumbly topping that contrasts beautifully with the juicy fruit filling, this dish delivers a delightful combination of textures and tastes. It’s the kind of dessert that brings comfort and joy, making it an ideal treat for family gatherings, potlucks, or simply a night in. The best part? It’s easy to prepare, so you can spend less time in the kitchen and more time enjoying the delicious results.
Why You Will Love This Recipe
You will absolutely adore this plum crisp recipe for several reasons. The balance of sweet and tart flavors from the plums creates a satisfying taste that is both refreshing and comforting. Not only is it a delicious dessert, but it’s also simple to whip up, requiring only a handful of ingredients and minimal prep time. Perfect for busy weeknights or casual gatherings, this recipe accommodates a variety of dietary preferences, making it a versatile choice for anyone looking to satisfy their sweet tooth without a lot of fuss.
Tips and Tricks
To make your plum crisp even more delightful, here are some handy tips and tricks:
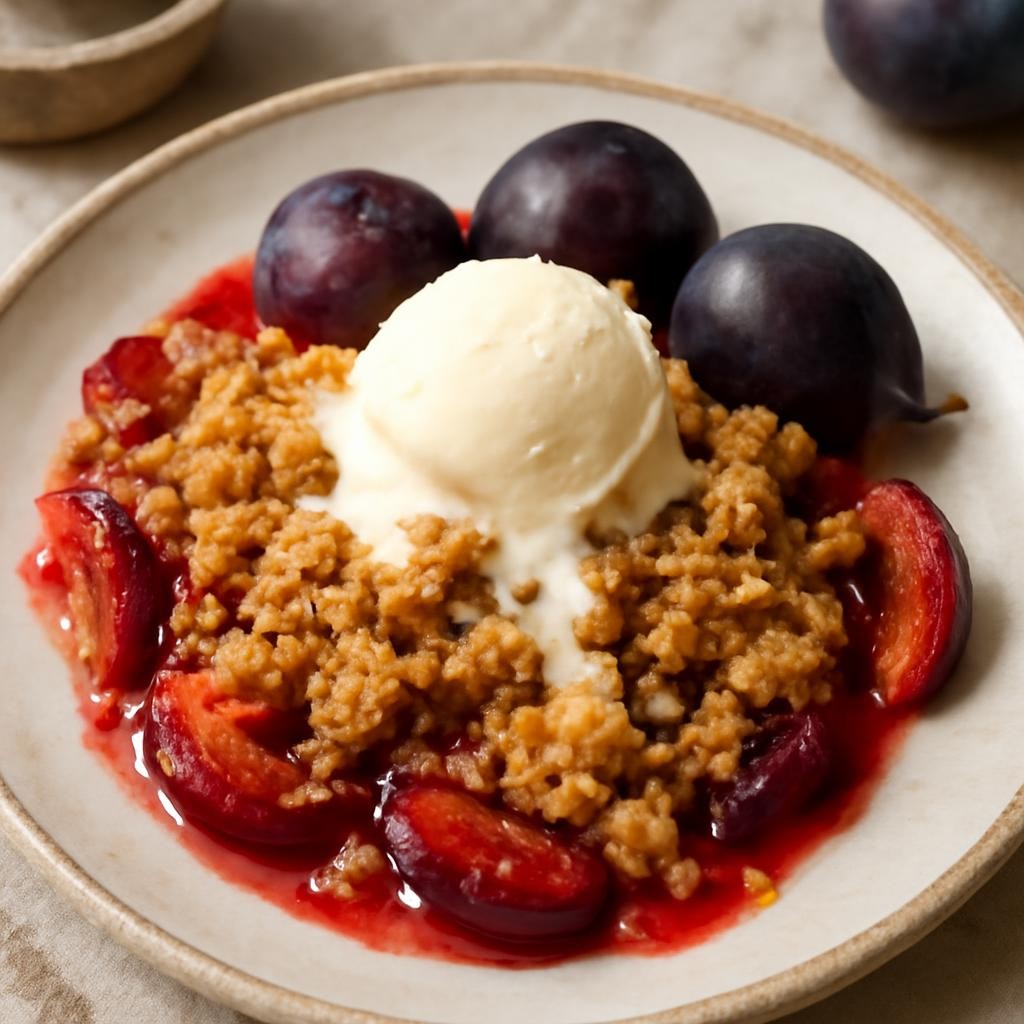
- Choose ripe, juicy plums for the best flavor; they should yield slightly when pressed.
- For added depth of flavor, consider mixing in a teaspoon of almond extract with the fruit filling.
- If you prefer a crunchier topping, toast the oats and nuts in the oven for a few minutes before combining them with the flour and butter.
- Use a combination of brown and white sugar for the topping to enhance the caramelized flavor.
- You can also add a pinch of cinnamon or nutmeg to the fruit mixture for a warm, spiced flavor that complements the plums beautifully.
Make Ahead Tips
This plum crisp can be partially prepared ahead of time, making it even more convenient for busy schedules. You can slice and prepare the plums a day in advance; just store them in an airtight container in the fridge to keep them fresh. The topping can also be made ahead and refrigerated for up to 3 days. When you’re ready to bake, simply assemble the crisp and pop it in the oven. If you want to prepare the entire dish in advance, it can be assembled and stored in the refrigerator for up to 24 hours before baking.
Recipe Variations
Feel free to get creative with this plum crisp recipe! Here are some delightful variations:
- Swap out plums for other stone fruits like peaches or cherries for a different flavor profile.
- For a nutty twist, add chopped walnuts or pecans to the topping mix.
- Make it gluten-free by substituting regular flour with almond flour or a gluten-free flour blend.
- Add a scoop of rolled oats to the topping for extra texture.
- Try drizzling honey or maple syrup over the top before serving for a touch of natural sweetness.
How to Serve
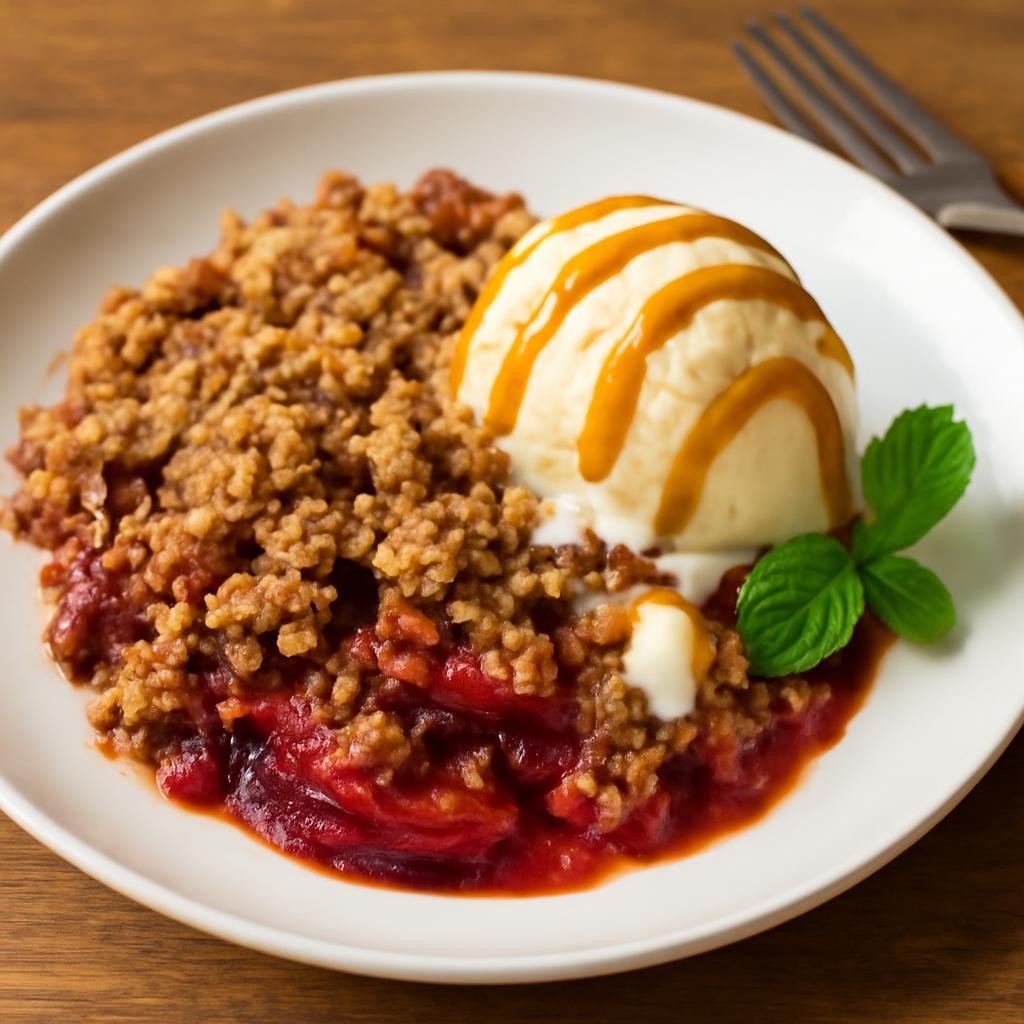
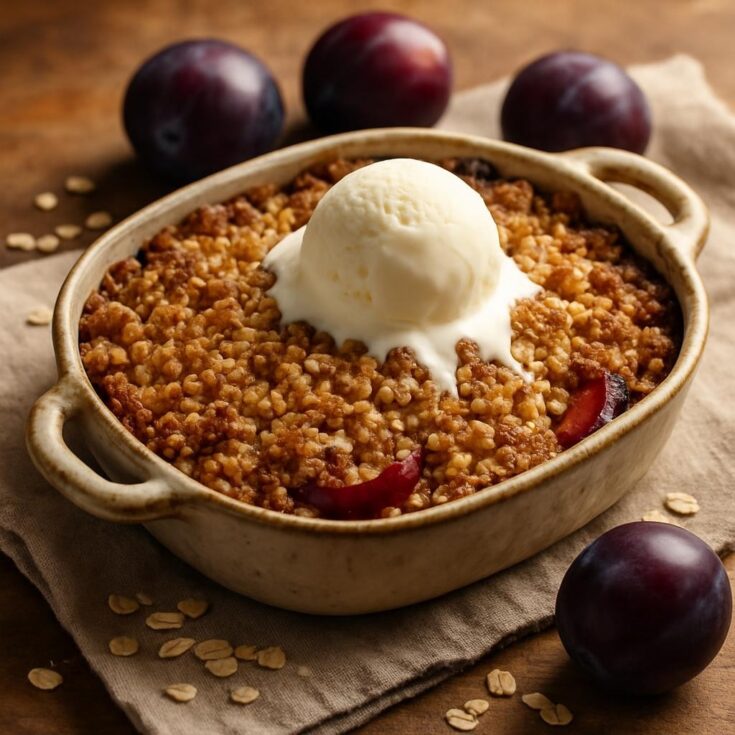
For the best presentation, serve your plum crisp warm from the oven in a rustic baking dish. Top each serving with a generous scoop of vanilla ice cream or a dollop of whipped cream for added richness. A sprinkle of fresh mint leaves can add a pop of color and freshness to the plate. Consider serving it alongside a cup of hot coffee or tea to complement the dessert’s flavors.
Pairing Suggestions
Pair your plum crisp with a refreshing drink like a chilled Chardonnay or a light Rosé wine, which will beautifully enhance the fruitiness of the dish. For non-alcoholic options, consider a sparkling apple cider or a herbal tea. As for complementary side dishes, a simple salad with mixed greens and a light vinaigrette can balance the sweetness of the crisp. If you’re looking for a little more indulgence, serve it with a warm chocolate sauce on the side.
How to Store
Leftover plum crisp can be stored in an airtight container in the refrigerator for up to 3-4 days. To freeze, wrap the cooled crisp tightly in plastic wrap and then in aluminum foil for up to 3 months. When you’re ready to enjoy it again, simply thaw it in the refrigerator overnight and reheat it in a 350°F (175°C) oven until warmed through. You can also microwave individual portions for a quick treat.
Equipment Needed
For this plum crisp recipe, you will need:
- A mixing bowl for combining the fruit and topping
- A baking dish (8×8 inch or similar size) for baking
- A knife and cutting board for slicing the plums
- Measuring cups and spoons for accurate ingredient quantities
- A spatula for spreading the topping evenly
If you don’t have a baking dish, you can use any oven-safe dish that holds the same volume.
Dietary Adaptations
To make this plum crisp recipe suitable for various dietary needs, consider the following adaptations:
- For vegan versions, substitute butter with coconut oil or a vegan butter alternative.
- To make it gluten-free, use a gluten-free flour blend or almond flour in place of regular flour.
- If you’re nut-free, simply omit any nuts added to the topping and use a seed-based alternative like sunflower seeds.
- For a lower sugar option, you can use a sugar substitute like stevia or monk fruit sweetener, adjusting to taste.
Seasonal Adaptations
While plums are the star of this recipe, seasonal adaptations can keep things interesting. In the summer, try using fresh blueberries or peaches; in the fall, apples and pears can provide a cozy twist. During winter months, frozen fruits can be used effectively without compromising flavor, just increase the baking time slightly to ensure they’re heated through.
Recipe FAQs
Q: Can I use frozen plums for the crisp?
A: Yes, frozen plums work well! Just ensure they are thawed and drained of excess moisture before using them in the recipe.
Q: How long should I bake the plum crisp?
A: Bake the crisp for about 35-45 minutes, or until the topping is golden brown and the filling is bubbly.
Q: Can I substitute other fruits for plums?
A: Absolutely! This recipe is very flexible, and you can substitute with other fruits like cherries, peaches, or even apples.
Q: What if my topping is too crumbly?
A: If your topping is too crumbly, try adding a little more melted butter or some water to help bind it together.
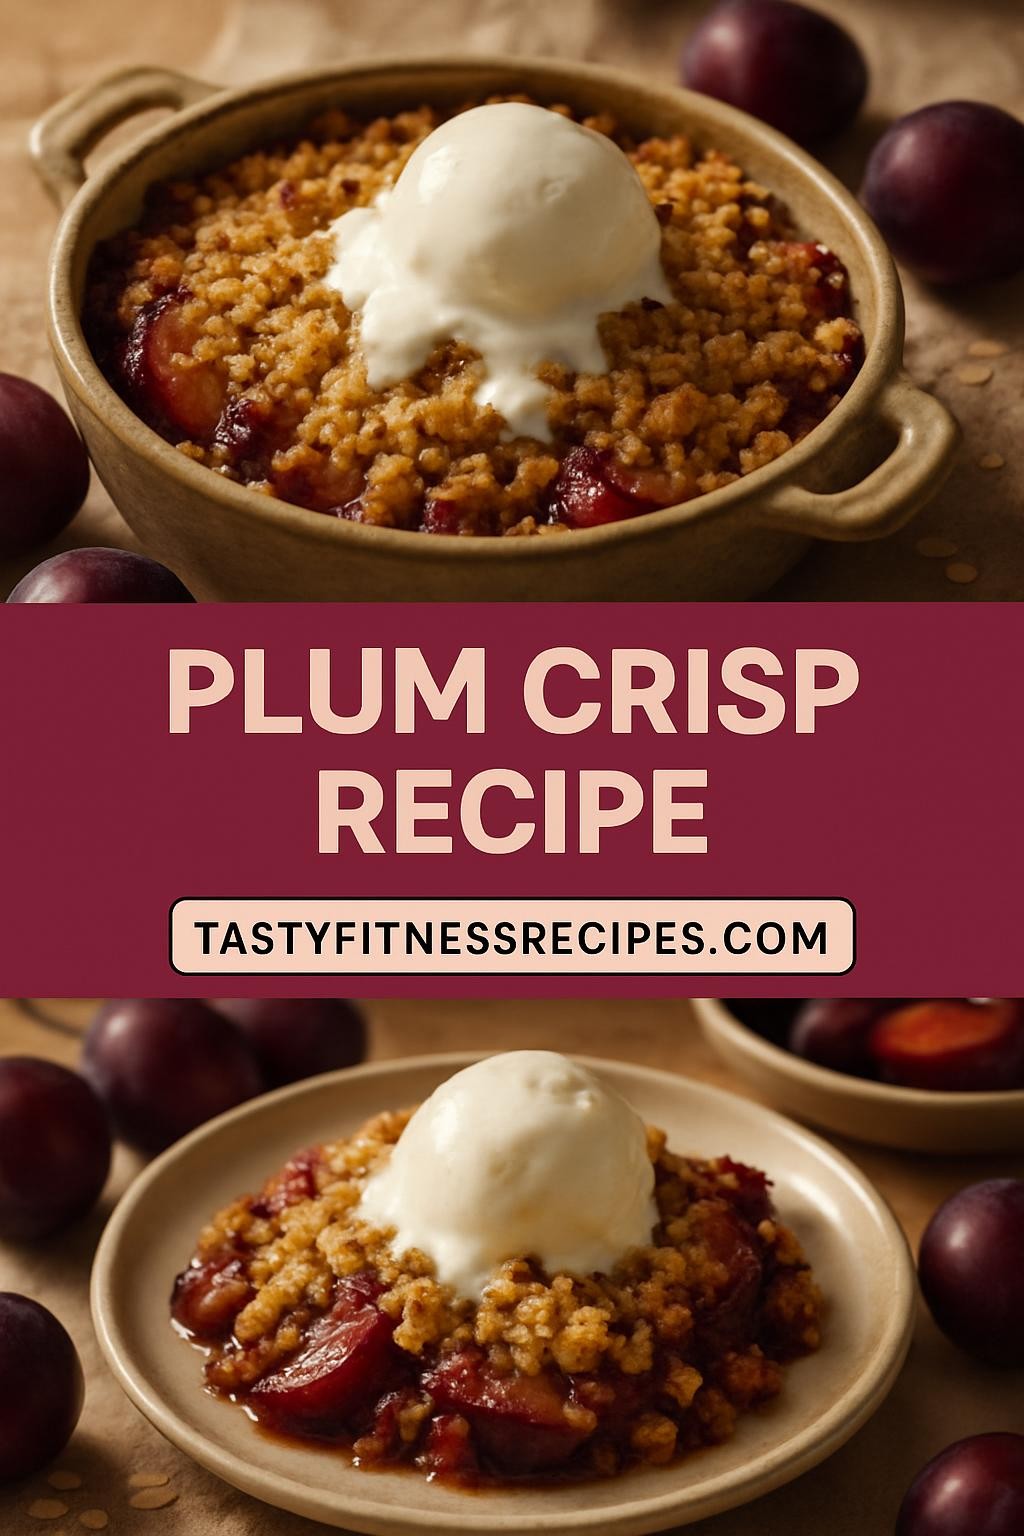
Plum Crisp
This Plum Crisp recipe is an irresistible dessert that perfectly highlights the sweet and tart flavors of ripe plums.
Ingredients
- 6 cups ripe plums, pitted and sliced
- 1/2 cup granulated sugar
- 1 tablespoon lemon juice
- 1 teaspoon vanilla extract
- 1 cup all-purpose flour
- 1 cup rolled oats
- 1/2 cup brown sugar
- 1/2 cup unsalted butter, melted
- 1/2 teaspoon cinnamon (optional)
- Pinch of salt
Instructions
- Preheat your oven to 350°F (175°C).
- In a large mixing bowl, combine the sliced plums, granulated sugar, lemon juice, and vanilla extract. Toss until the plums are well coated.
- Transfer the plum mixture into a greased 8x8 inch baking dish.
- In another bowl, mix together the flour, rolled oats, brown sugar, cinnamon (if using), and salt.
- Pour the melted butter over the dry ingredients and stir until crumbly.
- Evenly spread the topping mixture over the plums in the baking dish.
- Bake in the preheated oven for 35-45 minutes, until the topping is golden brown and the fruit is bubbling.
- Allow the crisp to cool slightly before serving. Enjoy warm with ice cream or whipped cream!
Nutrition Information
Yield
8Serving Size
1Amount Per Serving Calories 348Total Fat 13gSaturated Fat 7gTrans Fat 0gUnsaturated Fat 4gCholesterol 31mgSodium 23mgCarbohydrates 57gFiber 3gSugar 36gProtein 4g
TastyFitnessRecipes.com, occasionally offers nutritional information for recipes contained on this site. This information is provided as a courtesy and is an estimate only. This information comes from online calculators. Although tastyfitnessrecipes.com attempts to provide accurate nutritional information, these figures are only estimates.
Final Thoughts
Making this plum crisp recipe is not only a rewarding culinary experience but also a delightful way to celebrate the flavors of summer and early fall. With its simple ingredients and straightforward instructions, you can create a dessert that brings joy to any gathering or simply satisfies your own cravings. So grab some plums, preheat your oven, and treat yourself and your loved ones to this deliciously comforting dessert. Happy baking!