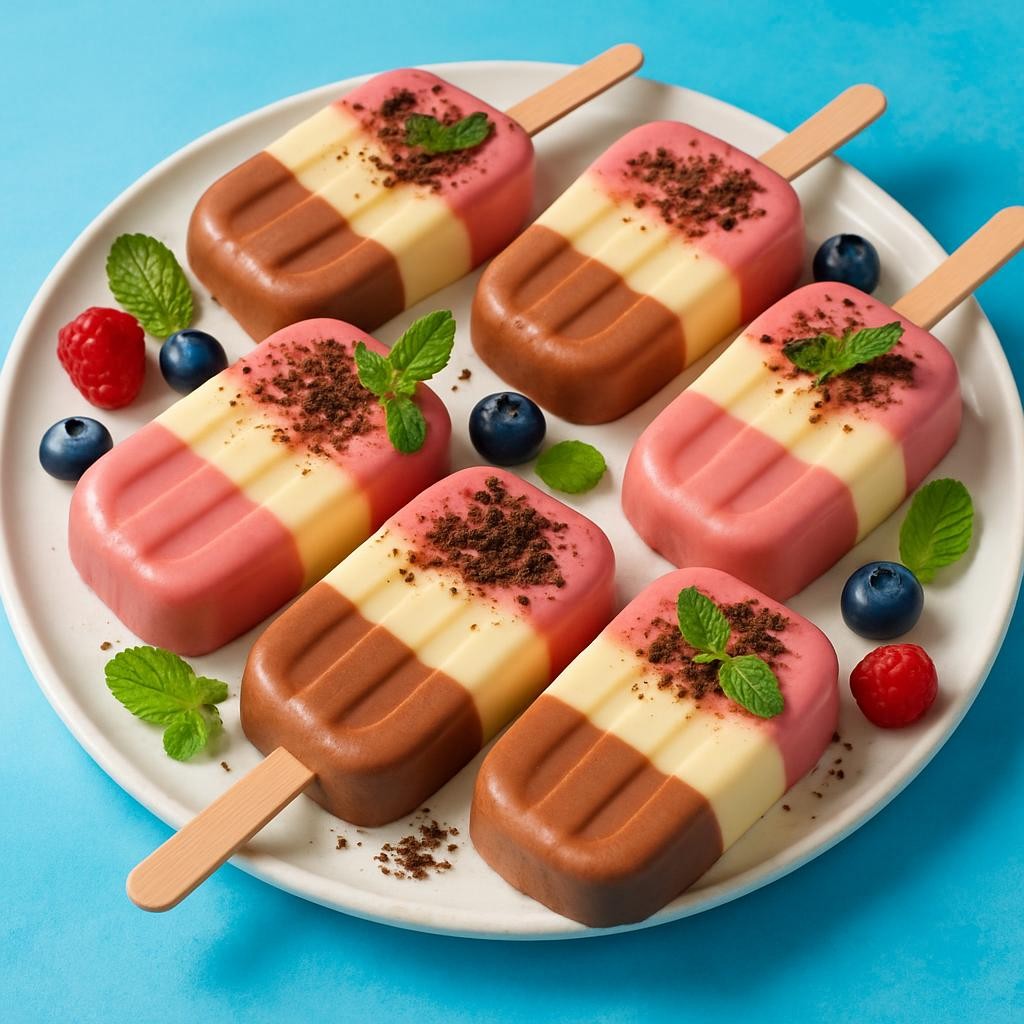
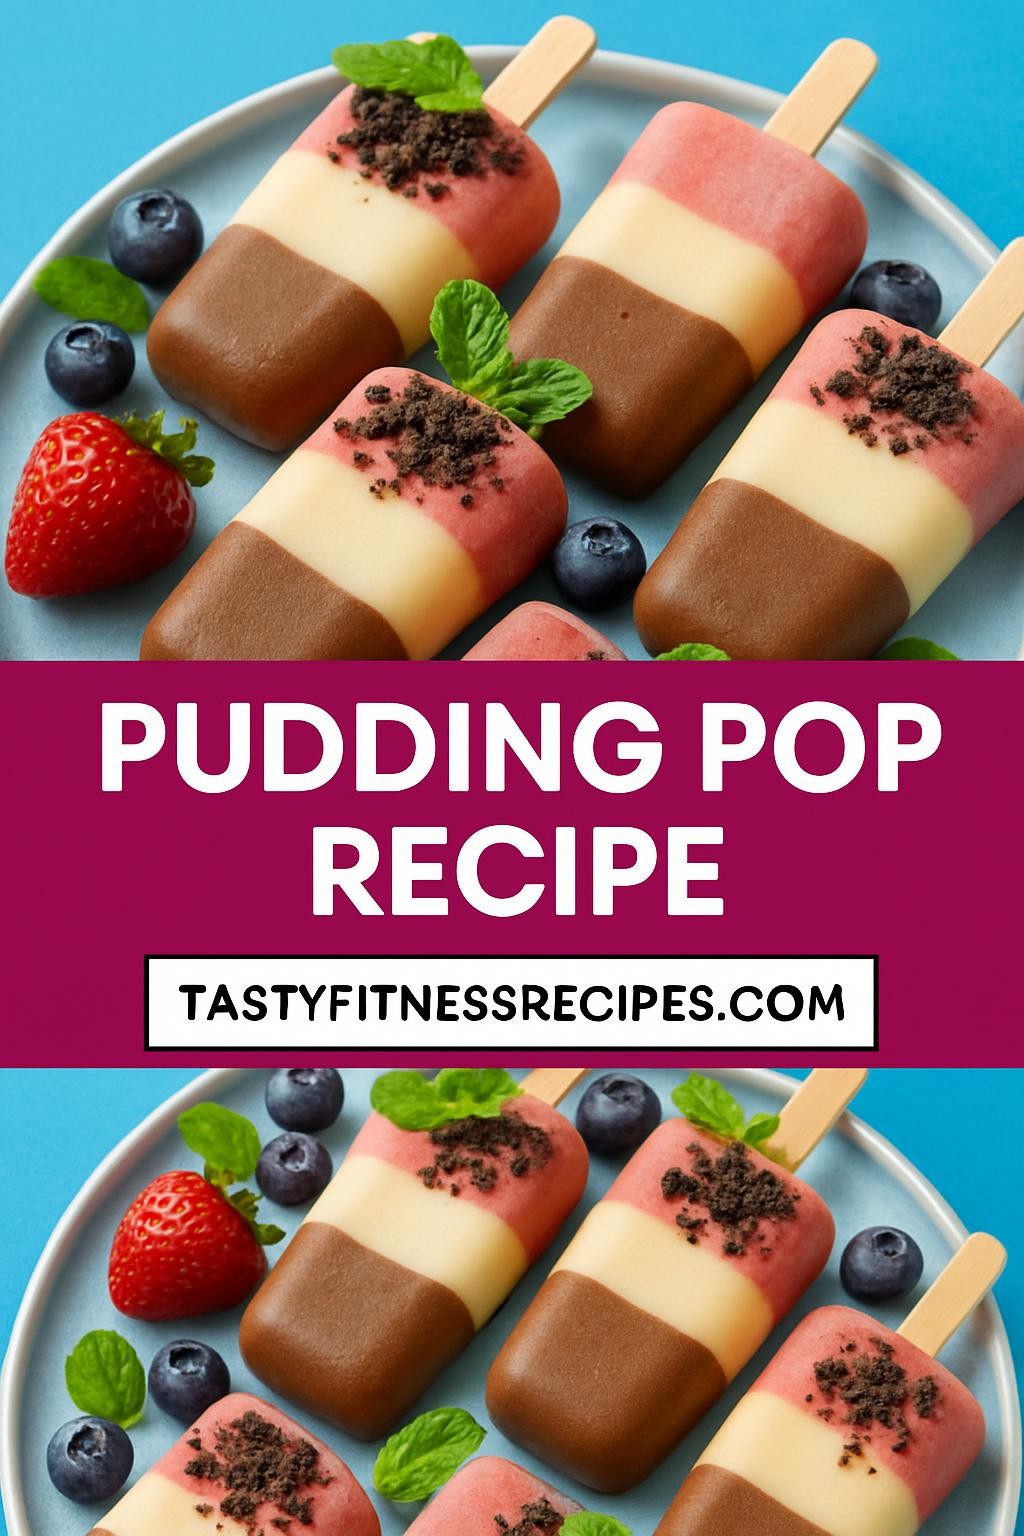
Pudding Pops are a nostalgic treat that evoke memories of hot summer days and childhood delight. This pudding pop recipe combines the creamy richness of traditional pudding with the fun and refreshing appeal of a popsicle, making it the perfect dessert for both kids and adults alike. With endless flavor possibilities and a simple preparation process, these pudding pops are sure to become a staple in your household.
Why You Will Love This Recipe
You will absolutely love this pudding pop recipe because it is incredibly versatile and easy to make. The flavor combinations are limitless — from classic chocolate and vanilla to adventurous options like strawberry cheesecake or cookies and cream. Not only are they a hit with families, but they are also a healthier alternative to store-bought popsicles, allowing you to control the sweetness and use wholesome ingredients. Plus, they fit well into a balanced lifestyle, offering a delightful treat without the guilt!
Tips and Tricks
To make your pudding pops a breeze, use instant pudding mix for a quick set-up; just add milk and whisk! For an extra creamy texture, consider substituting some of the milk with heavy cream. To avoid ice crystals forming in your pops, make sure to blend the mixture thoroughly and freeze them in a flat layer, ensuring even freezing. If you want to add a fun twist, mix in some crushed cookies or fruit before pouring into the molds.
Make Ahead Tips
These pudding pops are perfect for meal prep! You can make the pudding mixture a day ahead and store it in the refrigerator. Just remember to give it a good stir before pouring it into the molds. Once frozen, they can be stored in an airtight container for up to two months, making them a fantastic grab-and-go snack for busy days.
Recipe Variations
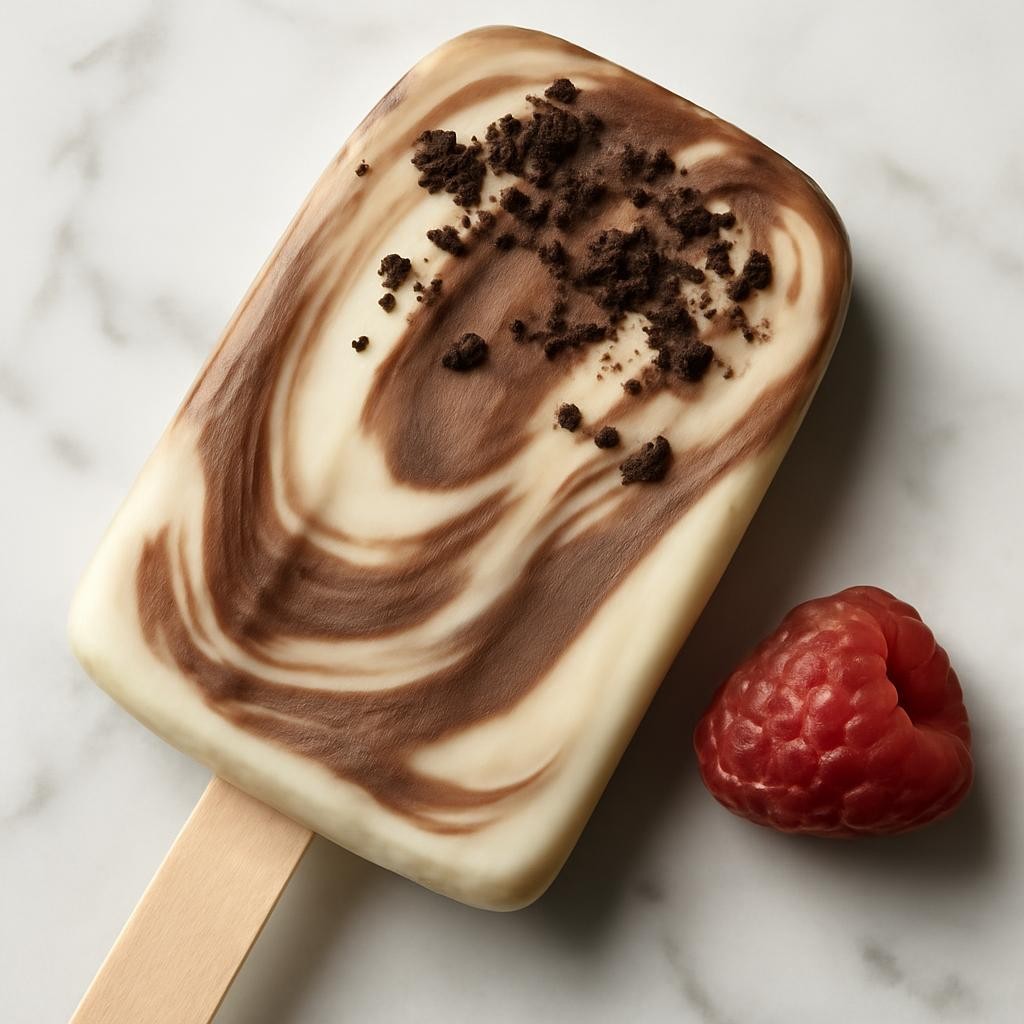
Get creative with your pudding pop recipe! Swap out the standard flavors for seasonal variations like pumpkin spice in the fall or mint chocolate chip during the summer. You can also experiment with different types of milk, such as almond or oat milk, for a dairy-free version. For a fun twist, consider adding layers of different flavors or incorporate fruit purees to create a marbled effect.
How to Serve
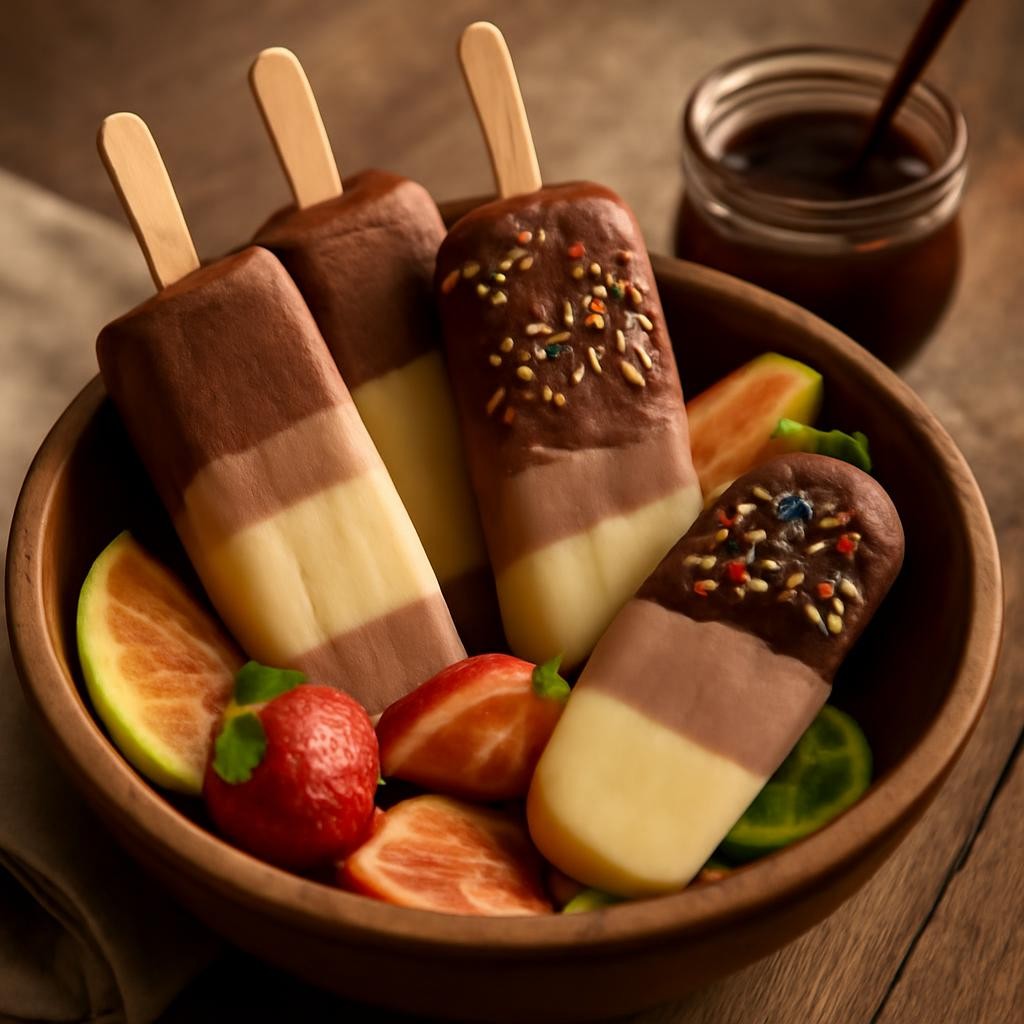
When serving your pudding pops, consider slicing them in half to showcase their beautiful layers. Arrange them on a colorful platter, and garnish with fresh fruit or a drizzle of chocolate sauce. For an added touch, serve them alongside a scoop of ice cream or a dollop of whipped cream to elevate the presentation and flavor.
Pairing Suggestions
These delightful pudding pops pair wonderfully with a refreshing glass of lemonade or iced tea for a classic summer vibe. For adults, a fruity cocktail like a watermelon mojito would complement the sweetness perfectly. If you’re looking for a dessert pairing, consider serving them with a light fruit salad or a scoop of sorbet for a refreshing finish.
How to Store
To store your pudding pops, make sure they are completely frozen, then transfer them to an airtight container or a zip-top bag. They can be kept in the freezer for up to two months. If you want to prevent them from sticking together, place parchment paper between the pops before sealing them in the container.
Equipment Needed
For this pudding pop recipe, you will need popsicle molds, which come in various shapes and sizes. If you don’t have molds, small paper cups and wooden sticks can be a great alternative. Additionally, a mixing bowl and whisk are essential for combining your pudding ingredients.
Dietary Adaptations
To make this pudding pop recipe vegan, use plant-based milk and a vegan pudding mix. For a nut-free version, stick to soy or oat milk. If you’re looking for gluten-free options, ensure that your pudding mix is certified gluten-free. Adjust the sweeteners to suit your dietary needs, and feel free to experiment with natural sweeteners like maple syrup or agave.
Seasonal Adaptations
Take advantage of seasonal ingredients to make your pudding pops even more special. In the summer, use ripe berries or peaches for a fresh, fruity flavor. In the fall, consider incorporating pumpkin puree and spices for a festive twist. During winter, peppermint extract can add a refreshing touch to chocolate pudding pops.
Recipe FAQs
- Can I use homemade pudding instead of instant?
Yes, homemade pudding works well! Just ensure it’s completely cooled before pouring it into the molds.
- How long do I need to freeze the pudding pops?
Ideally, freeze them for at least 4-6 hours for the best texture.
- Can I use flavored milk?
Absolutely! Flavored milk can add an interesting twist to your pudding pops.
Pudding Pop

Pudding Pops are a nostalgic treat that evoke memories of hot summer days and childhood delight.
Ingredients
- 1 package (3.4 oz) instant pudding mix (any flavor)
- 2 cups milk (dairy or non-dairy)
- Optional mix-ins (chocolate chips, crushed cookies, fresh fruit)
- Popsicle molds
Instructions
- In a mixing bowl, combine the instant pudding mix and milk. Whisk until smooth and the mixture begins to thicken.
- If desired, fold in any mix-ins such as chocolate chips or fruit.
- Pour the pudding mixture into popsicle molds, leaving a little space at the top for expansion.
- Insert popsicle sticks and freeze for at least 4-6 hours, or until fully set.
- To remove the pops, run warm water over the outside of the molds for a few seconds. Gently pull the pops out and enjoy!
Nutrition Information
Yield
10Serving Size
1Amount Per Serving Calories 66Total Fat 1gSaturated Fat 1gTrans Fat 0gUnsaturated Fat 0gCholesterol 4mgSodium 199mgCarbohydrates 12gFiber 0gSugar 10gProtein 2g
TastyFitnessRecipes.com, occasionally offers nutritional information for recipes contained on this site. This information is provided as a courtesy and is an estimate only. This information comes from online calculators. Although tastyfitnessrecipes.com attempts to provide accurate nutritional information, these figures are only estimates.
Final Thoughts
Pudding pops are not just a treat; they are a canvas for creativity and flavor! Whether you’re making them for a party or a simple weeknight dessert, this pudding pop recipe is sure to impress. So gather your ingredients, get your molds ready, and indulge in the fun of creating these delightful frozen treats. Happy popping!