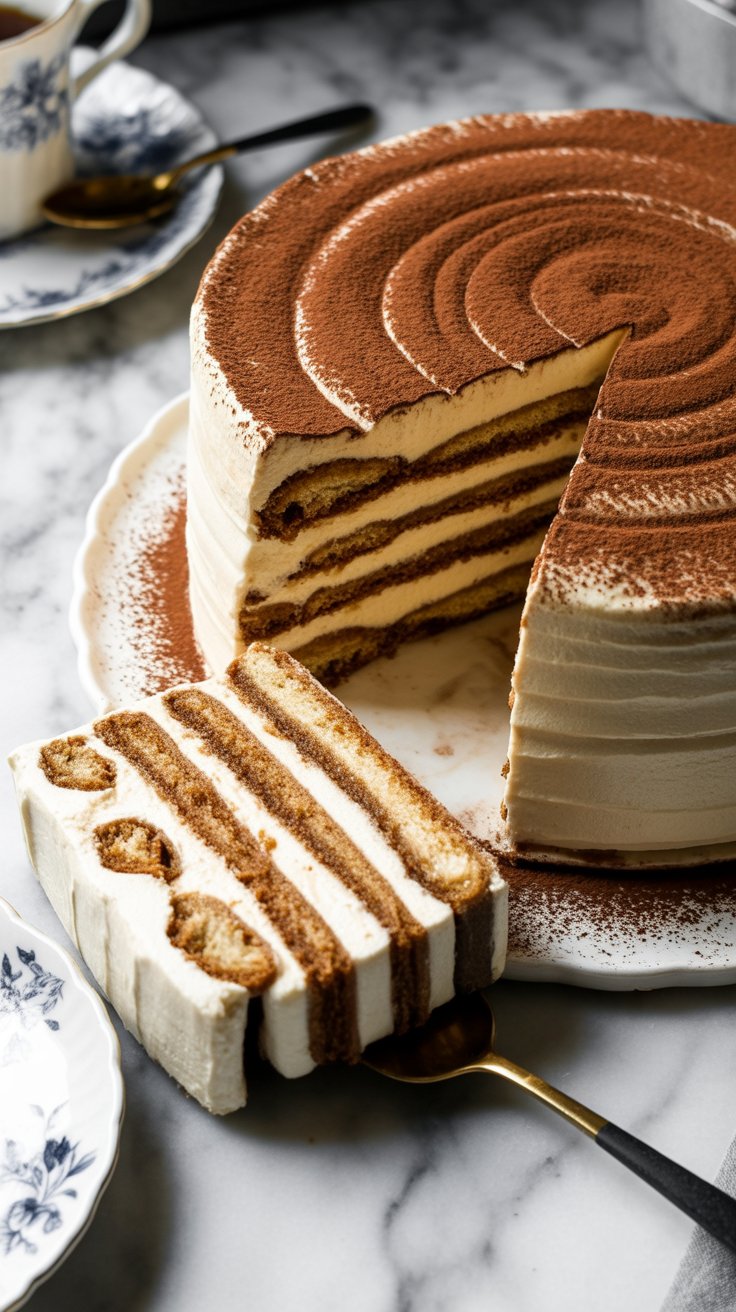
A tall, dreamy cake made with layers of soft vanilla sponge soaked in coffee and a hint of liqueur, all tucked between billowy mascarpone cream and finished with a cocoa dusting.
 Why This Cake Feels So Special
I’ll be honest, I don’t call many things “the best,” but this Tiramisu Cake truly earns the title. It’s like someone dressed up the classic tiramisu for a fancy dinner party. Instead of the usual ladyfingers, we’re working with homemade sponge cake—light, airy, and thirsty enough to drink up every bit of that coffee soak.
The first time I made it, I served it after a Sunday lunch with family. By the time we reached dessert, everyone had already eaten their fill of curry and rice, but one look at this cake and suddenly there was “room.” That’s the magic of tiramisu—it feels indulgent, but never too heavy.
Step-by-Step – My Kitchen Notes
The Sponge Cake
The sponge is the backbone here. Beat those egg whites until you see peaks standing tall; that’s where the cake gets its lift since there’s no butter in the batter. I usually bake mine in two pans at a time, because my little oven throws a tantrum if I crowd it.
Tip from my mistakes: don’t overfold once the flour goes in, or your cake will sulk and deflate. A light hand makes all the difference.
The Coffee Soak
This is where the tiramisu flavor really comes alive. I usually brew espresso fresh, then stir in a spoonful of sugar while it’s still hot. If I’m baking for adults, a splash of amaretto or Kahlúa sneaks in. For a kid-friendly version, I leave out the booze and just use strong coffee—it’s still delicious.
The Mascarpone Cream
This filling is what makes people close their eyes after the first bite. The trick is to start with everything cold: mascarpone, heavy cream, even the mixing bowl if you can. Beat it just until you see soft swirls holding their shape. I once overdid it, and the cream turned grainy—it still tasted good, but it wasn’t the silky cloud I wanted.
Putting It All Together
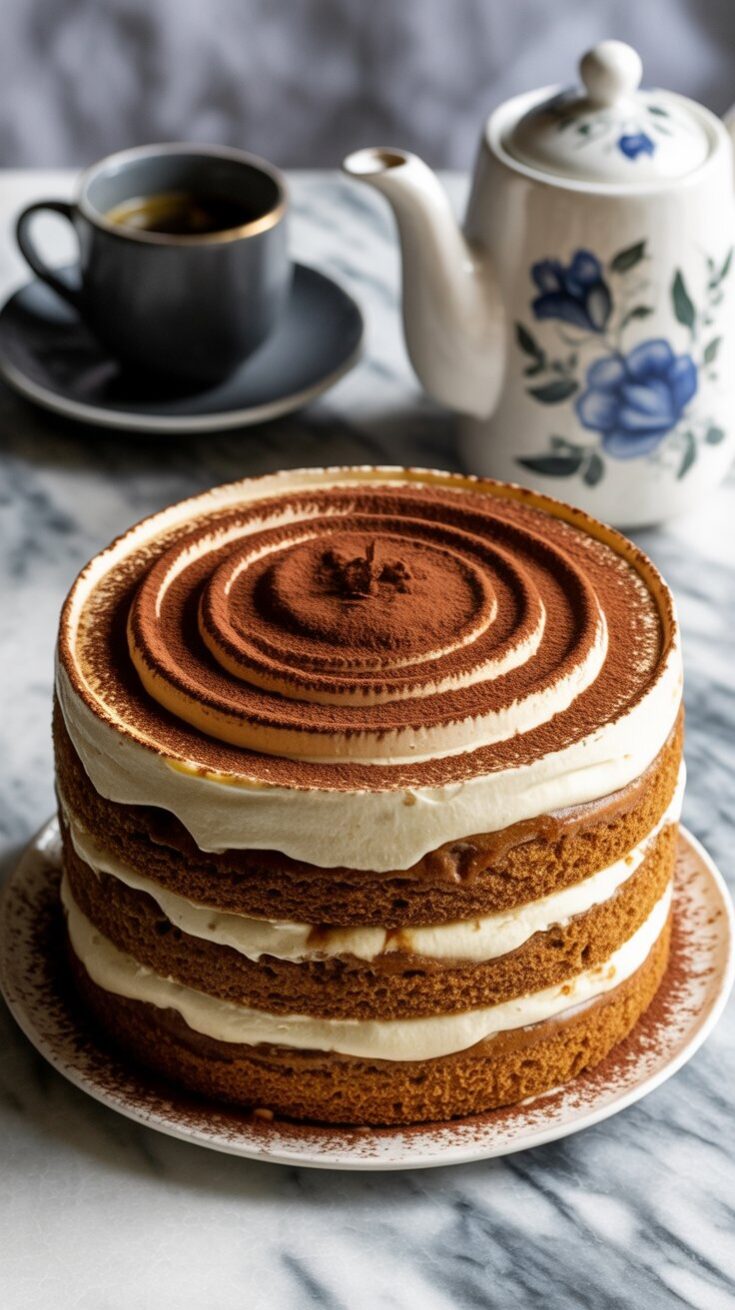
Here’s the part where patience pays off. Poke holes in the sponge so the coffee can seep in, spoon it over slowly, then spread on that mascarpone layer. I like leaving the edges a little bare—it gives the cake a rustic, Italian café look.
And yes, it’s worth refrigerating overnight. That’s when the coffee really settles in, marrying with the cream. The next day, the first slice you cut will reveal those neat layers, soft and coffee-kissed.
 What Pan Size Works Best
I’ve tested this cake in more sizes than I care to admit. My favorite is the full recipe in three 9-inch layers. It’s tall enough to look impressive, but sturdy enough that you don’t need to hold your breath while stacking.
If you want to experiment:
-
Half batch in two 8-inch layers – quicker, easier, and perfect for smaller gatherings.
-
Full batch in four 8-inch layers – looks spectacular but can wobble if you’re not careful.
-
Two 9×13 pans – great if you’re feeding a crowd and prefer a sheet cake style.
Decorating – Keeping It Simple
Honestly, this cake doesn’t need much fuss. A swirl of mascarpone on top and a snowfall of cocoa powder feels classic and elegant. I once tried decorating it with piped buttercream rosettes, but the mascarpone inside makes the cake shift a bit as it rests. Lesson learned—less is more here.
If you want extra flair, you can pipe a border with buttercream to help hold the layers in place and fill the middle with mascarpone. Just give the cake time to chill before adding those finishing touches.
 Storing Leftovers (If You’re Lucky Enough to Have Any)
This cake is happiest in the fridge. I keep mine chilled and slice straight from the cold. The texture holds beautifully, and the flavors somehow taste deeper the next day.
If I know we won’t finish it in a week (rare, but it happens), I’ll freeze slices. I tuck each piece into a container, then slide that into a freezer bag. Defrost in the fridge overnight and you’ll have a ready-made treat waiting for you.
A Few Practical Tips
-
Use strong coffee. Weak coffee makes the cake taste flat.
-
Don’t rush the chilling time—it’s the secret to that perfect texture.
-
Dust the cocoa right before serving so it stays fresh and doesn’t look damp.
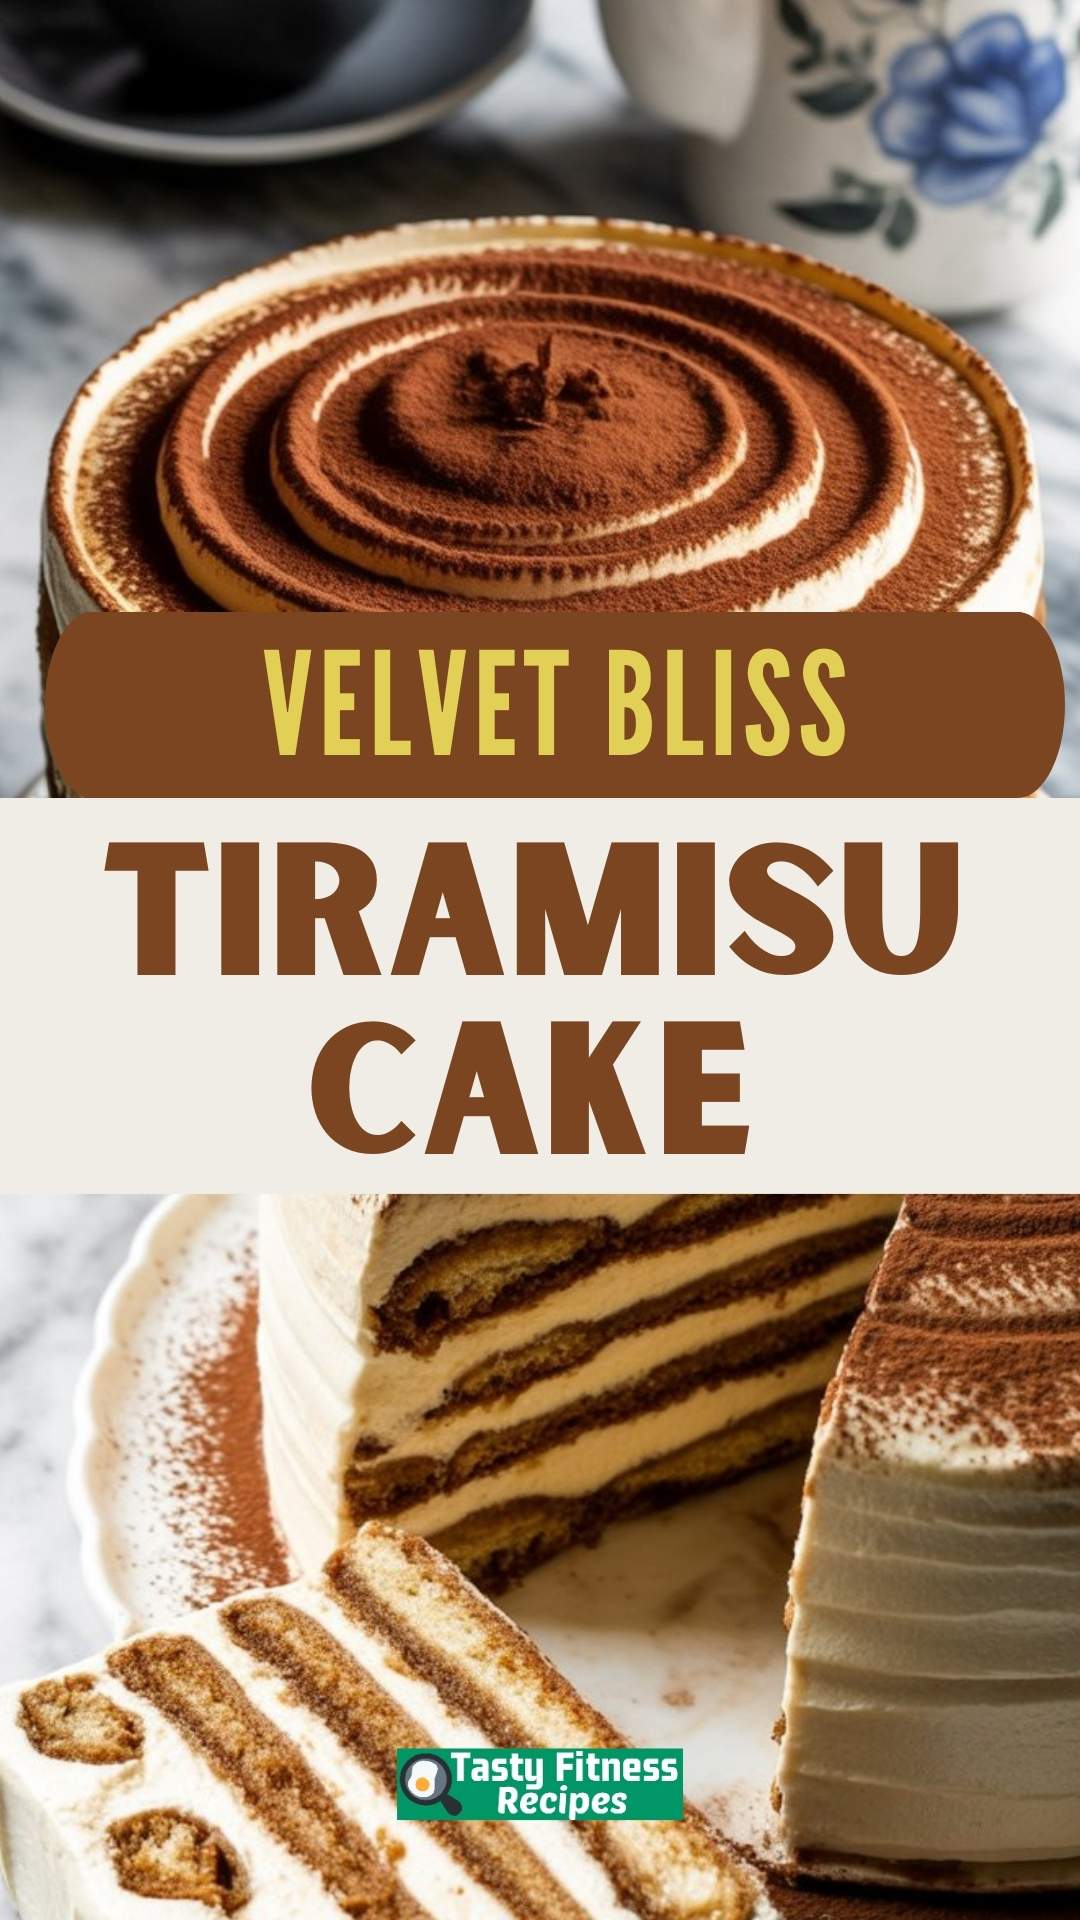
Tiramisu Cake
Layers of soft sponge cake soaked with rich coffee and a hint of liqueur, frosted with creamy mascarpone, and finished with a dusting of cocoa.
Ingredients
Sponge Cake
- 12 large eggs, separated
- 1 ½ cups (300 g) granulated sugar
- 2 teaspoons vanilla extract
- 2 cups (240 g) all-purpose flour
- 2 teaspoons baking powder
- ¼ teaspoon fine sea salt
Coffee Soak
- 2 cups (480 ml) strong brewed coffee (espresso works best)
- ¼ cup (50 g) granulated sugar
- 3 tablespoons (45 ml) Amaretto liqueur (optional)
Mascarpone Cream
- 24 oz mascarpone cheese, cold
- 2 ½ cups (300 g) powdered sugar
- 2 cups (16 oz) heavy whipping cream, cold
- 2 teaspoons vanilla bean paste (or extract)
- Pinch of fine sea salt
- Unsweetened cocoa powder, for dusting
Instructions
- Bake the Sponge Cake : Preheat the oven to 350°F (177°C) if using convection, or 325°F (163°C) for a standard oven. Grease and line four 9-inch round pans with parchment.Whip the egg whites in a stand mixer until frothy, then gradually add sugar and beat until stiff peaks form. Reduce speed, add the egg yolks and vanilla, and mix just until combined.Sift in the flour, baking powder, and salt. Mix on low speed until the batter is just incorporated. Divide evenly among pans and bake 15–18 minutes, until golden and springy to the touch. Cool completely on a towel-lined surface.
- Prepare the Coffee Soak : Stir the sugar into the hot coffee until dissolved. Once cooled, add Amaretto if using.
- Make the Mascarpone Cream : Beat mascarpone, powdered sugar, and salt until smooth. Add vanilla, then slowly stream in the cream in 3–4 additions, whipping until the mixture becomes thick and fluffy.
- Assemble the Cake : Use a fork to gently poke small holes in each sponge layer to help absorb the soak. Place one cake layer on a serving plate and brush with about ½ cup of coffee mixture. Spread a layer of mascarpone cream on top. Repeat with the remaining cake layers.Finish with a generous swirl of mascarpone cream on top and dust with cocoa powder.
- Refrigerate for at least 4–6 hours before slicing so the flavors meld and the cake sets.
Notes
- This recipe works best with 9-inch pans. If you use smaller pans, the cake will be taller and may need extra chilling for stability.
- For a stronger tiramisu flavor, increase the coffee soak slightly.
- Always keep mascarpone and cream cold for the best texture.
Nutrition Information
Yield
16Serving Size
1Amount Per Serving Calories 340Total Fat 25gSaturated Fat 14gTrans Fat 0gUnsaturated Fat 8gCholesterol 202mgSodium 343mgCarbohydrates 18gFiber 0gSugar 5gProtein 9g
TastyFitnessRecipes.com, occasionally offers nutritional information for recipes contained on this site. This information is provided as a courtesy and is an estimate only. This information comes from online calculators. Although tastyfitnessrecipes.com attempts to provide accurate nutritional information, these figures are only estimates.
Final Thoughts
Every time I make this tiramisu cake, I’m reminded why it’s such a crowd-pleaser. It bridges the gap between a fancy celebration cake and a comforting homemade dessert. I’ve served it at birthdays, casual family dinners, and even carried slices in a tin to share with neighbors—it never disappoints.
If you make it, chill it overnight, brew yourself a strong coffee, and enjoy that first bite slowly. Trust me, it’s worth the wait.
Try other Cake recipes: