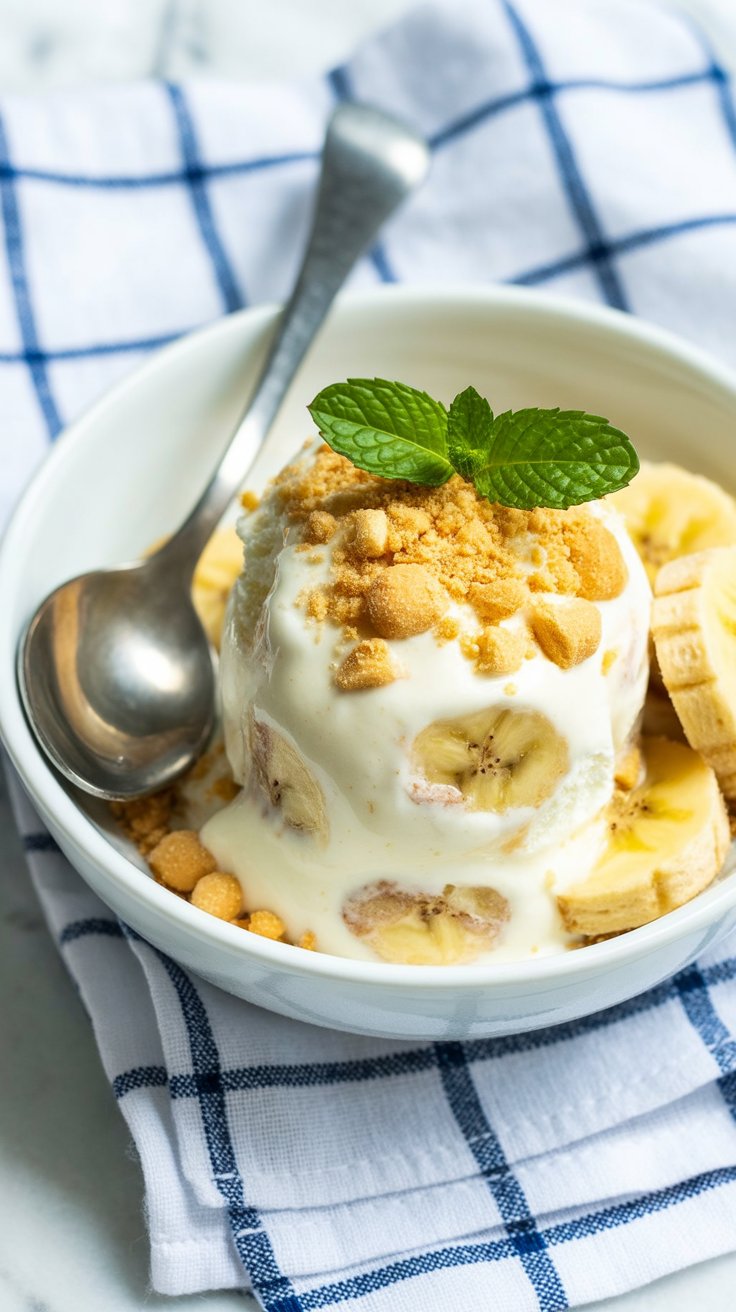
There are a few desserts that feel like a hug from home — and this banana pudding is one of them. It’s creamy, sweet, packed with real banana flavor, and layered with soft vanilla wafers that soak up all that goodness. I grew up watching my uncle sneak spoonfuls from the fridge before dinner, so this one brings back more memories than I can count. If you’ve ever had homemade banana pudding at a family gathering, you know exactly what I mean — it disappears fast, so make extra.
 A Little Story Behind This Dessert
The first time I made banana pudding from scratch, it was a bit of a rebellion. I’d tasted enough of those instant-mix versions with artificial vanilla flavor and gluey texture to know I wanted something better. So I went old school — eggs, cornstarch, milk, real whipped cream, and ripe bananas. And oh man, once you taste the homemade version, there’s no going back.
What Makes This Pudding So Special?
Banana pudding is a Southern classic, but its charm has stretched far beyond the Mason-Dixon line. It’s comfort food in every sense — layered, creamy, cool, and a little nostalgic.
The traditional version uses vanilla wafers, fresh bananas, and a silky homemade custard. No shortcuts with boxed pudding here — just real ingredients that come together with a little patience and a lot of love.
And let’s be honest — this is the kind of dish that shows up at Sunday dinners, family reunions, or on the fridge shelf with a “don’t touch” note that everyone ignores.
 Ingredients You’ll Need
Here’s what you’ll need to whip up the pudding that gets scraped clean from the dish every time:
-
Bananas – Go for ones with brown spots — the riper, the sweeter.
-
Egg yolks – The heart of the custard. Rich, golden, and gives the pudding its body.
-
Sugar – Just enough to balance the natural sweetness of bananas and the richness of condensed milk.
-
Cornstarch – Our thickener for a smooth, velvety custard.
-
Sweetened condensed milk – Adds a beautiful creamy texture and depth.
-
Heavy whipping cream – Whipped fresh for that fluffy, dreamy finish.
-
Vanilla wafers – Classic Nilla wafers or even shortbread cookies if you’re feeling fancy.
How I Make It at Home (And You Can Too)
Making pudding from scratch isn’t hard — it just asks you to slow down a bit. Here’s how I do it at home:
Cook the Custard
Warm up half-and-half in a saucepan — I like it better than plain milk. Meanwhile, whisk your egg yolks, sugar, cornstarch, and a pinch of salt until smooth. Gently temper the eggs by stirring in some warm milk, then pour it all back in the pot.
Now stir. Slowly. Constantly. This step takes 8–10 minutes, and it’s your moment to zen out over the stove. When it thickens up, take it off the heat and stir in butter and vanilla.
Quick Cool Tip
Want to cut chill time in half? Use an ice bath. Set your pot in a bowl filled with ice water, stir now and then — this brings down the temp fast and avoids that pudding skin no one really likes.
Make That Whipped Cream
Beat your cream with a little powdered sugar and salt until stiff peaks form. Then fold it into the pudding gently with some sweetened condensed milk. This gives it that signature fluffy texture.
Assemble the Layers
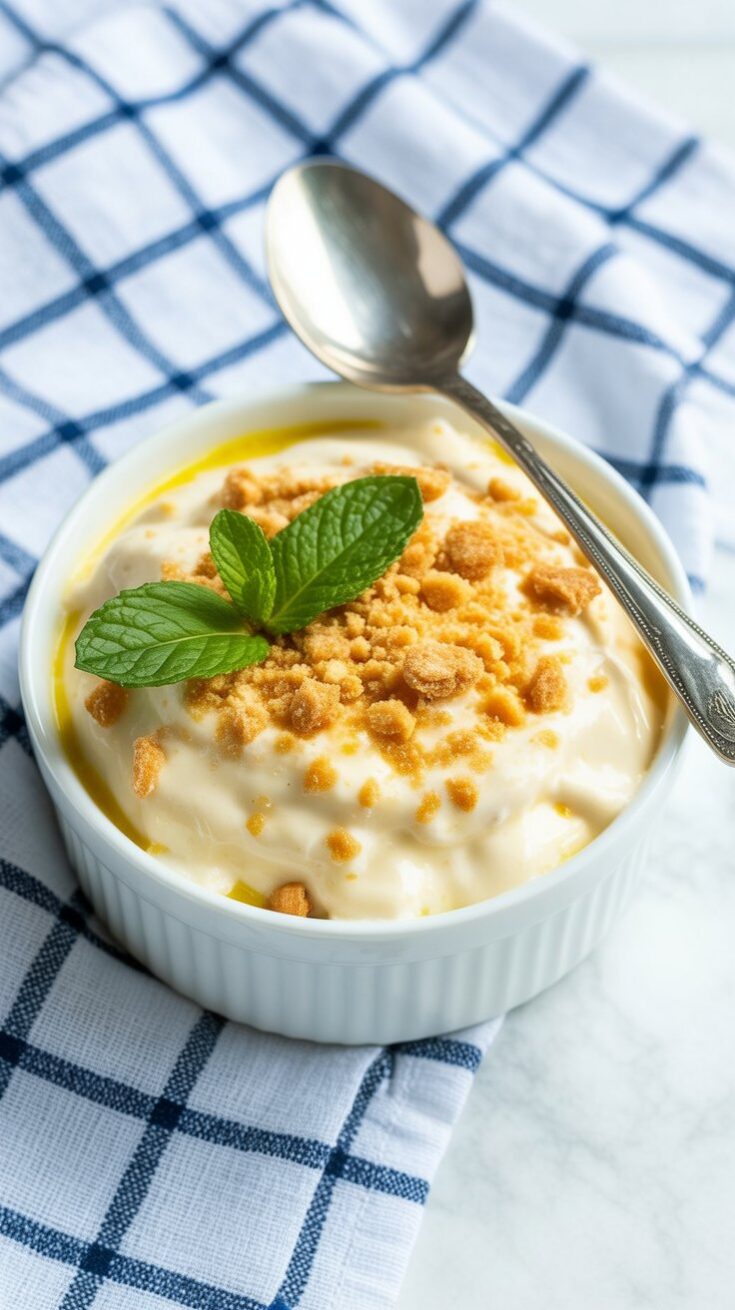
Grab a baking dish (9×13 is perfect), and start layering: pudding, wafers, sliced bananas. Repeat until you’ve built three creamy layers, and then top with more whipped cream and crushed vanilla wafers.
If you’ve got kids around, this is the part they love helping with — stacking the cookies and sneaking banana slices while pretending to help.
 Set featured imageStoring Tips (If There’s Any Left!)
I won’t lie — it rarely lasts more than a couple of days at our place. But if you do have leftovers:
-
Keep it tightly covered in the fridge.
-
Press plastic wrap right onto the surface to prevent browning bananas.
-
It’s best eaten within 2–3 days, but technically can last up to a week.
-
Don’t freeze it. The thawed texture just doesn’t hit the same — mushy wafers and weepy cream aren’t what we’re after.
Real-Life Tips From My Kitchen
Here are some things I’ve learned making this over and over again:
-
Toss banana slices in lemon juice if you’re making this ahead — helps with browning.
-
Stir the custard continuously to avoid lumps. Use a whisk and don’t walk away.
-
Don’t add hot milk to eggs too quickly or they’ll scramble. Go slow.
-
Want a little twist? Add cream cheese or a few drops of banana extract.
-
You can use other cookies too — chessmen, butter cookies, or shortbread are fun swaps.
-
Fresh whipped cream beats Cool Whip every single time — trust me.
Common Questions Answered
Does this have real bananas in it?
Of course! Otherwise, it’s just vanilla pudding pretending to be something it’s not.
How do I stop the bananas from turning brown?
Toss them in lemon juice or cover tightly with plastic wrap — directly on the pudding — to limit oxygen exposure.
What’s the difference between “Nilla” and vanilla wafers?
Just branding — “Nilla” is Nabisco’s take. Both work great.
Can I freeze it?
Wouldn’t recommend it. The texture breaks down and it loses that creamy magic.
What Goes Great With Banana Pudding
If you’re making this for a get-together, here are a few side dishes that pair beautifully:
-
Southern green beans with garlic
-
Candied yams or mashed sweet potatoes
-
Stewed okra and tomatoes
-
Classic black-eyed peas
-
Cornbread or corn maque choux
Basically, any comfort food will welcome banana pudding at the table.
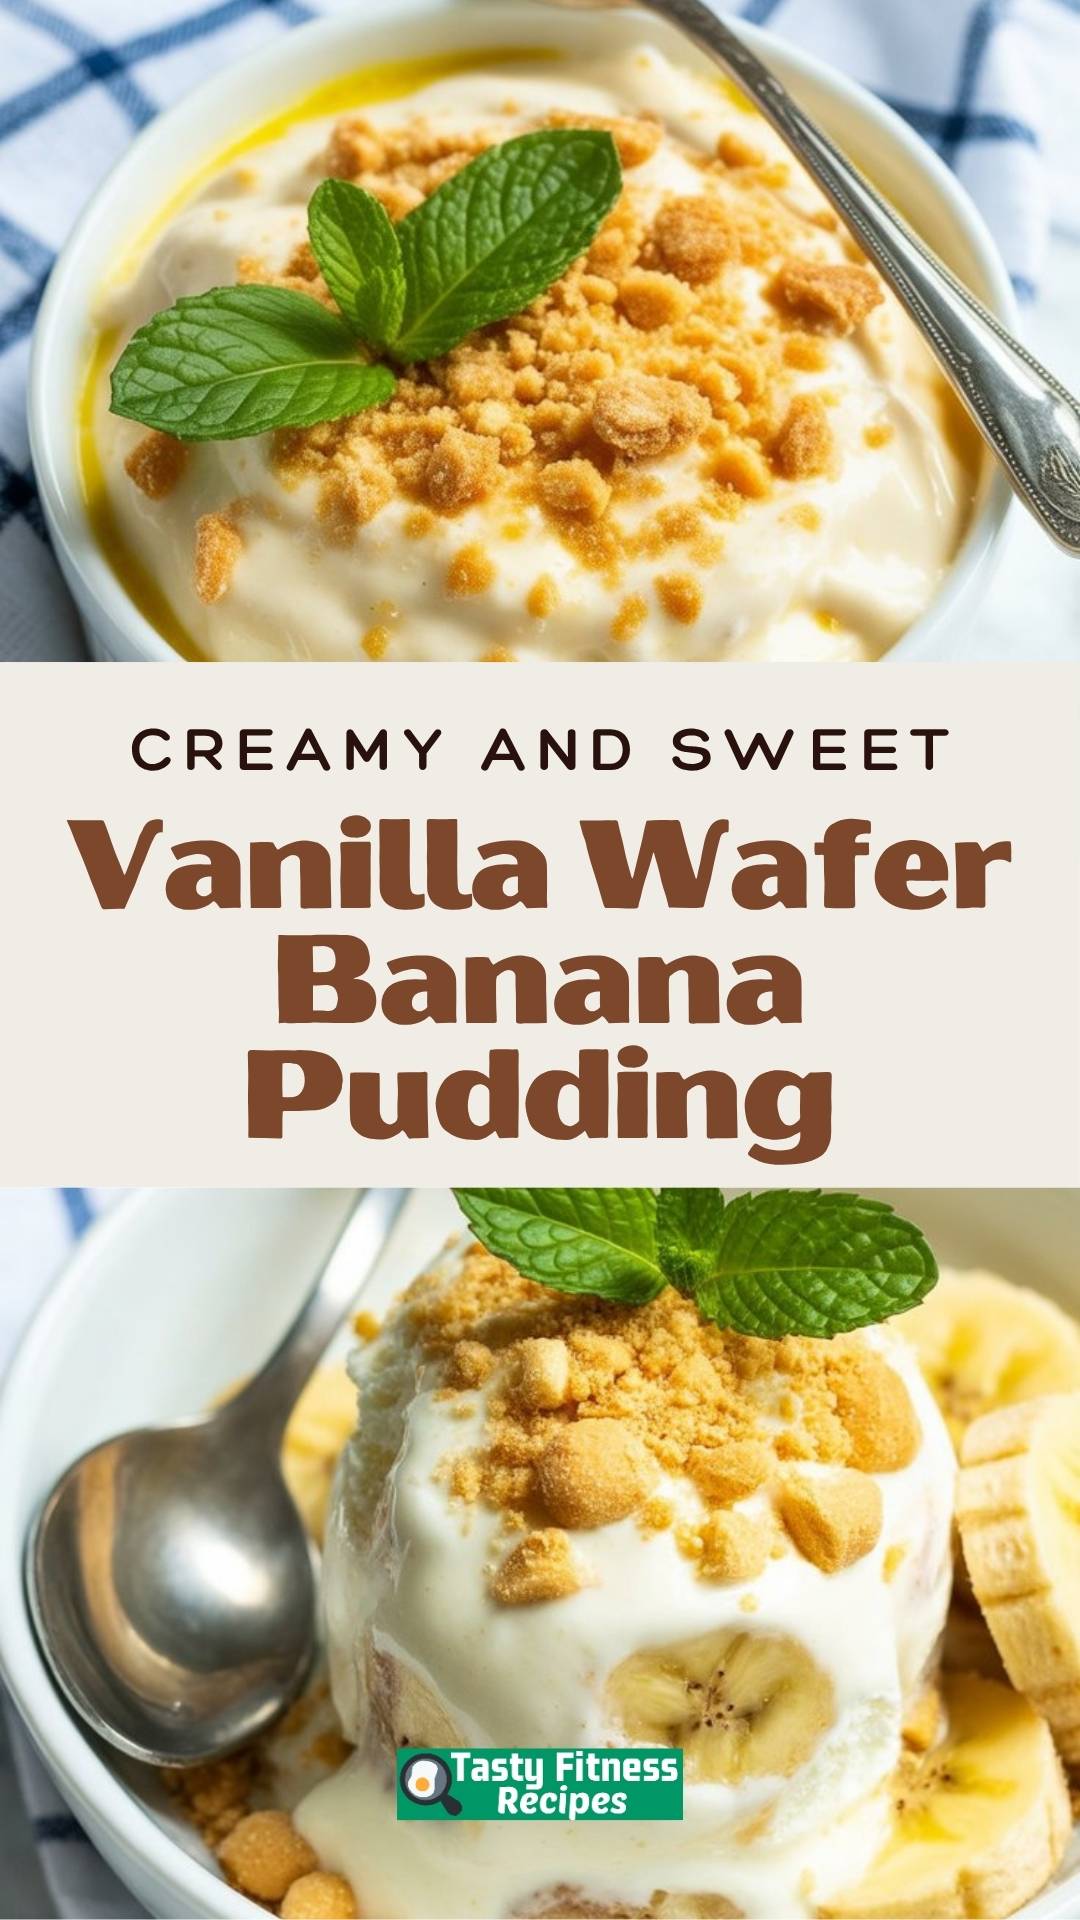
Vanilla Wafer Banana Pudding
There’s something truly nostalgic about a chilled banana pudding layered with soft vanilla wafers and freshly sliced bananas.
Ingredients
For the Pudding:
- 1 cup cold heavy cream
- 3 cups half and half
- 4 large egg yolks
- ½ cup granulated sugar
- ¼ cup cornstarch
- ¼ teaspoon kosher salt
- 1 teaspoon vanilla extract
- 3 tablespoons unsalted butter
- 1 (14 oz.) can sweetened condensed milk
- 6 ripe bananas, sliced
- 1 pack vanilla wafers
- Mint sprigs, for garnish (optional)
For the Whipped Cream:
- 1 ½ cups cold heavy cream
- ¼ cup powdered sugar
- ¼ teaspoon kosher salt
Instructions
- Start by warming the half and half in a medium pot over medium heat—just until it’s steaming, not boiling. While it heats, whisk together the egg yolks, sugar, cornstarch, and salt in a separate bowl until smooth and pale.
- Slowly pour about half of the warm half and half into the egg mixture while whisking constantly (this helps temper the eggs and prevents curdling). Then pour everything back into the pot. Keep it over medium heat and stir continuously for about 8–10 minutes until the pudding thickens into a silky custard.
- Once it’s thick, take it off the heat and stir in the vanilla extract and butter until completely melted and glossy. To cool it down quickly, nestle the pot into a large bowl filled with ice water. Stir occasionally for 10 minutes to help release steam.
- Meanwhile, whip the heavy cream in a bowl using a hand mixer for 2–3 minutes until soft peaks form. Stir the condensed milk into the cooled pudding, then gently fold in the whipped cream until just combined. Transfer the mixture to a bowl and press plastic wrap directly onto the surface. Refrigerate for at least 4 hours or overnight.
- Make the Whipped Cream : Beat cold heavy cream with powdered sugar and salt in a medium bowl until stiff peaks form—about 2–3 minutes. It should be thick and hold its shape when you lift the beaters.
- Assemble the Pudding : In a glass trifle bowl, 9x13 dish, or your favorite dessert glasses, begin layering: Start with a scoop of the pudding, then add a layer of vanilla wafers, followed by banana slices.
- Repeat this layering twice more or until your dish is full. Finish the top with a generous spread of whipped cream and a handful of crumbled wafers for a little texture. Serve right away, or cover and chill until you’re ready.
Notes
- This banana pudding keeps beautifully for 2–3 days and actually tastes better after sitting for a bit. Store it in an airtight container in the fridge, with plastic wrap pressed directly onto the surface to keep the bananas from browning. It can last up to 7 days, but honestly, it never stays untouched that long.
- Freezing isn’t ideal—thawed pudding tends to get watery and the wafers go mushy, so stick with chilling.
Nutrition Information
Yield
15Serving Size
1Amount Per Serving Calories 331Total Fat 24gSaturated Fat 15gTrans Fat 1gUnsaturated Fat 8gCholesterol 131mgSodium 107mgCarbohydrates 26gFiber 1gSugar 19gProtein 5g
TastyFitnessRecipes.com, occasionally offers nutritional information for recipes contained on this site. This information is provided as a courtesy and is an estimate only. This information comes from online calculators. Although tastyfitnessrecipes.com attempts to provide accurate nutritional information, these figures are only estimates.
Before You Start Cooking
Here’s how I stay organized before diving in:
-
Lay out all your ingredients.
-
Measure everything ahead — it makes life easier.
-
Set aside a little time and enjoy the process — the smell alone is worth it.
I hope you make this banana pudding and that it becomes a new family favorite. There’s something special about a dish that feels like it’s been passed down, even if it’s your first time making it. Let me know how it turns out — and if anyone sneaks a spoonful before dinner.
Try other Pudding recipes: